Vanilla Pudding Recipe (No Eggs)
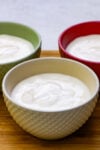
Enjoy this rich, creamy vanilla pudding recipe plain, just as the classic comfort food it is, or dress it up with toppings and use it as a base for desserts like banana pudding, trifles, and parfaits.
Naturally gluten-free, egg-free, and ready in just 15 minutes plus chilling time.
What to expect
This is a simple, homemade vanilla pudding recipe with 6 ingredients. There is no tempering of eggs as required for old-fashioned puddings like our banana pudding.
In fact, no eggs at all. Yet it’s still creamy, comforting, and full of vanilla flavor. Make it as rich or light as you like. The richer the milk, the richer the pudding.
The pudding takes less than 15 minutes from start to finish on the stovetop, then needs about 2 hours to chill and set.
Enjoy it on its own, dress it up with your favorite toppings, or use it as the starting point for other easy desserts. We’ve included plenty of ideas, along with helpful tips to make the recipe a success, even for beginners.
Ingredients – tailored to your taste
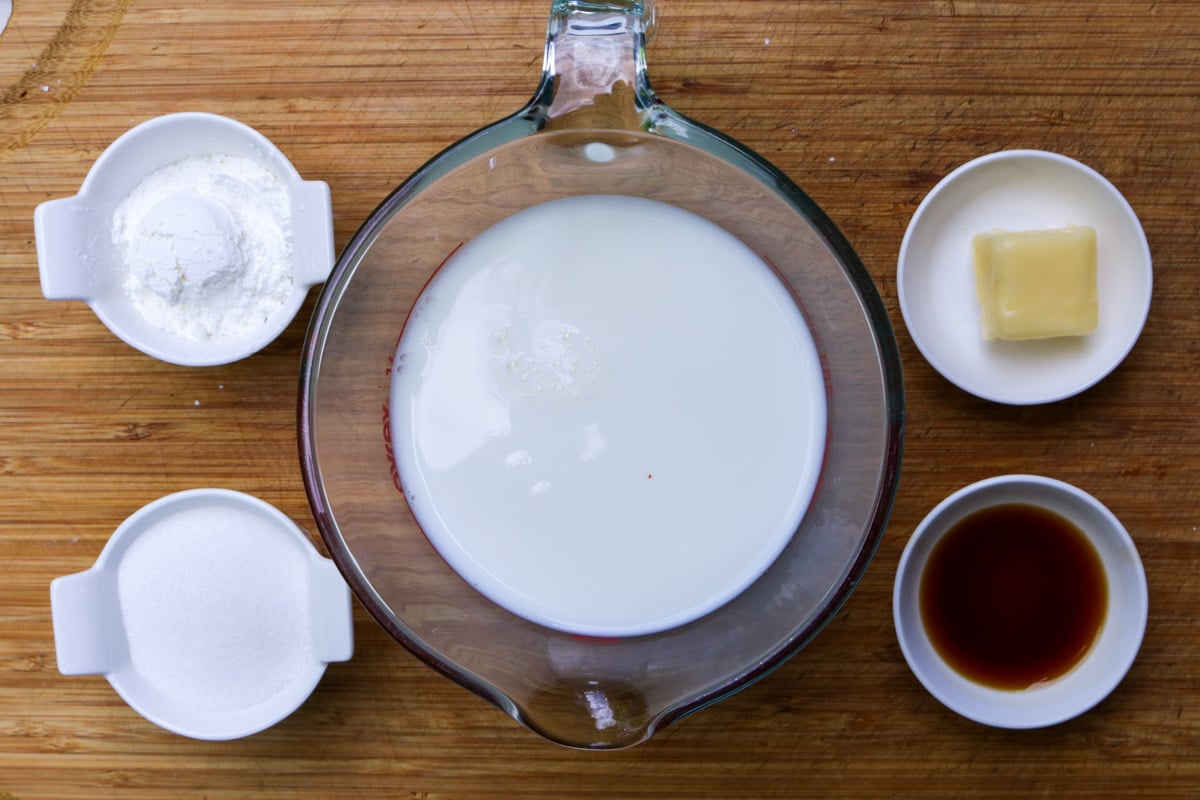
- Milk: For a richer taste, it’s best to use at least whole milk (3.25% fat), but any milk will do. I use half 2% and half 10% half-and-half cream. If using oat milk or almond milk, use the full-fat kind and add an extra teaspoon of cornstarch – expect a slightly softer set and less creamy texture than dairy milk..
- Cornstarch: This thickens the pudding.
- Granulated sugar: We use less than most recipes, so the pudding is not overly sweet, but sweet enough.
- Salt: just a small amount is needed to enhance flavor
- Butter – salted or unsalted. If using unsalted butter, add an extra pinch of salt.
- Vanilla extract: Pure vanilla extract gives the best flavor.
Substitutions
- Cornstarch: Use arrowroot powder (1:1 match) for a glossy texture. Or tapioca powder (you’ll need double the amount of cornstarch) for a shiny, bouncy texture – don’t boil it too long or it can become stringy. Both are gluten-free.
- White sugar: Replace half or all with brown sugar for a slightly caramelized taste.
- Vanilla extract: Use vanilla bean paste instead (1:1 swap). Expect dark speckles in the pudding.
Variations
- Make chocolate pudding: Add 3-4 tablespoons of cocoa powder to the dry cornstarch mixture and increase the sugar to 1/3 cup/66 grams.
- Lower-calorie version: Use 1% or 2% milk, but note that the pudding will not taste as rich. Still good when topping it or folding in fresh berries.
- Add flavors: with lemon zest, orange zest, or a few drops of almond extract.
- Make a 2-layered pudding: one chocolate, one vanilla
- Also see toppings, add-ins, drizzles, and transformed desserts under What To Serve With Vanilla Pudding – below.
Step-by-step instructions
Tips
- Prevent lumps:
- Whisk cornstarch, sugar, and milk well before you turn on the heat.
- Strain the pudding through a fine-mesh sieve to remove any lumps.
- Achieve a creamy texture, with no burnt bits
- Whisk the mixture over medium-low heat every minute or two, and constantly in the last 2 minutes. Be patient and don’t crank up the heat (I tried that – bad idea!)
- The total time will take about 9-11 minutes, depending on your stove. The pudding will be thickened (enough to coat a spoon) and pourable.
- For a rich, creamy pudding, I recommend using half-and-half cream in place of at least part of the milk.
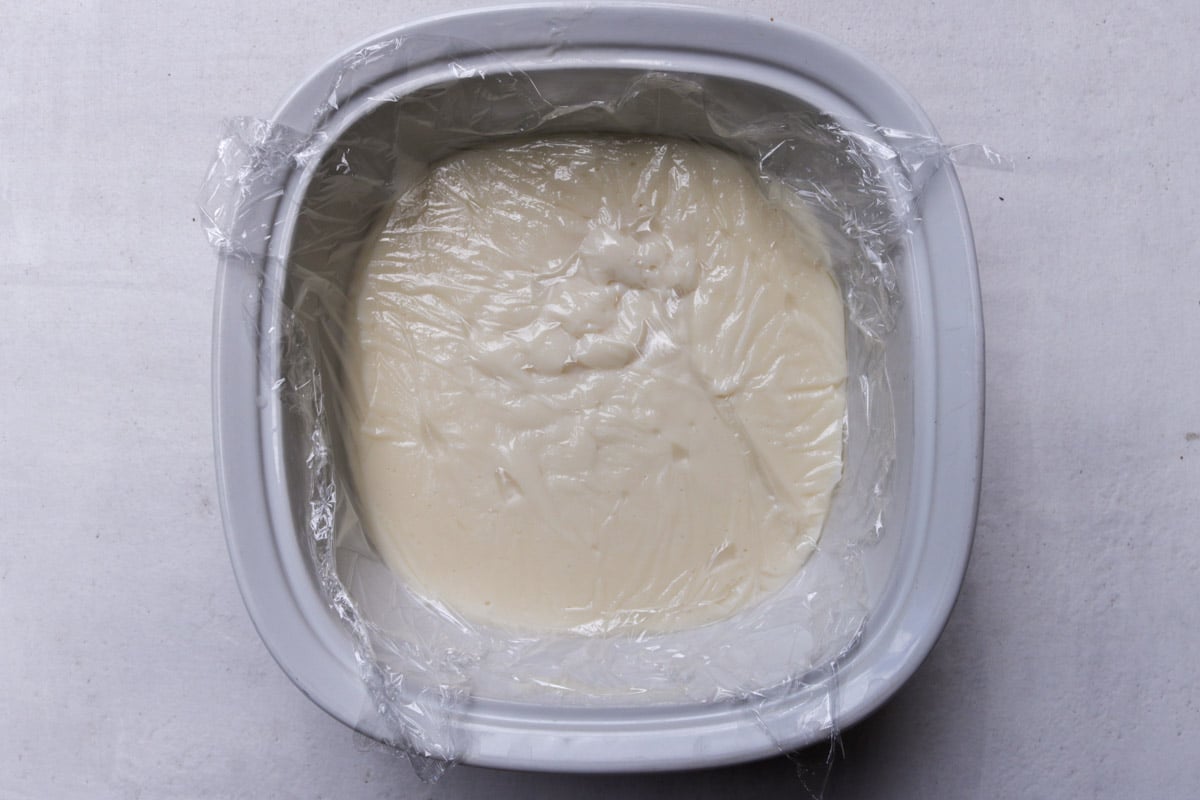
- Prevent a skin from forming on the surface: Press plastic wrap directly onto the surface of the pudding before chilling. This prevents air from forming a thick skin.
Shortcuts
- If you like warm pudding, go ahead and skip the chill time. The pudding will be much looser – a pourable consistency – but still delicious (especially when dipping a plain cookie into it).
- If you don’t mind a few tiny lumps (or if you didn’t get any), you can skip straining the pudding.
What to serve with vanilla pudding
Plain, creamy, not too sweet pudding is fine on its own. But here are a few suggestions for great pairings.
Pudding upgrades: Toppings & Drizzles
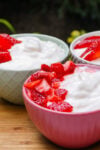
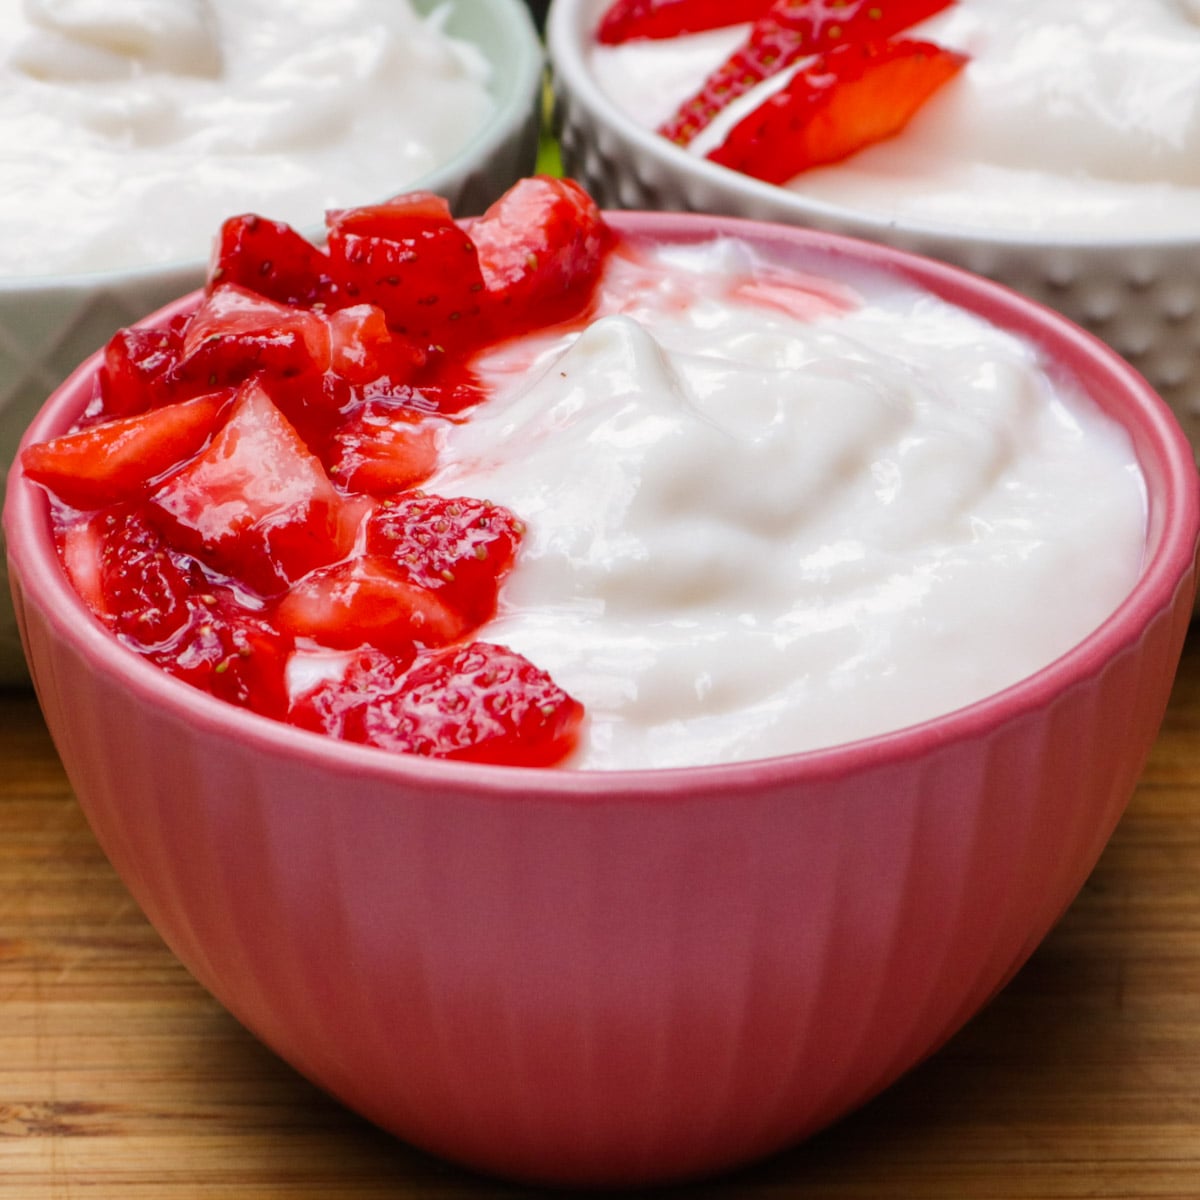
- Fruit:
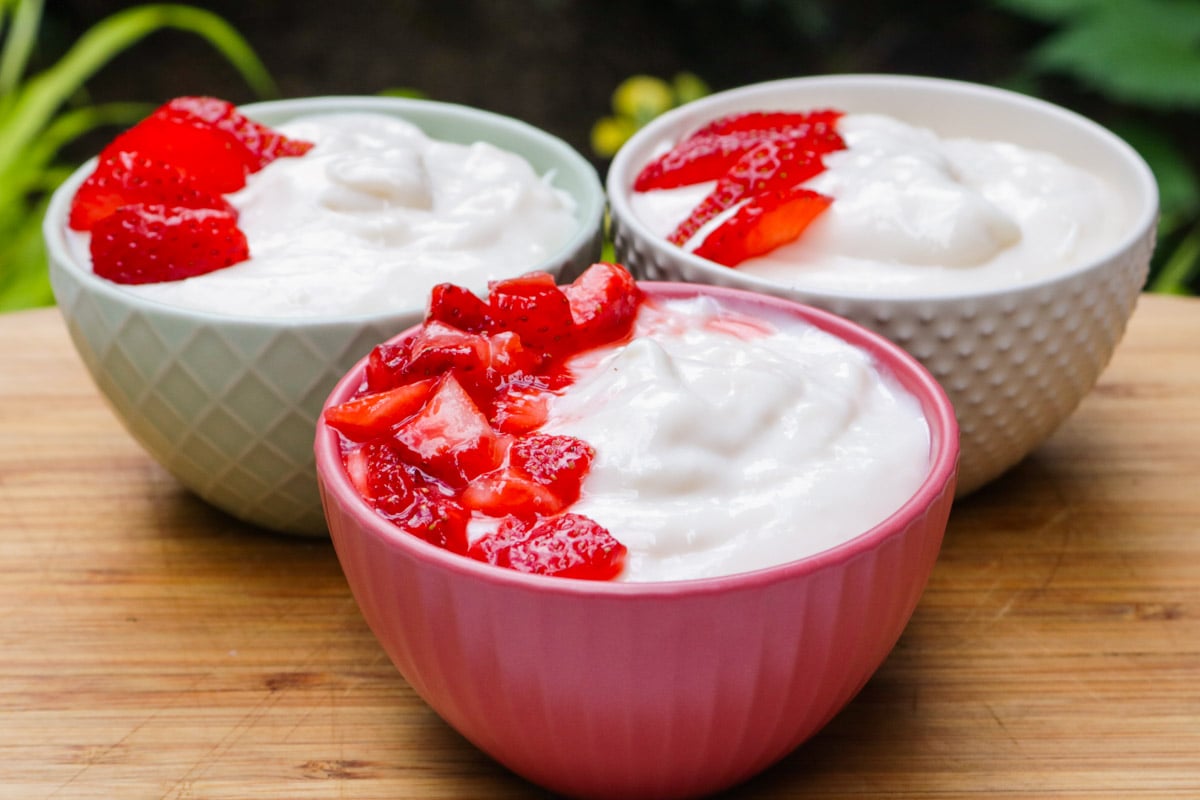
- Fresh blueberries, strawberries, raspberries or blackberries
- Diced fresh peaches or grilled peaches
- Crunch
- Cookie crumbs
- Toasted coconut
- Toasted chopped nuts or granola
- Creamy toppings
- Whipped cream
- Greek yogurt
- Sweet drizzles:
- maple syrup,
- chocolate sauce,
- caramel sauce
Transform the pudding into new desserts
- Layer pudding with banana slices for a banana pudding – or with strawberries and a biscuit as a twist on our strawberry shortcake recipe.
- Make a no-bake trifle with layers of pudding, cake pieces and berries – top with whipped cream
- Fill baked puff pastry cups or pastry tarts with vanilla pudding and top with berries.
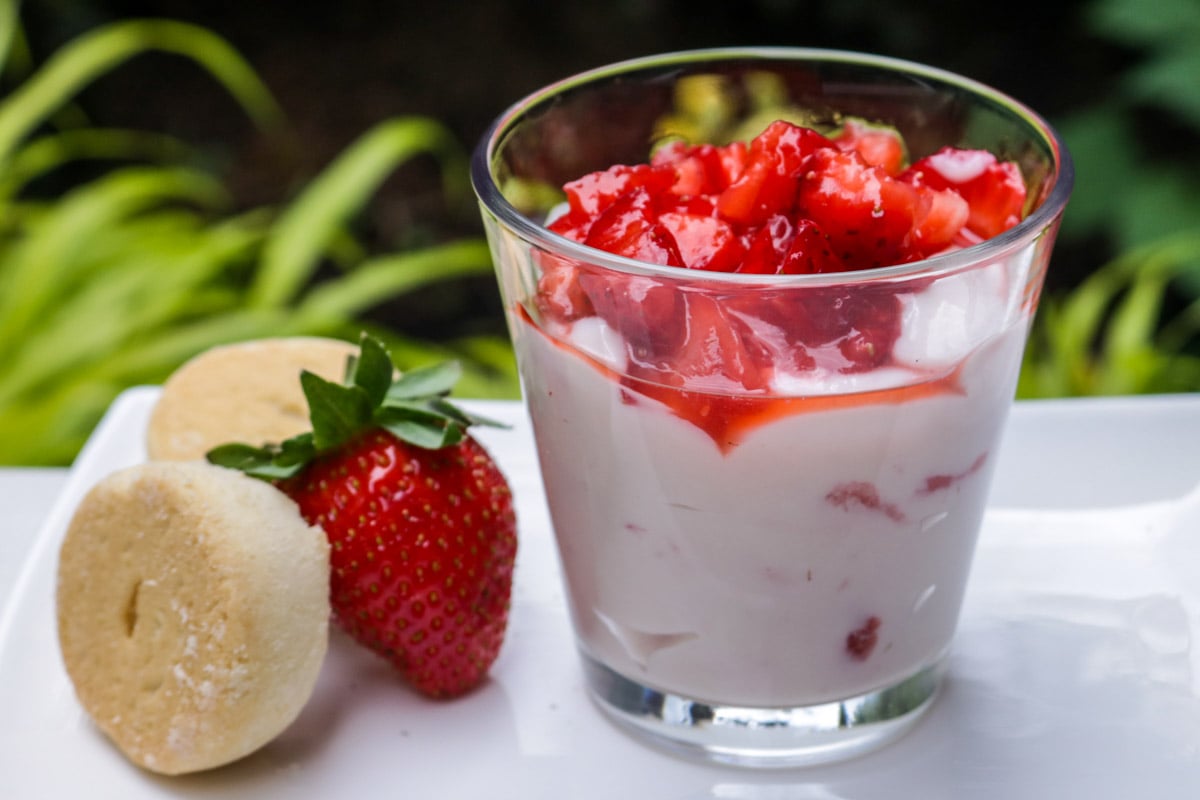
- Use it warm as a vanilla ‘sauce’ over bread pudding or plain cake. Or dip cookies in a warm vanilla pudding.
- Make pudding parfaits: Layer vanilla pudding with berries, granola, crushed cookies, or cake cubes in glasses.
Recipe FAQs
Yes. Store covered in the refrigerator in an airtight container for up to 4 days. Press plastic wrap directly onto the surface to prevent skin from forming.
Usually, because the cornstarch wasn’t fully whisked and dissolved into the milk before heating or the pudding wasn’t whisked enough while cooking. Straining through a fine-mesh sieve will remove lumps.
The heat was too high or the pudding wasn’t stirred often enough with a whisk. Cook over medium-low heat and whisk frequently, especially once the mixture begins thickening in the last few minutes.
Yes, but the pudding will be less rich. Whole milk or a combination of milk and half-and-half produces a richer, creamier pudding.
Freezing is not recommended. Freezing can make the pudding watery and grainy once thawed.
More creamy dessert recipes
- Old-fashioned banana pudding – homemade, in cups
- Easy tiramisu recipe – individual cups, no eggs
- Cottage cheese chocolate mousse – 3 minutes in a blender
For more quick ideas, see our collection of homemade sweet treats – made in 30 minutes or less.
Please leave a 5-star rating ***** with a comment in the recipe card below if you like the recipe. Thank you so much!
Vanilla Pudding Recipe (No eggs)
Ingredients
- 3 tbsp cornstarch, Note 1
- ¼ cup granulated sugar (or use part or all brown sugar)
- ½ teaspoon kosher salt (or less if using salted butter)
- 2 cups whole milk, Note 2
Add at the end:
- 1 tablespoon butter salted or unsalted butter
- 2 teaspoons vanilla extract (or vanilla bean paste)
Instructions
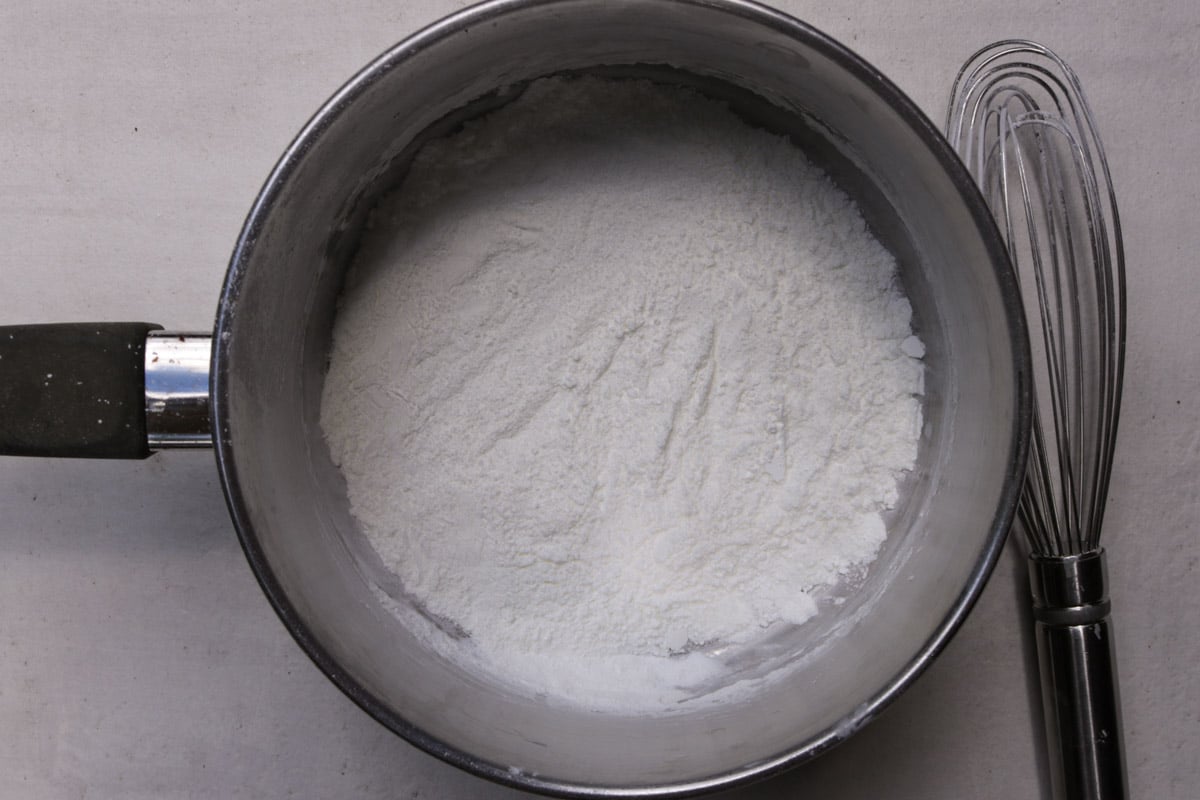
- WHISK DRY INGREDIENTS: Whisk cornstarch, sugar and salt in a medium pot to eliminate as many lumps as possible. The mixture should be almost powdery. WHISK IN COLD MILK.
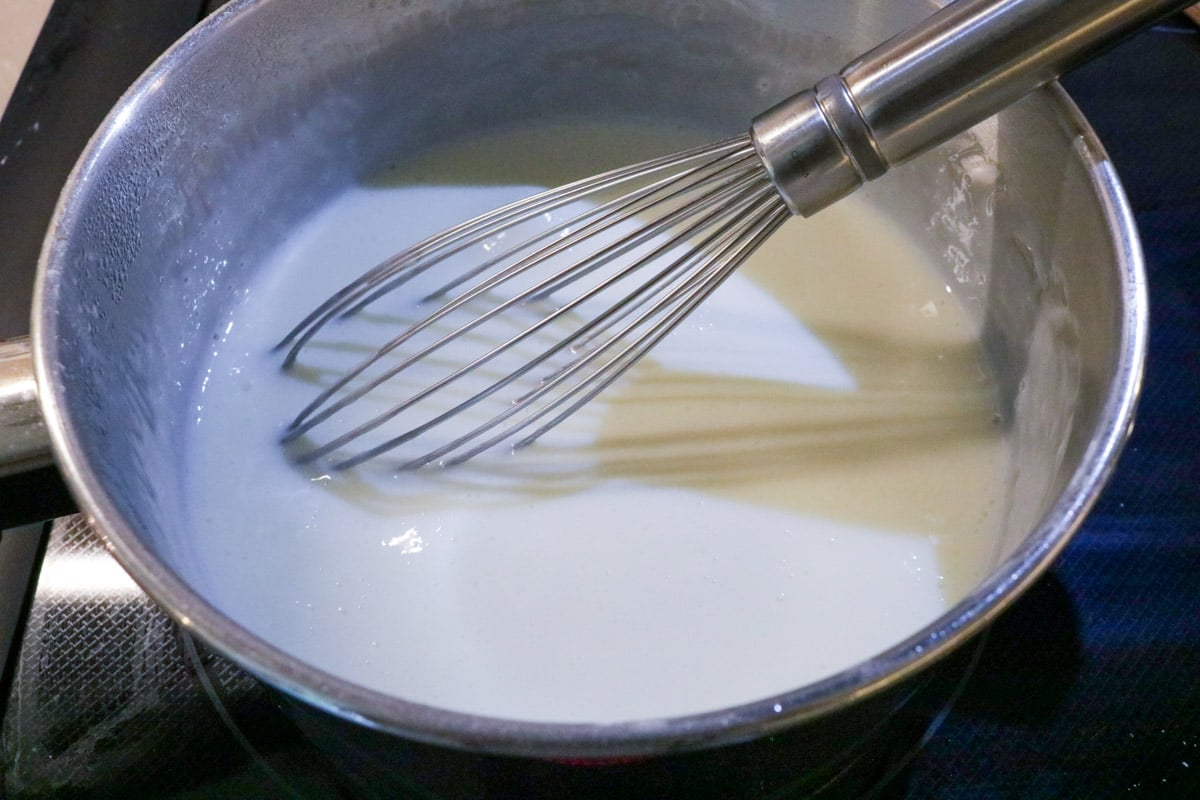
- COOK PUDDING: Turn heat on stove top to medium low (~4/10). Continue whisking every minute or two. The pudding will gradually thicken as it comes to a boil. Don't crank up the heat or it will burn. You will see large bubbles coming to the surface. Once it boils, whisk constantly for another minute. The total time will take about 9-11 minutes, depending on your stove. The pudding should be thick enough to coat the back of a spoon and leave a clear trail when you run a spoon through it.
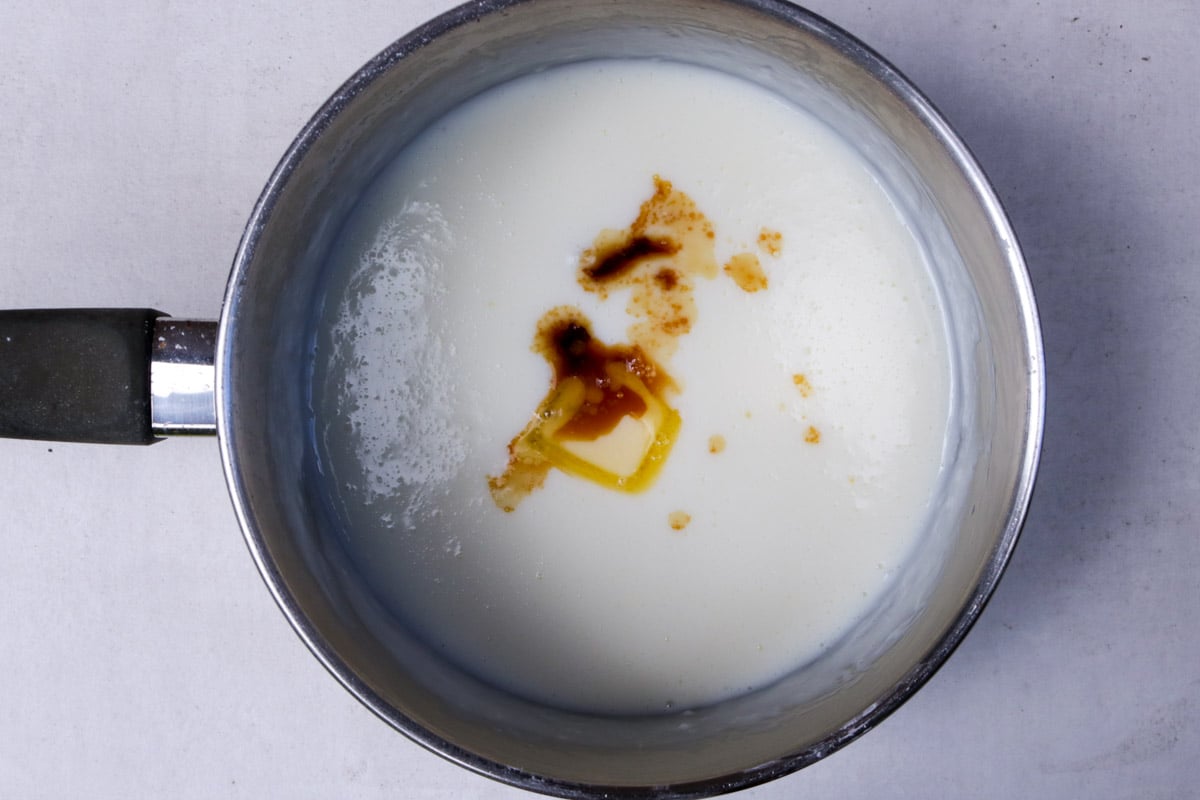
- REMOVE FROM HEAT and whisk in butter and vanilla extract.
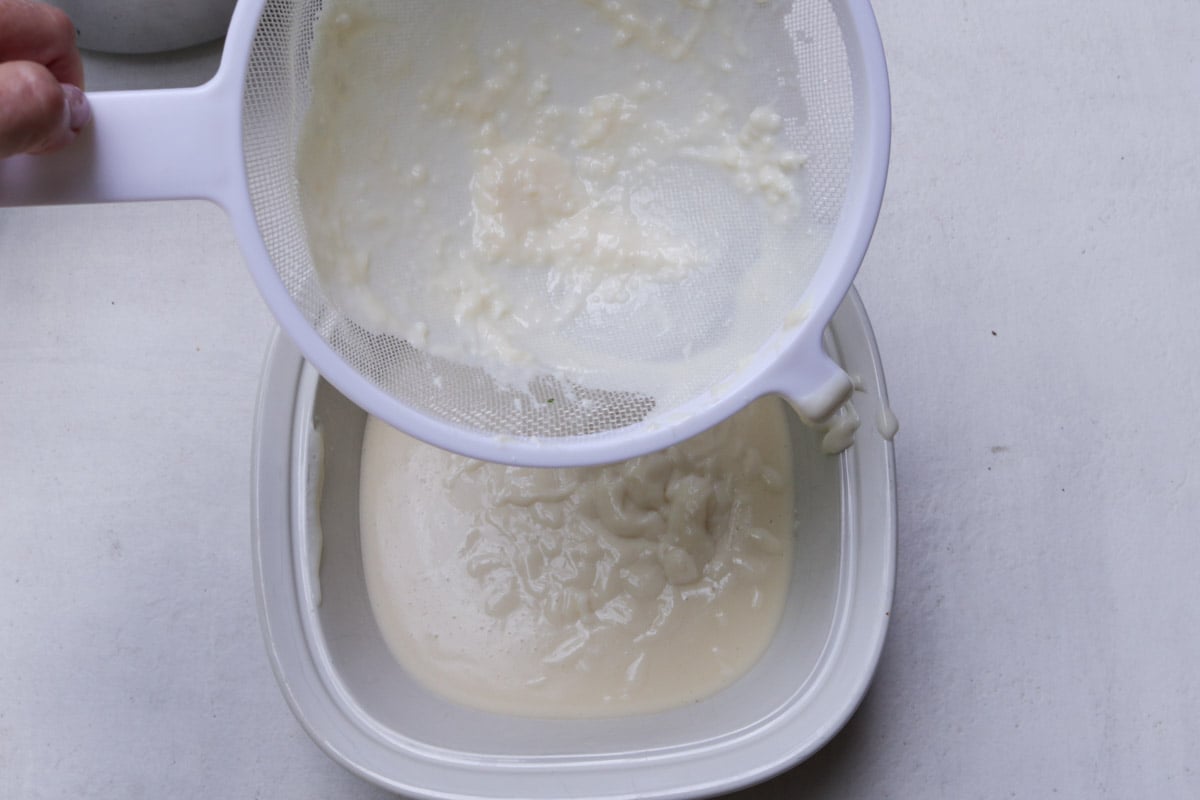
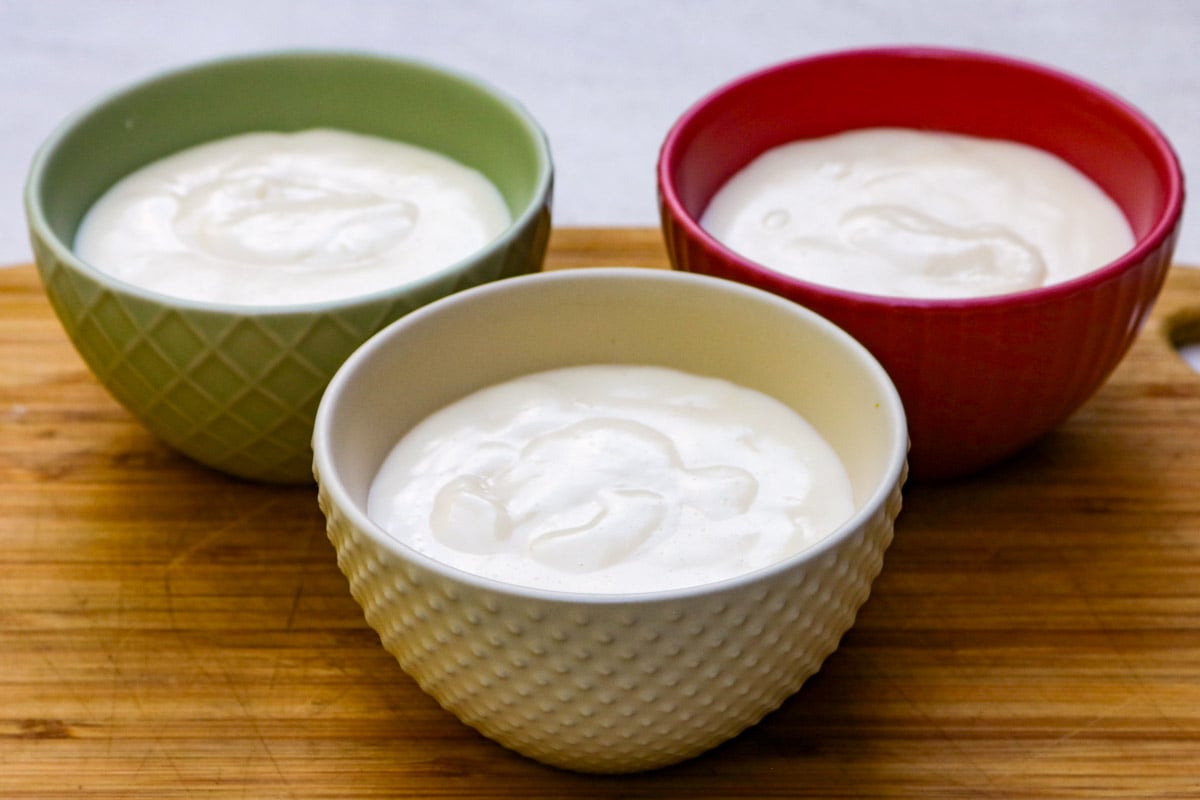
- STRAIN & CHILL: Pour the pudding through a fine-mesh sieve into a bowl or shallow dish to strain it and remove any tiny residual lumps. Skip this step if you see no lumps or if you don't mind a few tiny clumps. Place plastic wrap directly on the pudding to prevent a skin from forming on the top. Chill for 2 hours or more. To serve: Whisk or stir vigorously until smooth and creamy – and spoon into serving dishes. See Note 4 for toppings.
Recipe Notes
- Cornstarch alternatives:
- arrowroot powder (1:1 swap) – glossy texture
- tapioca powder (you need double i.e. 6 Tbsp) – for a shiny, bouncy texture – don’t boil it too long or it can become stringy.
- Milk options:
- For a richer taste, it’s best to use at least whole milk (3.25% fat), but any milk will do. I replace part of the milk with half-and-half cream.
- If using oat milk or almond milk, use the full-fat kind and add an extra teaspoon of cornstarch. Expect a slightly softer set and less creamy texture than dairy milk.
- Lower-calorie version: You can use 1% or 2% milk, but note that the pudding will not taste as rich (but still good if adding toppings or folding in fresh berries).
- Variations:
- Make chocolate pudding: Add 3-4 tablespoons of cocoa powder to the dry cornstarch mixture and increase sugar to 1/3 cup/66 grams.
- Add flavors: When the pudding is finished cooking, stir in 2 tsp lemon or orange zest, along with the vanilla, or add almond extract – start with 1/4 tsp and add up to 1/2 tsp if needed.
- Make a 2-layered pudding: one chocolate, one vanilla. Add the second layer to the chilled first layer.
- Topping & drizzle ideas:
- fresh berries
- whipped cream or Greek yogourt
- toasted coconut
- cookie crumbs
- toasted crushed nuts
- granola
- caramel sauce
- chocolate sauce
- Ideas to transform pudding into new desserts (details in post):
- Banana pudding
- Strawberry shortcake
- Trifle
- Tart filling
- Puff pastry cups
- Warm sauce for cake or bread pudding
- Make ahead:
- How long: The pudding will last 3-4 days in the fridge in an airtight container – without any toppings (these can make the pudding watery after a day)
- Storing: To prevent a skin from forming at the top, lay plastic wrap directly on the pudding before covering with the top of the sealed container.
- Freezing: not recommended as the texture can become watery or grainy. If you do, whip it up again to smooth it out.