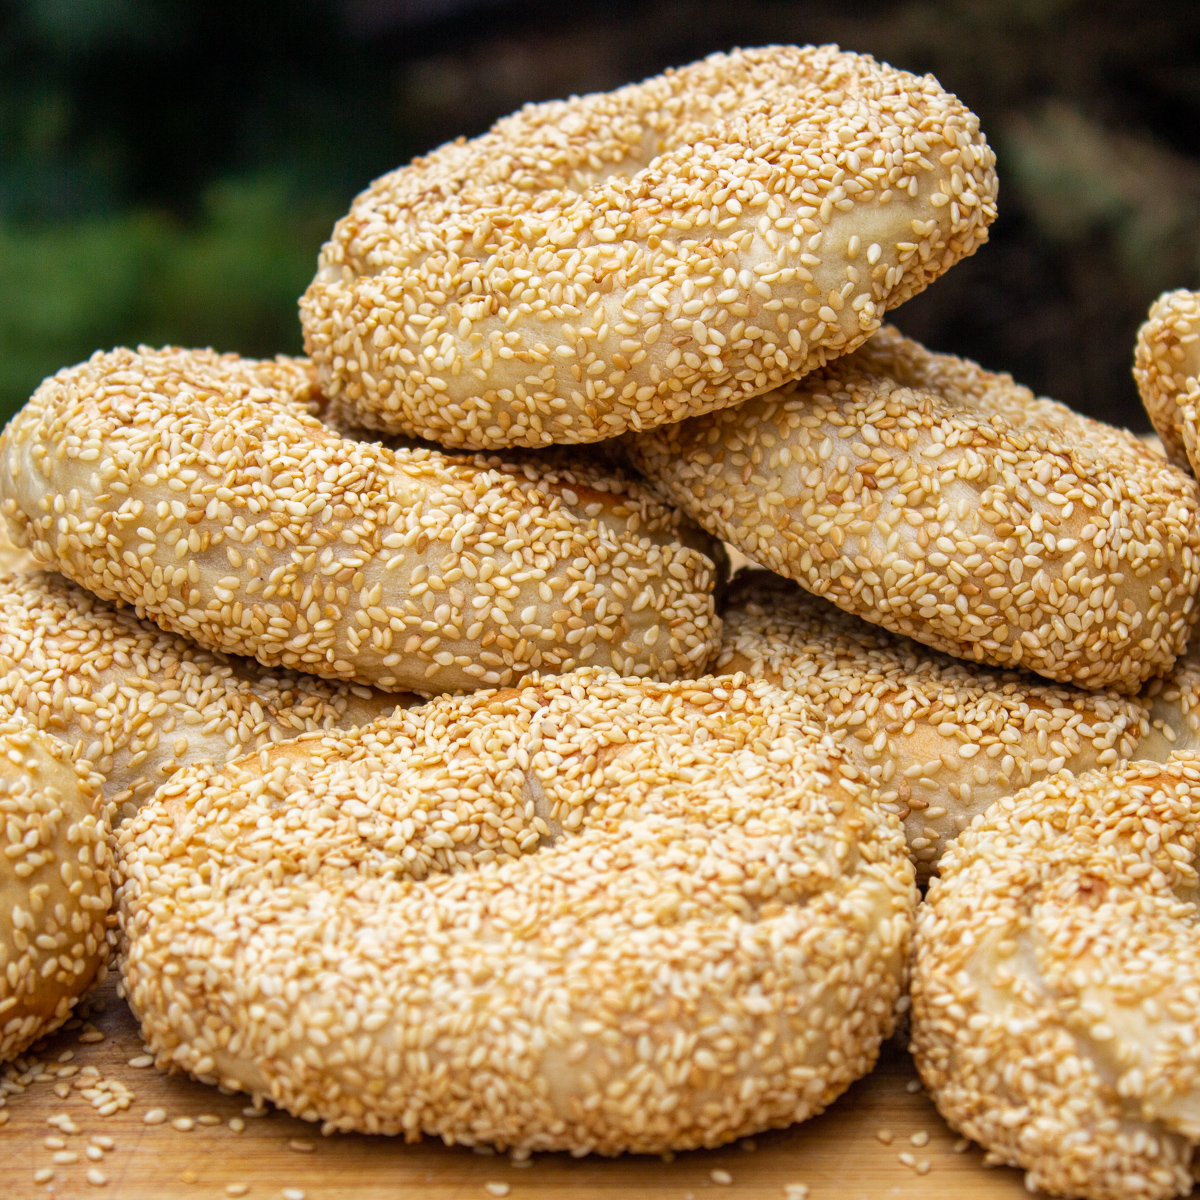
Best Montreal Bagel Recipe (Step-by-Step, 1 hour)
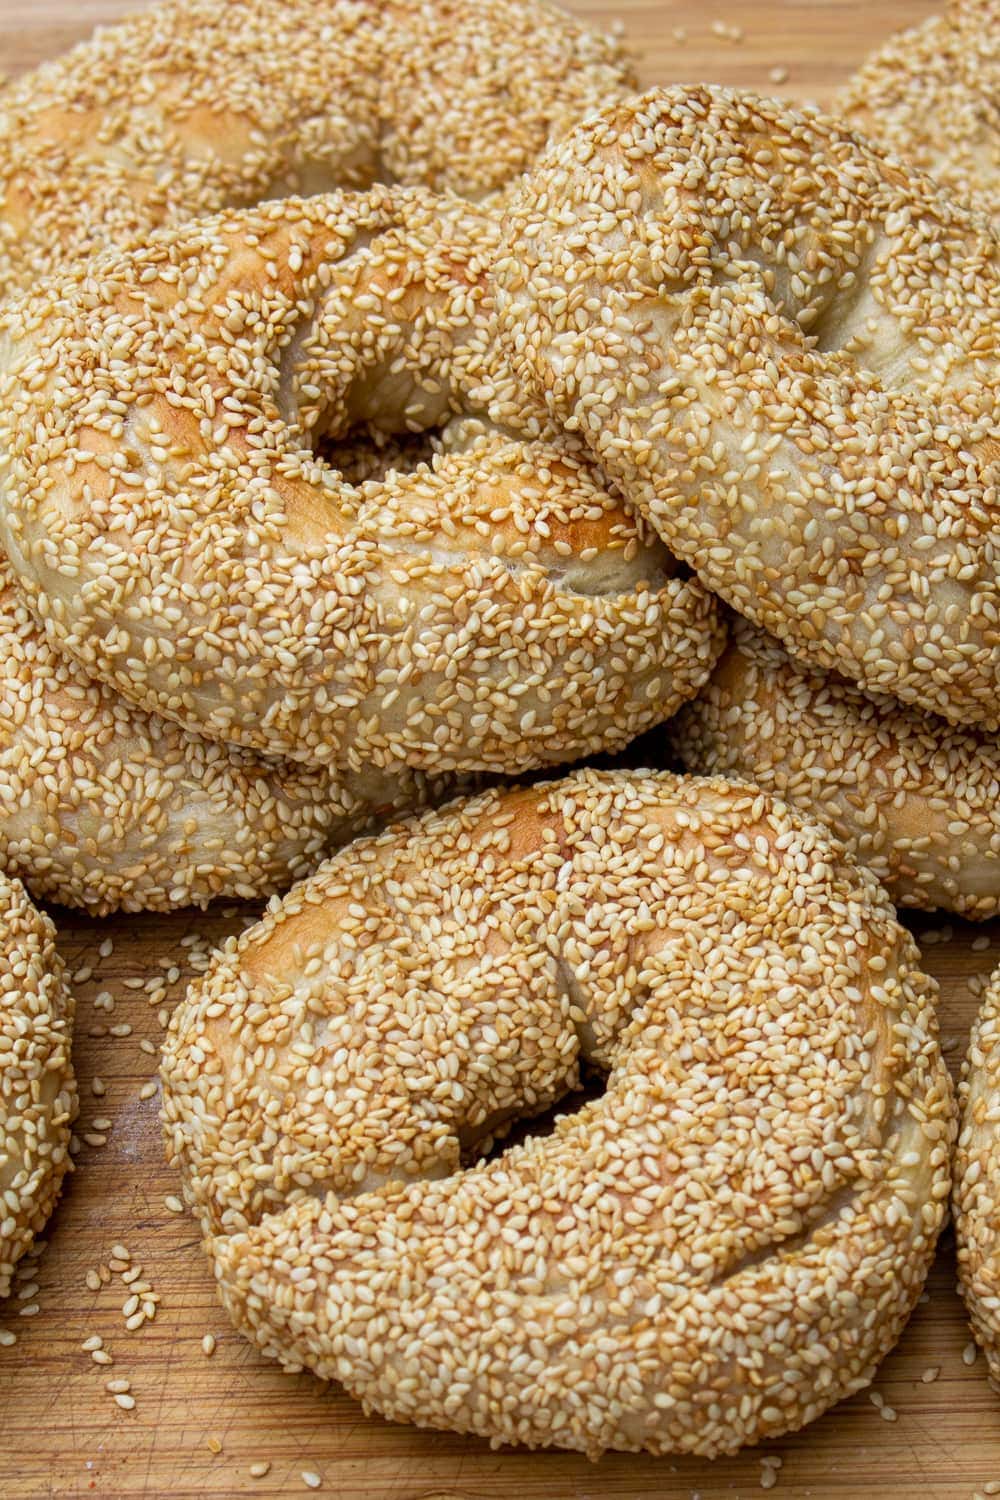
This Montreal bagel recipe is exceptional – straight from the iconic St.-Viateur bagel company in Montreal. In about 1 hour, you will be feasting on soft, warm, chewy and slightly sweet bagels covered in seeds.
Bagels are not difficult to make with clear step-by-step instructions. After the first time, you’ll be a pro. Shmear on the cream cheese, toast them or eat them plain. All delish!
Montreal bagels are, hands down, the best bagels anywhere. (Full disclosure – I’m an ex-Montrealer.) This is an authentic Montreal bagel recipe – except for the wood oven part. It comes from St.-Viateur Bagel, founded by Myer Lewkowicz, and has been operating in Montreal for over 60 years.
I learned to make Montreal-style bagels from Chef de Volpi of McGill University. He was demonstrating a traditional lox and bagel spread for a McGill fundraiser. The bagels came out great – er, all 3 times I made them in the past month 🙂
Bagels originated in Jewish communities in Poland. They were traditionally formed by hand, boiled then baked, just as they still are at St-Viateur Bagel.
Think about it. Hot fresh bagels right out of the oven. Perfect every time!
Ingredients – tailored to your taste
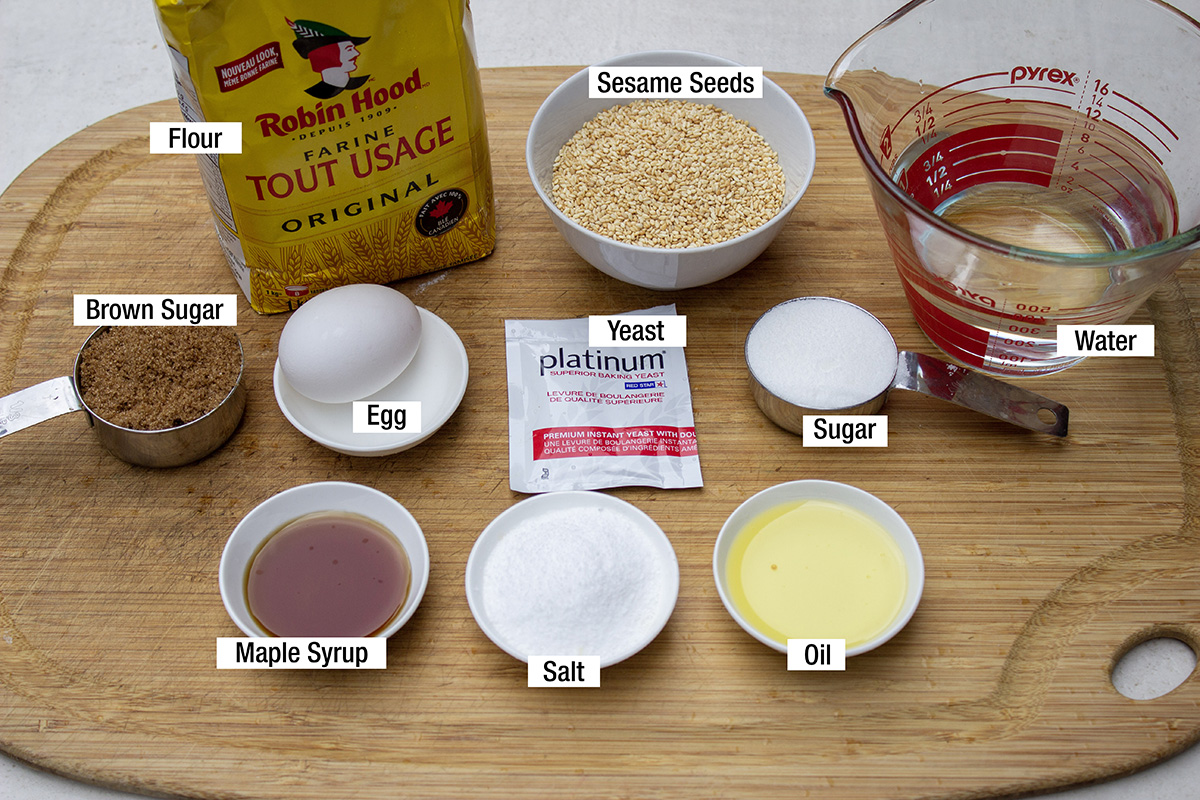
The ingredients for this Montreal bagel recipe are pretty much typical bread ingredients – flour, yeast, water, sugar, salt. The bagels are boiled in water with honey (or brown sugar) before baking. The recipe includes an egg, but it’s not essential.
Variations
- Leave out the egg if you can’t eat them.
- For the honey water (to boil the bagels), you can substitute brown sugar which is cheaper.
- Toppings: Use sesame seeds, poppy seeds, no seeds or all dressed such as everything bagel seasoning blend which you can buy at Trader Joe’s or Amazon.
Step-by-step instructions


Make Ahead
- To store: Allow the hot bagels to cool completely and keep them in a sealed container or a sealed plastic bag for a few days at room temperature.
- To freeze:
- Once cooked: Cool bagels, then freeze them for up to 3 months. Tip: I slice them before freezing so I can toss the frozen halves right into the toaster.
- When raw: After shaping the dough into bagels, freeze them. When ready to use, defrost them, boil and bake as per instructions.
Bagel FAQs
Bagels are made and sold worldwide, in bagel shops and grocery stores in a wide variety of flavors. The most popular (about 85%) are sesame seed bagels. A distant second are poppy seed, also called black seed bagels. Then you have various seasoning blends such as ‘everything bagel’, onion, garlic and the specialty bagels like gluten-free, cinnamon raisin, chocolate chip and pumpernickel. Did I miss a few? Probably.
A Montreal bagel is hand-rolled, smaller, thinner, chewier, sweeter (they are boiled in honey water), have a bigger hole and are wood-fired. A New York-style bagel is puffier, softer, doughier, mostly machine-made and baked in a traditional oven.
That depends on where you come from and who introduced you to bagels. New Yorkers typically love their bagels sliced, warm, fresh and shmeared with a thick layer of cream cheese. No toasting! Montrealers also like their bagels plain and fresh, but out of the wood burning oven – sometimes with cream cheese (and lox) or egg salad. Am I the only one who loves a bagel toasted and slathered with butter?
Typically, people eat bagels with cream cheese or toasted with butter. They are also fantastic served with smoked salmon/gravlax/lox, tomatoes, capers and red onions – along with the cream cheese of course.
Easy homemade no-pectin jams for your bagels
Other homemade bread recipes
Please leave a 5-star rating ***** with a comment in the recipe card below if you like the recipe. Thank you so much!
Best Montreal Bagel Recipe (Step-by-Step, 1 hour)
Ingredients
- 1 1/2 cups warm water (about 95-100F/ 35-37.8C)
- 1/4 cup sugar
- 1 tablespoon maple syrup
- 2 teaspoon salt
- 10 g active dry or instant yeast (1 package)
- 1 egg (you can leave this out if you want)
- 2 tablespoons oil canola or vegetable
- 4 cups all purpose or bread flour, Note 1 plus an extra 1/2 cup/62g as needed
For boiling and baking
- 12 cups water
- 1/2 cup brown sugar or 1/2 cup/170g honey
- 1 cup sesame seeds or poppy or everything bagel seeds
Instructions
- HEAT OVEN TO 425F/217C. [for mini bagels, heat oven to 450F/232C]. Line a large pan or two smaller ones with parchment paper.
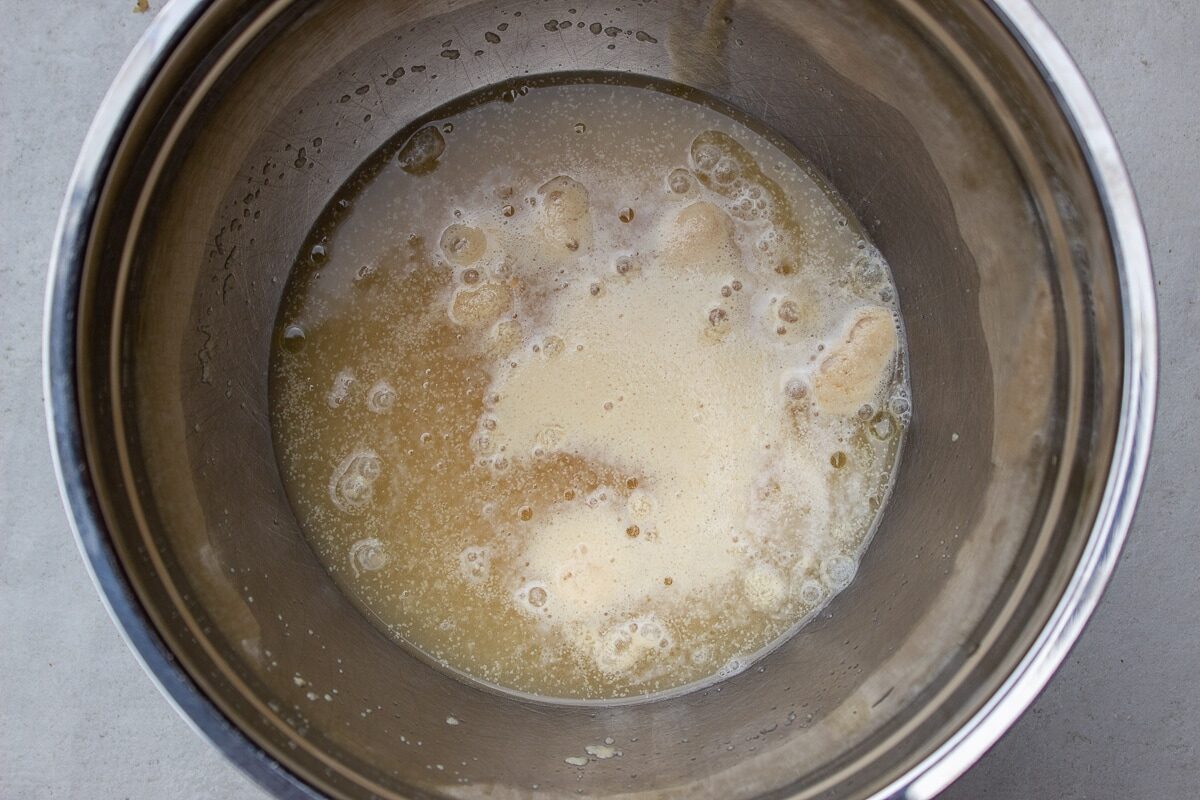
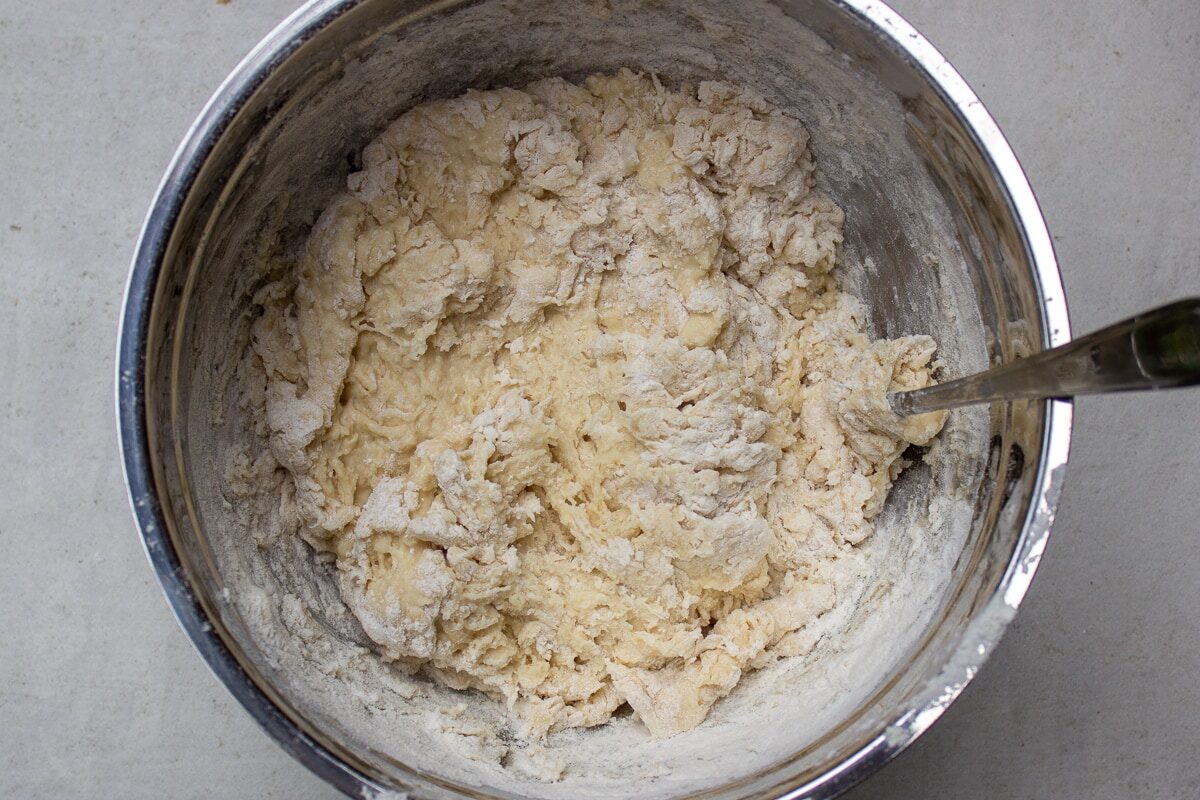
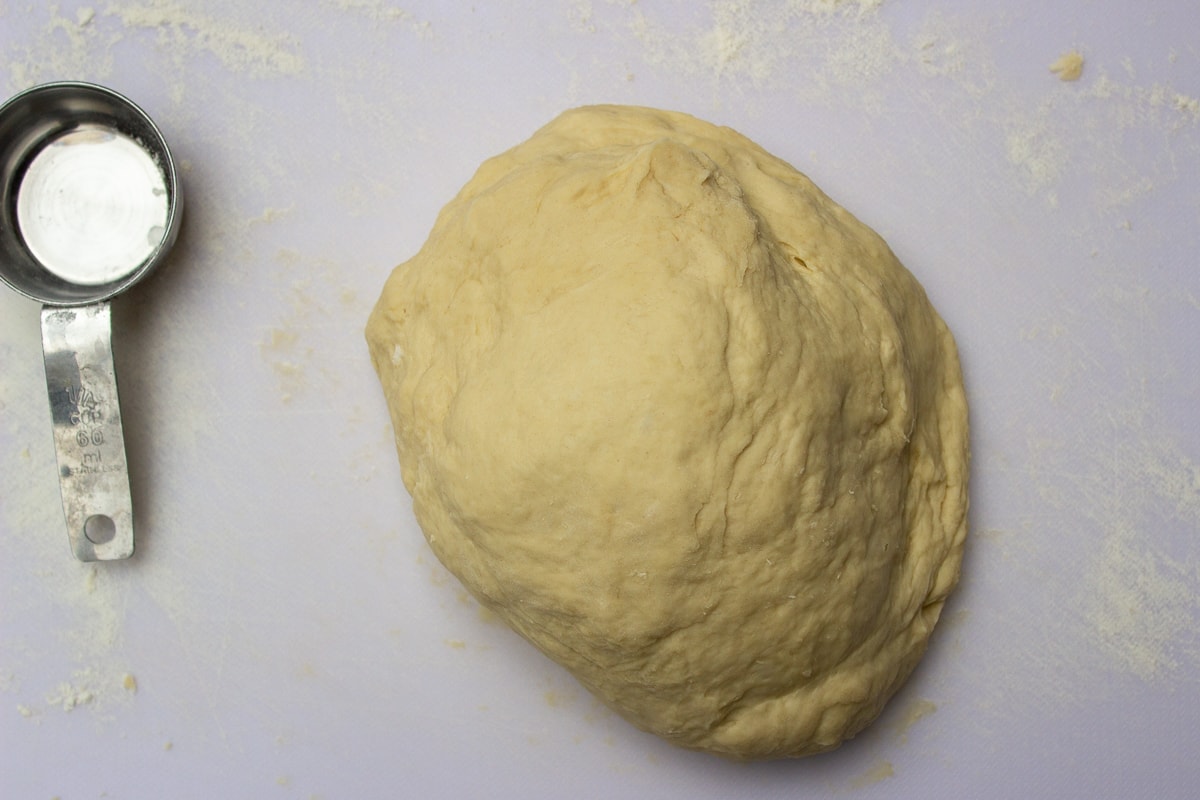
- MAKE DOUGH BY HAND: To use mixer instead, Note 2. In large bowl, mix warm water, sugar and maple syrup. Add yeast and let sit for 5 minutes. It will froth up a bit. Stir in egg, oil, salt and flour until dough begins to come together. Pull dough onto a sheet of parchment on the counter or a cutting board, lightly dusted with flour. Begin kneading, adding up to an extra 1/2 cup/62g of flour until the dough is no longer sticky. Knead for about 12 minutes. Here's a video on how to knead dough. The dough will lighten up a bit in color.
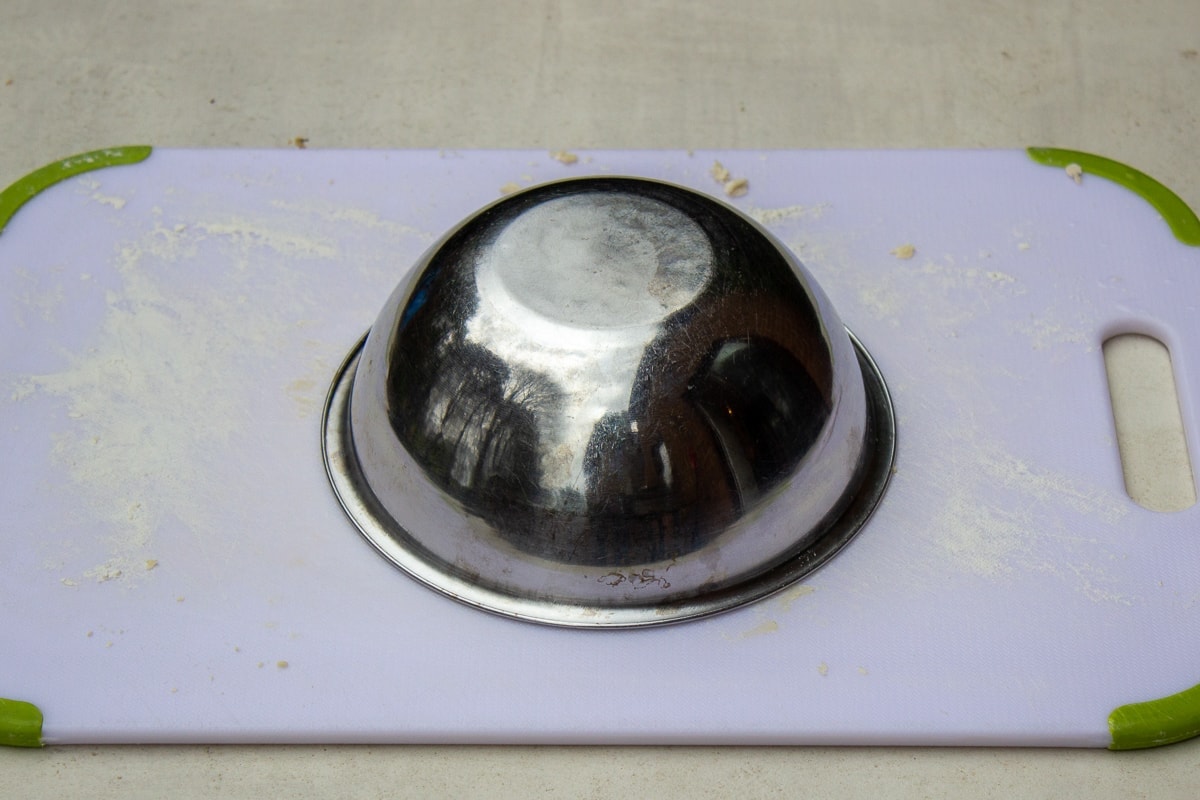
- REST DOUGH: Cover smooth dough with a bowl and let it rest for 10 minutes.
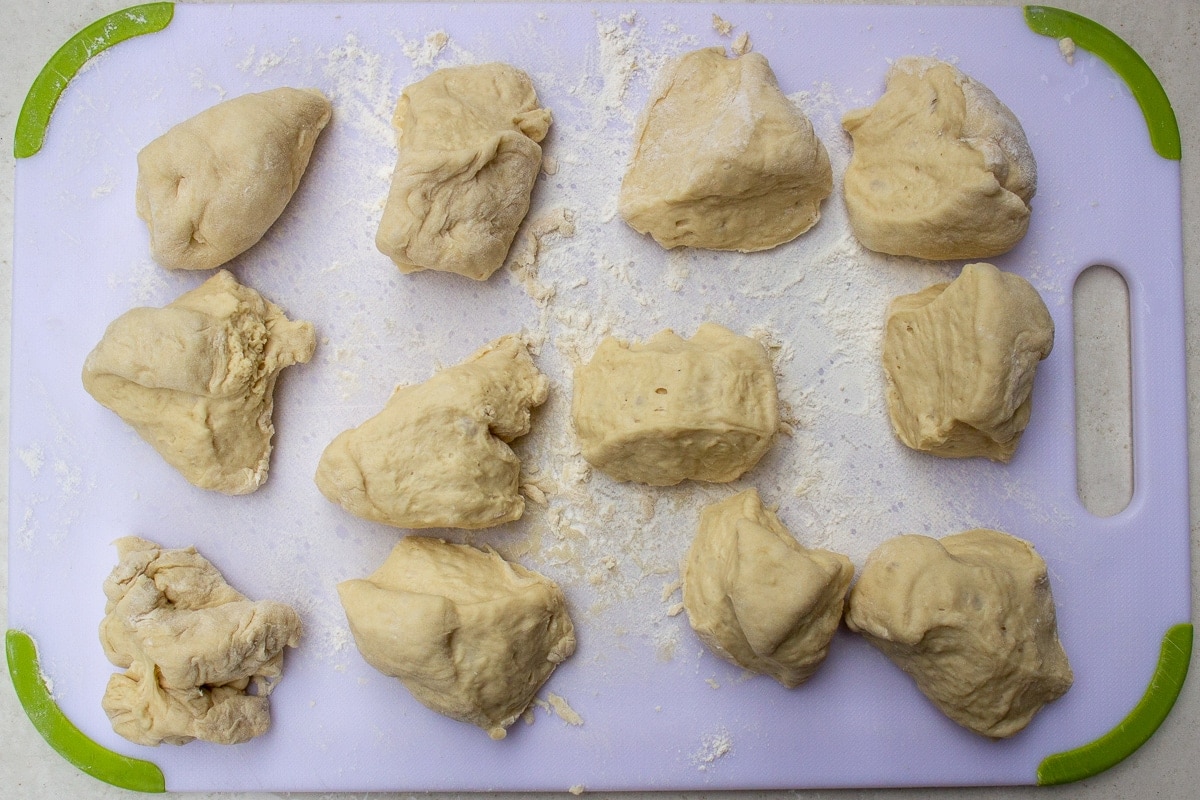
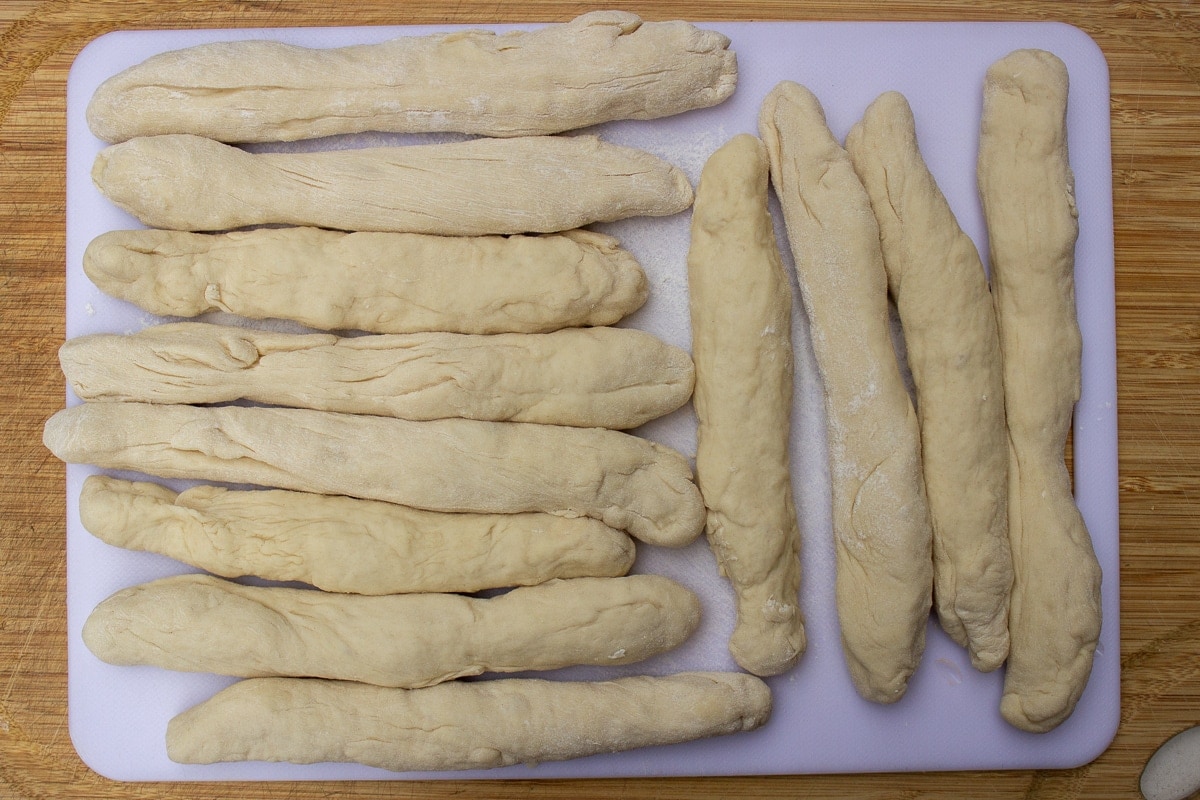
- SHAPE BAGELS: Cut dough into 12 equal parts for regular bagels (or 24 for mini bagels). Roll each piece on a lightly floured surface into a log 8-10 inches long (20-25cm). Curve each log into a bagel shape, overlapping 1-2 inches (2.5-5cm). Roll the overlapped part on the counter to smooth it or just pinch the dough together. No need for perfection – mis-shaped bagels are just fine. The dough will puff up when boiled.
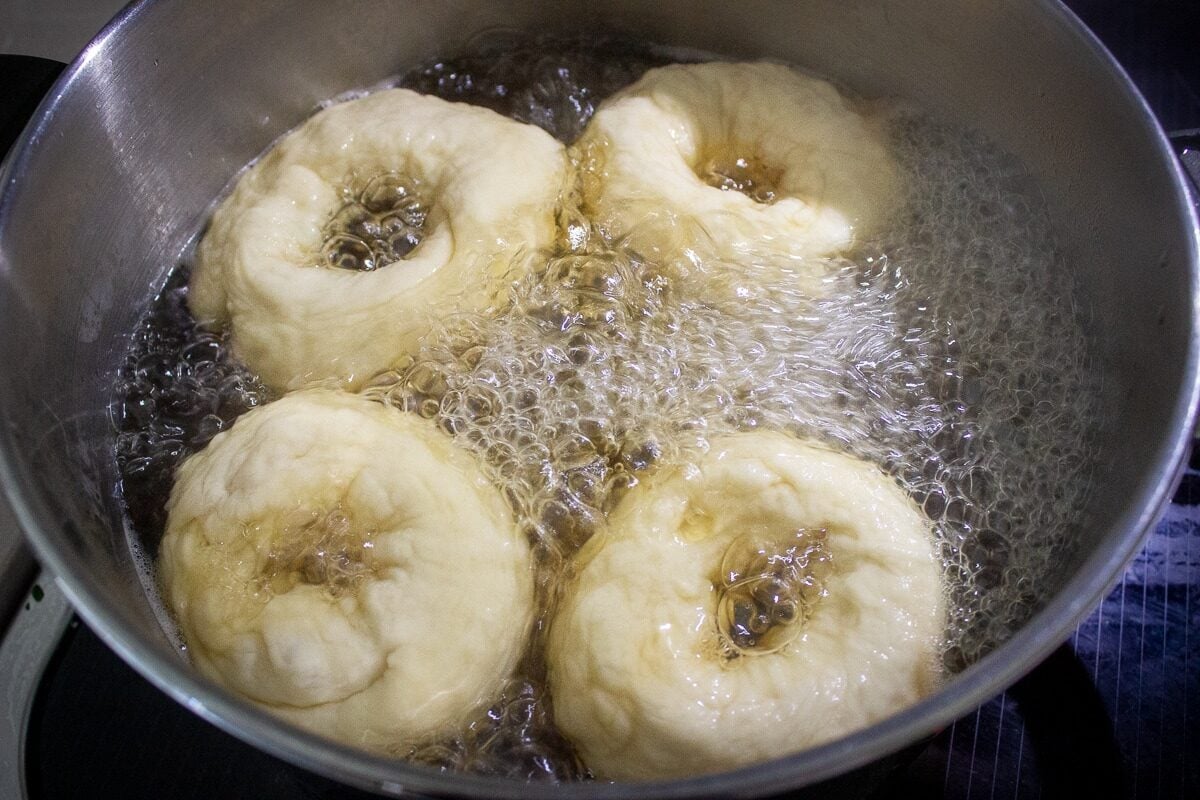
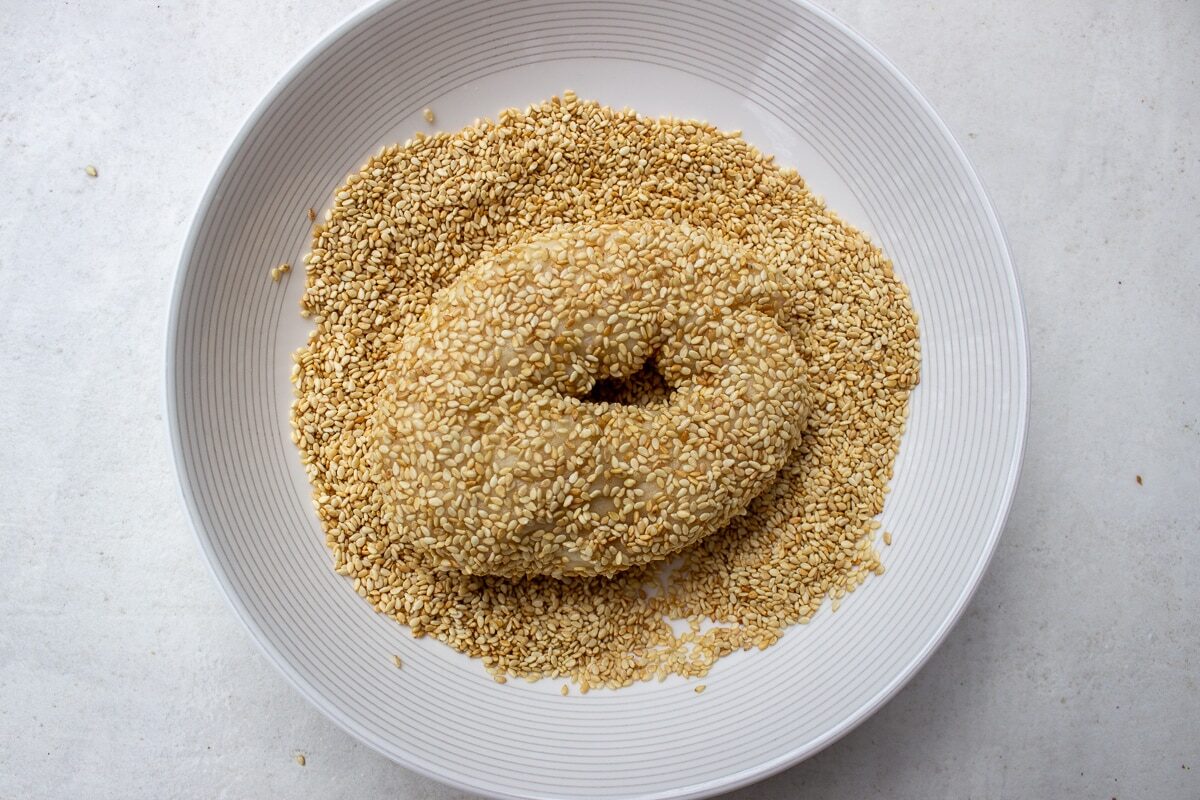
- LET BAGELS REST FOR 10 MINUTES. While they are resting, put sesame seeds in a bowl. And Fill a large pot or frying pan with about 2 1/2 to 3 liters of water, add brown sugar or honey and bring to a boil. Lower heat to simmer.
- BOIL BAGELS: Put in 3-4 bagels at a time and boil for 45 seconds. Flip over and boil another 45 seconds. Remove with a slotted spoon to drain on a paper towel.
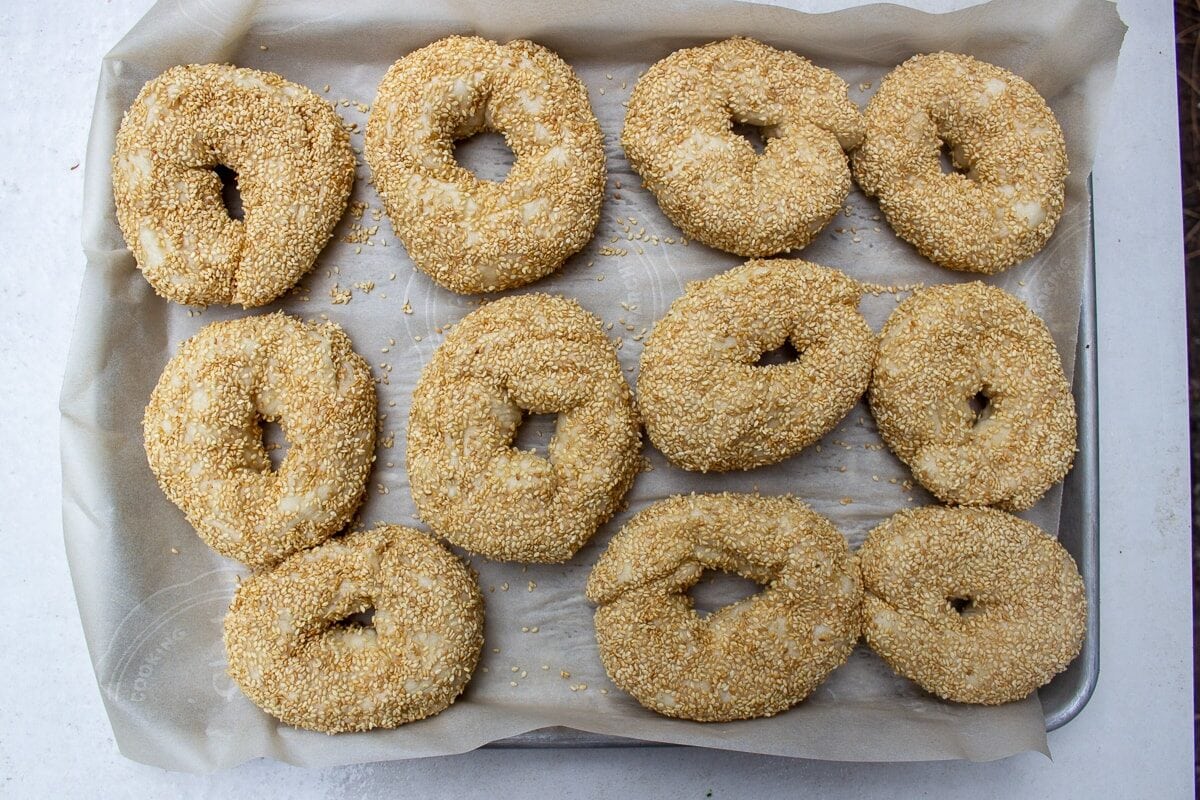
- DIP IN SEEDS: Don't wait too long to dip each bagel in seeds (top, bottom, sides) and place them in a single layer in the prepared pan(s).
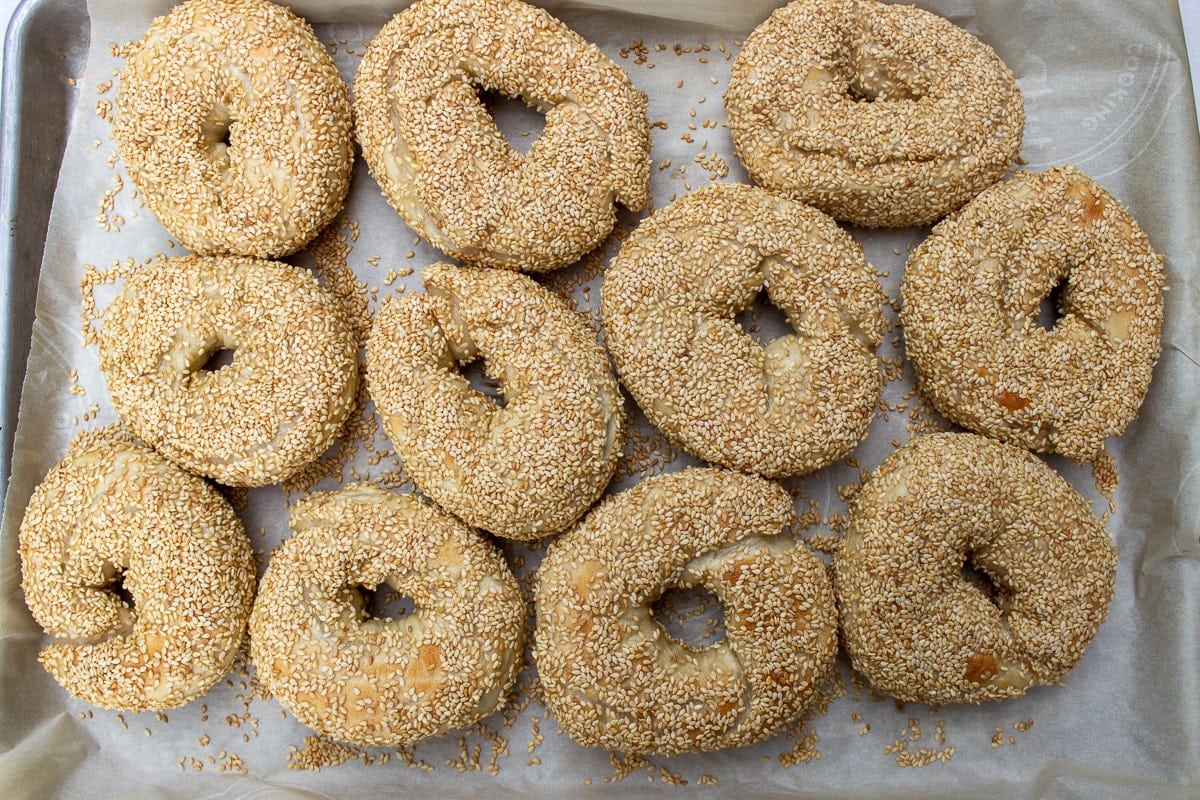
- BAKE: Bake bagels for 8 minutes. Turn over, then bake another 6-8 minutes until a light golden brown. A total of 14-16 minutes, depending on how hot your oven is. If doing a second batch, they will bake quicker. Cool on a rack. For mini bagels, Note 3.
Recipe Notes
- Flour: you can use half white flour and half whole wheat flour. Let the dough rest for 20-30 minutes before cutting and shaping it (whole wheat flour needs more time to hydrate than regular flour to creat the proper texture).
- How to measure the flour: Either measure flour by weight or use the scoop and level method. This means scooping flour into a measuring cup and leveling it off with the back of a knife.
- To knead the dough in a stand mixer, place warm water, salt, maple syrup and yeast in the mixer bowl and let sit for 5 minutes. Add the rest of the ingredients and knead with the dough hook for 10 minutes, starting slow, then speeding up (to about medium). Add flour as needed until the dough is firm and smooth and not sticky.
- To bake mini bagels, place in 450F/232C oven for a total of 12 minutes, turning half way through.
- Make ahead:
- To store: Cool bagels and keep in sealed container or bag for a few days at room temperature.
- To freeze:
- Once cooked: Cool bagels, then freeze them for up to 3 months. Tip: I slice them before freezing so I can toss the frozen halves right into the toaster.
- When raw: After shaping the dough into bagels, freeze them. When ready to use, defrost them, boil and bake as per instructions.
These bagels are very good,
We made the version witout egg and cooked them slighly longer.
The result is realy good, not exacly like montreal bagle, probably because we dont have a wood heated oven, but my family loved them. We will be making them again, on sundays so we have some fore the week.
Also, so easy to make.
Thank you 🙂
Glad to hear your family loved them, even without the wood oven!
This may be the first time I’ve left a comment for a recipe, but, yowzers!, these were fabulous. Because of dietary restrictions, I am rarely able to get a good bagel in my area. Now I’m able to produce a fabulous bagel in my very own kitchen. LOVE THESE!
We are thrilled to hear they came out so well and that you now can have great bagels at your fingertips!
We found the end a bit tough to seal, so we started cutting these out with a big water glass and punching the centres with a shot glass, works great!
Great tip – thank you for sharing!