Homemade English Muffin Recipe (easy step by step)
A toasted English muffin slathered in butter and jam is one of life’s little pleasures. You’ll be happy to know that perfect homemade English muffins are easy to make with good instructions and no special equipment in about 2 hours.
Here’s the thing. The first time you make these little beauties, you’ll be pouring over the recipe to follow the steps. The second time, you’ll be ‘hey, I’ve got this’. After that – pro.
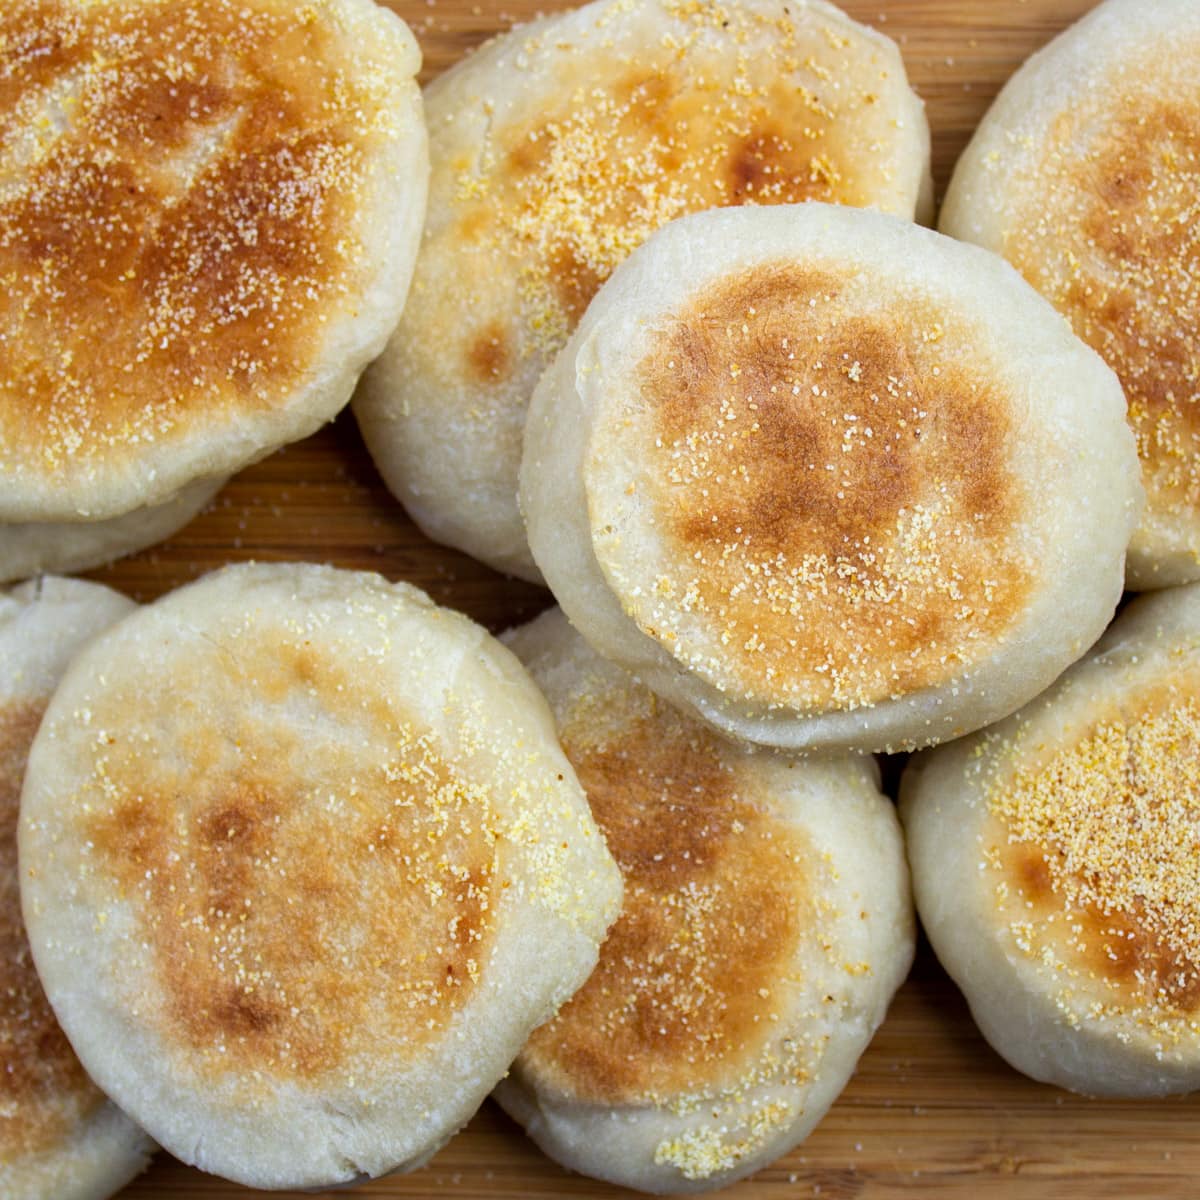
There are really no big tricks. And no need to be intimidated by yeast. When you see and taste the results – even on your first try – you will be very pleased with yourself.
What you can expect
I searched for and found a simple English muffin recipe from Truffles and Trends that:
- requires short rise times for the dough
- can be made by hand – no electric mixers, special dough attachments or rings (to make them perfectly round)
- uses simple basic ingredients
- gets perfect results every time!
I made 3 batches (sadly, all gone now) to provide step-by-step pictures, clear instructions and tips from my experience – and many others – that would ensure success.
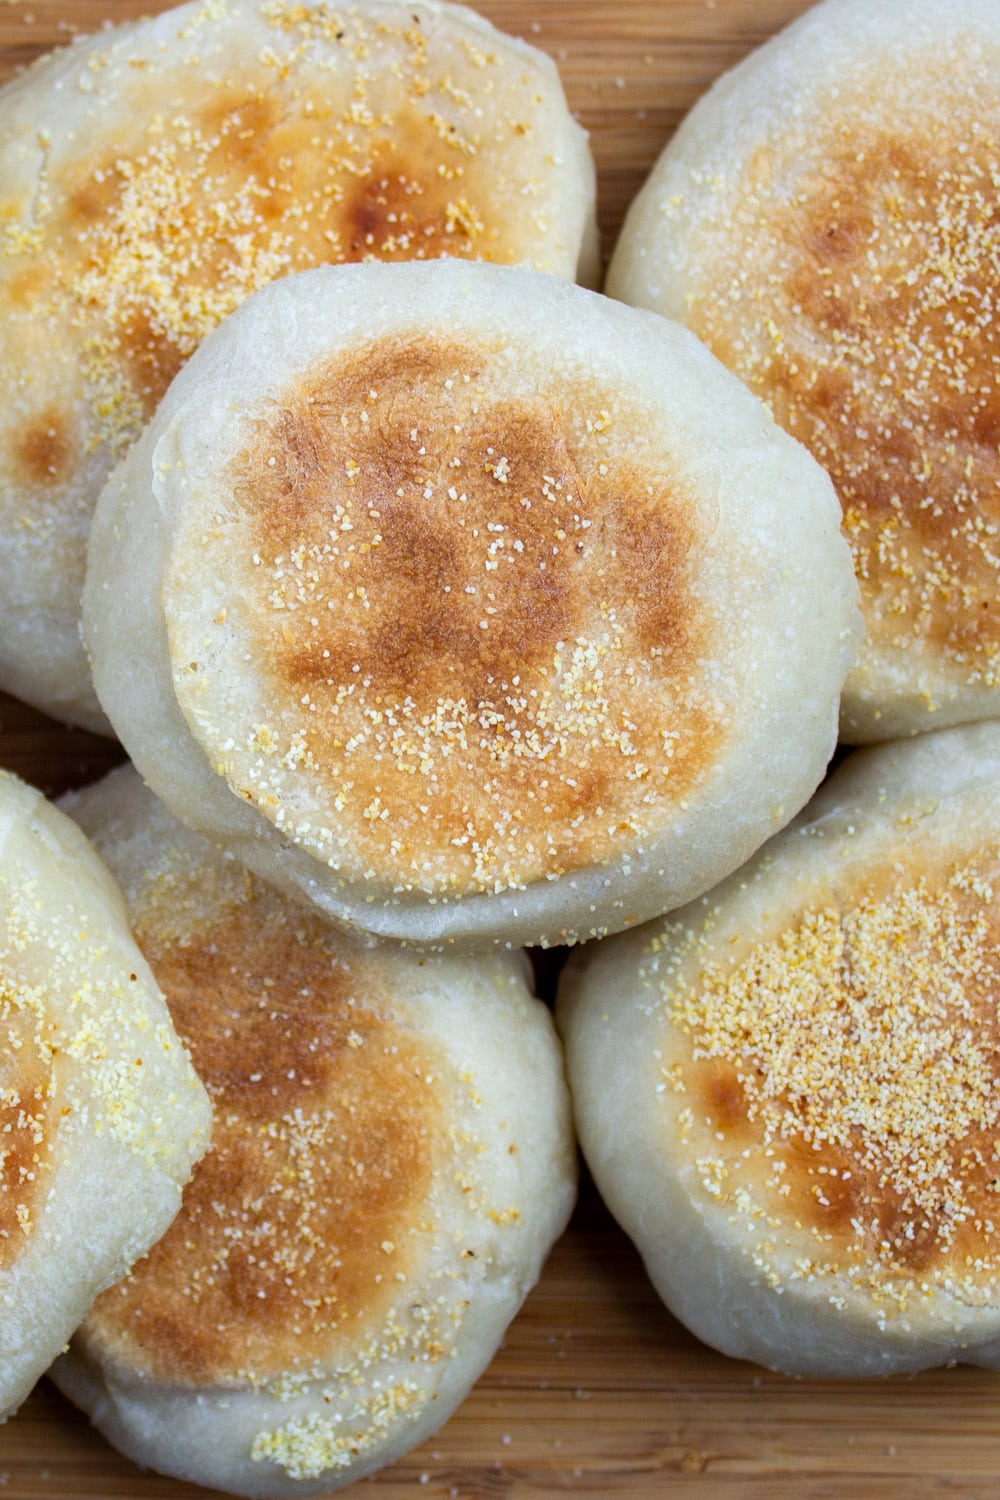
The easy English muffins are soft, light and fluffy and they toast up beautifully. If you prefer denser muffins, there is a trick in the recipe you can use. The recipe takes just under 2 hours in total – unlike many that take 6-24 hours or more. Added bonus – the muffins are vegan.
Once you’ve become a pro, try our easy naan recipe.
Ingredients – tailored to your taste
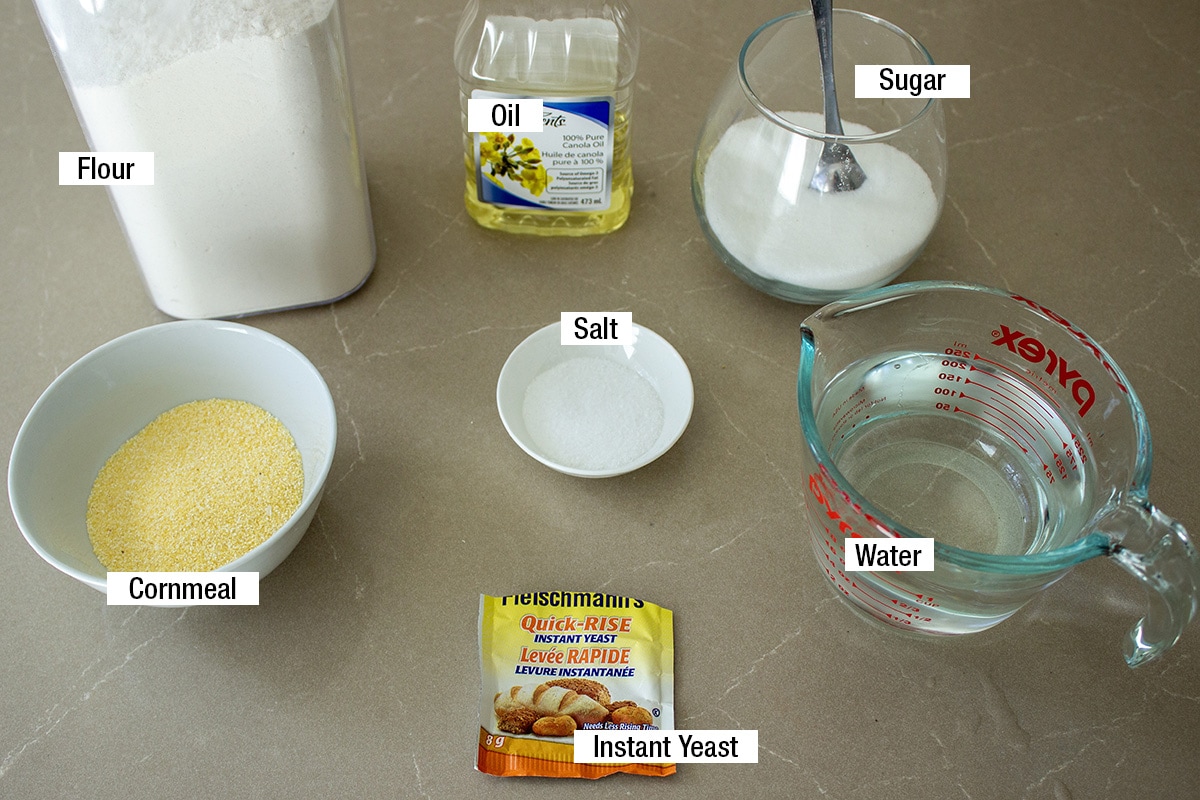
Yeast: Buy instant dry yeast, also called quick rise yeast. If you don’t have instant dry yeast, check out this great yeast article by Epicurious on how to substitute it with the type you have. For active dry yeast, use an extra 1/4 tsp in this recipe.
Flour: Use all-purpose flour. Or replace 1/2 cup/62 grams of the all-purpose flour with whole wheat flour for extra nutrition. You can even use whole wheat flour up to half the amount of flour, but I don’t suggest going any higher as your muffins may have a coarser, denser texture.
Step by step instructions

Tips for success
- Yeast
- Check to make sure your yeast has not expired.
- If you don’t have instant/rapid rise yeast, use active dry yeast, but add 25% more. In this recipe you would add a total of 1 1/4 tsp.
- Keep unused yeast in the fridge or freezer in a sealed bag or container.
- Measure flour by weighing it in grams. Or, by scooping flour into a measuring cup and leveling it off with the side of a knife.
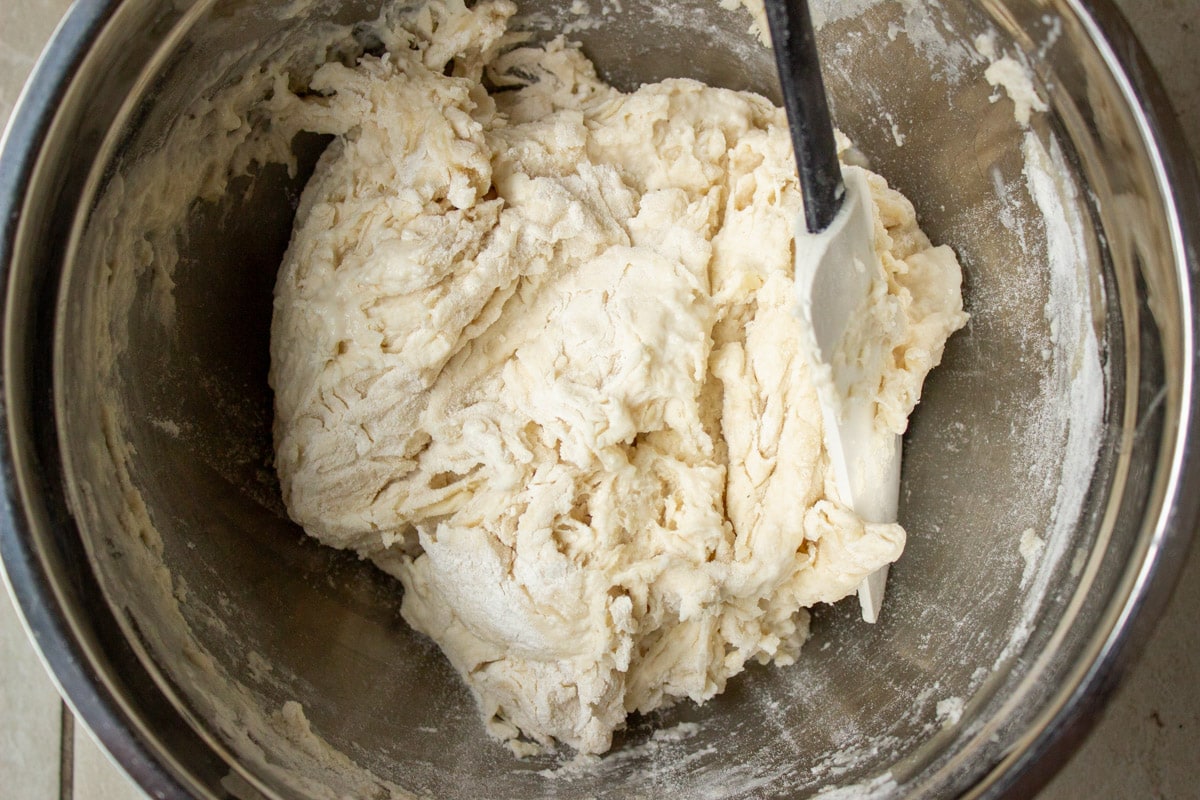
- Dough: The initial dough will be sticky. Add just enough flour, bit by bit, as you knead it until it’s no longer sticky. Adding too much will toughen the muffins.
- Flavor: Add 1-2 tablespoons of honey to the dough mixture if you like. If you like a deeper more yeasty flavor, let the dough rise for a longer time (including overnight in the fridge).
- Cooking: The muffins can be dry fried in a pan covered or uncovered. They will cook quicker with a cover. Spray the tops of the dough discs with oil before sprinkling on cornmeal. The cornmeal will adhere better.
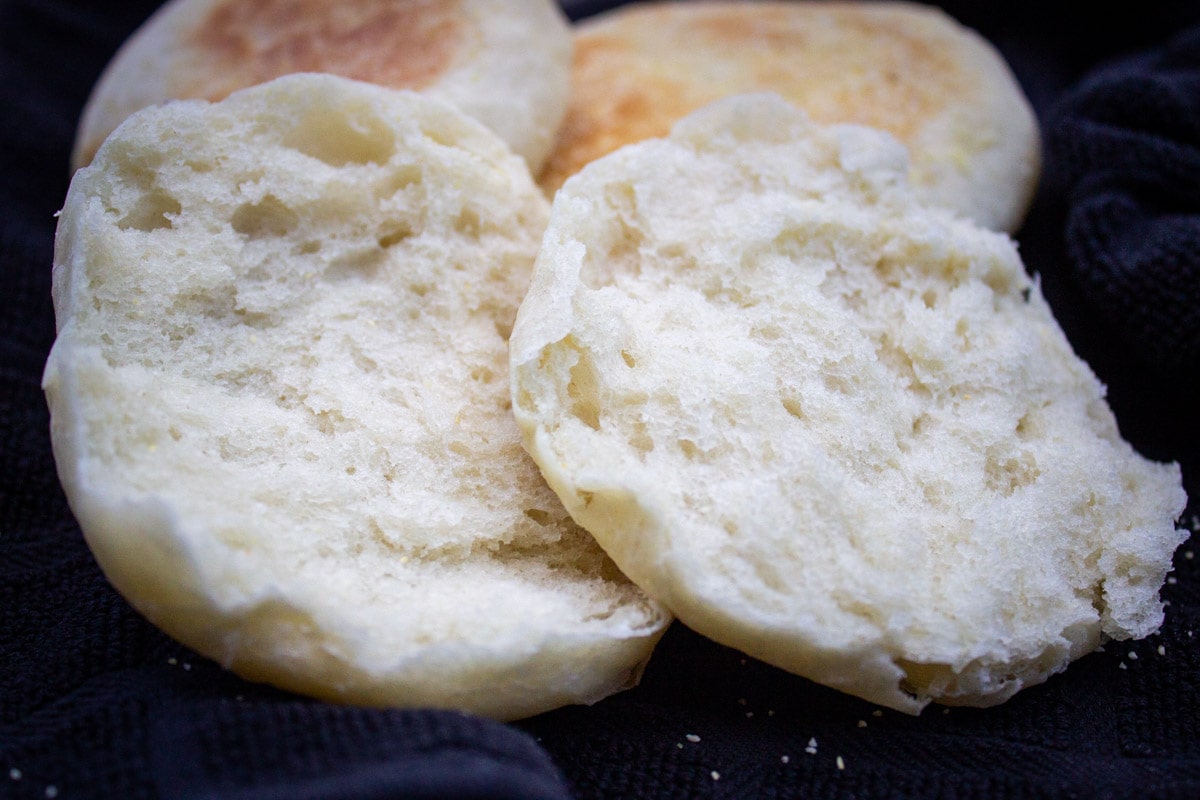
- For best eating texture, don’t cut your English muffin in half with a knife. Instead, use a fork (or your fingers) around the edges. to separate the two halves. This will create lots of nooks and crannies to capture that butter melting into your toasted muffin.
Best ways to use English Muffins
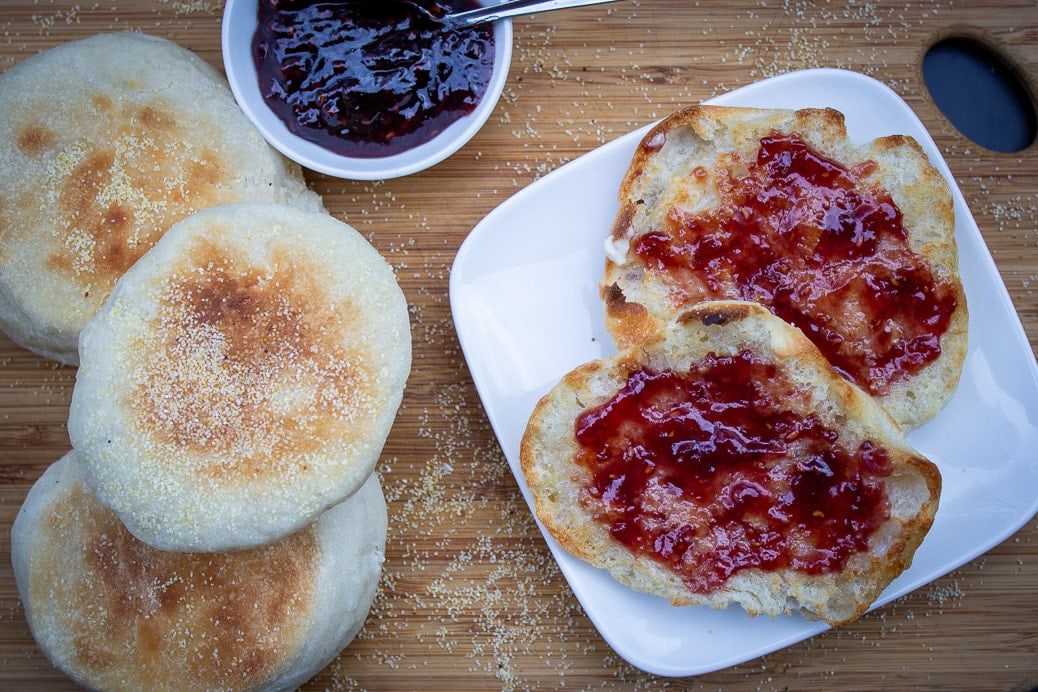
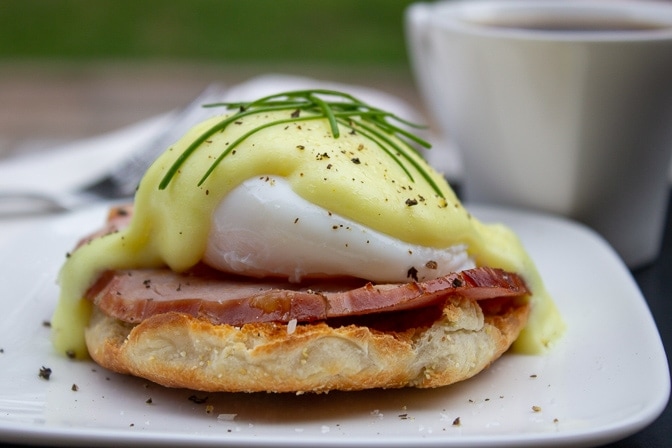
It’s hard to beat English muffins smothered in butter with or without jam. But there are lots of other great ways to use them. Four of my faves are pictured below – eggs benedict, French toast, grilled cheese (inside out) and mini pizzas.
I also use them for appetizers like avocado crostini with balsamic drizzle, egg McMuffins, a base for classic egg salad, croutons, breakfast pizzas and hamburger buns.



Three easy jam recipes (no pectin)
Shortcuts
- You can shave some time off the dough rise by placing the dough in a warm place. Check out the tip in the recipe.
- When freezing English muffins for later use, I separate them into halves first. When I need one, I grab two frozen halves and pop them into the toaster. No need to defrost first.
Make Ahead
- Store your homemade English muffins, once fully cooled, at room temperature for several days in a sealed bag or airtight container. Or freeze them for up to 3 months.
- Tip: Once cooled, split the muffins into halves with a fork before freezing them. Then pop the halves into the toaster as needed straight from the freezer (no need to defrost).
More delicious breakfast recipes
- Montreal bagel recipe
- sous vide poached eggs (with easy hollandaise sauce)
- lemon blueberry pancakes
- super moist banana bread (no mixer needed)
- pumpkin spice pancakes
- instant pot oatmeal recipe (with steel or rolled oats)
Or check out our full list of brunch recipes.
If you like this recipe, please leave a 5 star rating 🌟🌟🌟🌟🌟with a comment in the recipe card below. Thanks so much!
Homemade English Muffin Recipe (step by step)
Equipment
- Large frying pan, skillet, electric griddle or cast iron pan. (My 12" pan fits half the muffins at a time so I do 2 batches – or use two pans at the same time).
Ingredients
- 1 1/4 cups warm water it will feel warm on your wrist
- 1 tablespoon sugar (12.5 g)
- 1 teaspoon instant dry yeast (2.83 g), Note 1 e.g. Rapid-rise yeast
- 2 tablespoon oil (canola, vegetable or neutral olive oil) melted butter is fine too
- 2 3/4 cups all purpose flour or bread flour plus up to 1/4 cup extra
- 1 teaspoon salt (add extra pinch if using kosher salt)
- cornmeal for dusting (about 2-3 tbsp)
Instructions
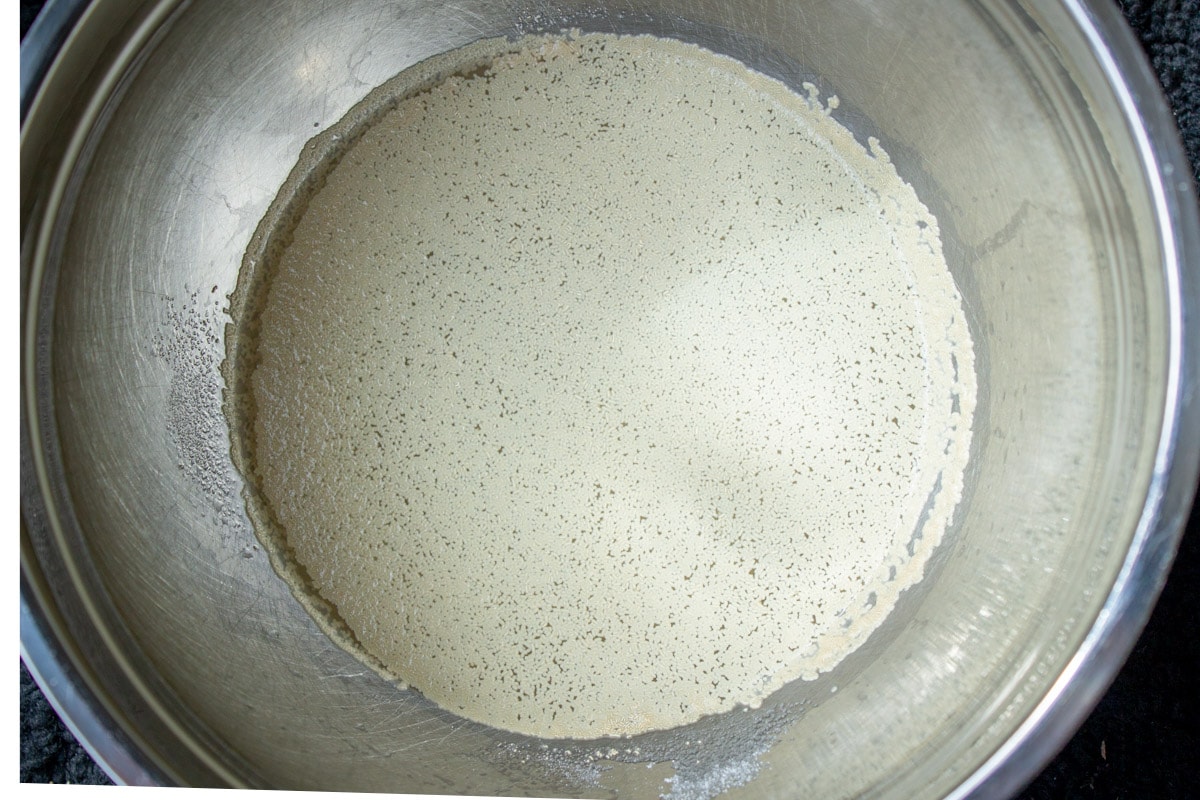
- MAKE YEAST MIXTURE: In medium-large bowl, add warm water. Sprinkle sugar over surface. Then sprinkle yeast over surface. Set aside for 10 minutes. It will foam and cloud up.
- MAKE DOUGH: Add oil, salt and flour to the same bowl with the yeast mixture. Mix with rubber spatula or wooden spoon until combined. Transfer to a floured surface (I use piece of parchment dusted with flour for easy clean up). Dough will be soft and sticky. Knead dough for 5 minutes, adding just enough flour, a bit at a time, until you no longer have sticky dough. I typically end up adding about 3-4 tbsp.
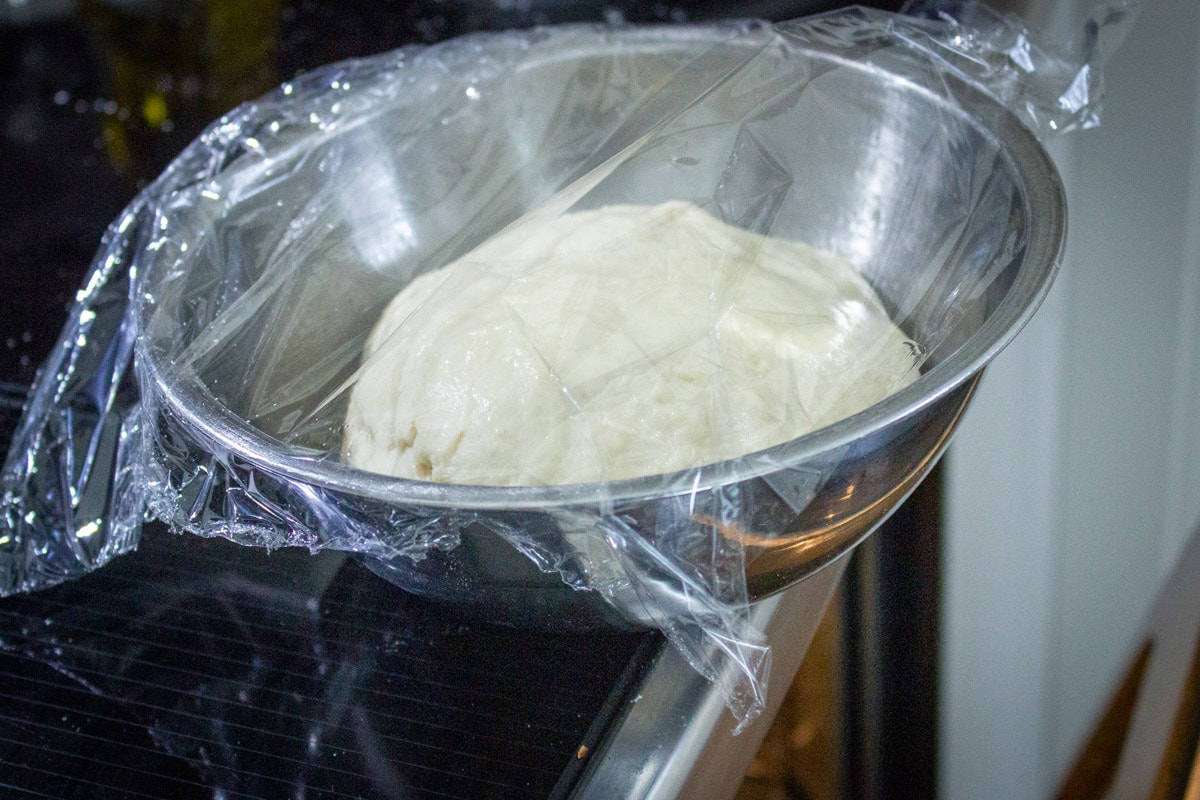
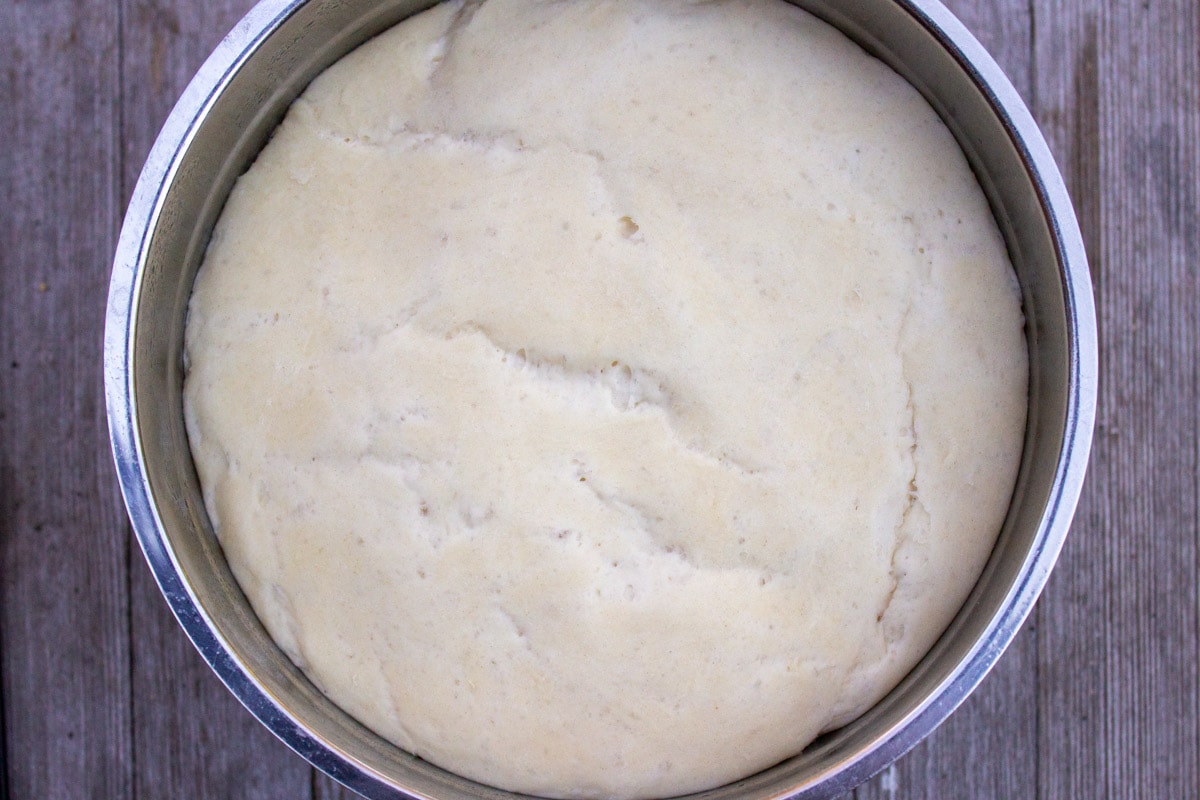
- LET DOUGH RISE: Spray inside of a medium-large bowl with oil. Transfer dough into bowl. Cover loosely and let it rise for about 1 hour until it doubles in size. Tip: To speed up the rise, I turn my oven to warm, open the oven door a few inches and place the bowl at the edge of the stove top to get warmth from oven. Dough will double in 30-50 minutes.
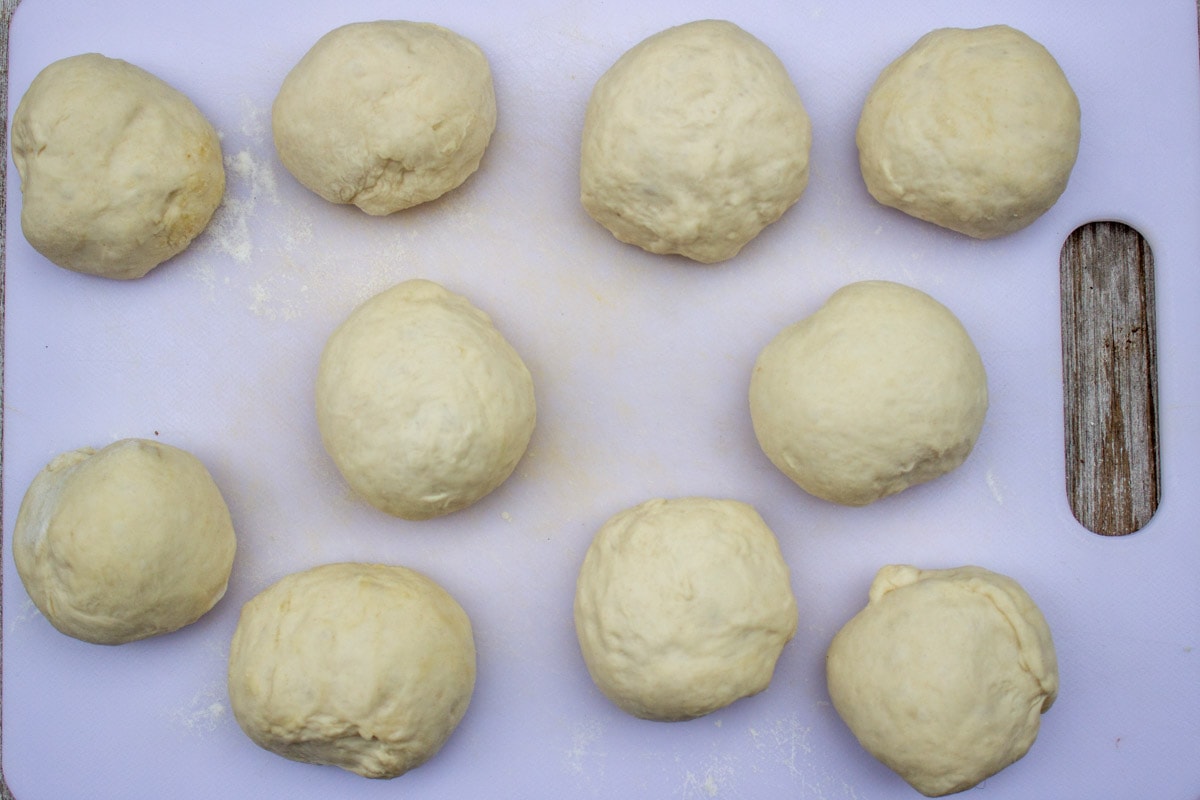
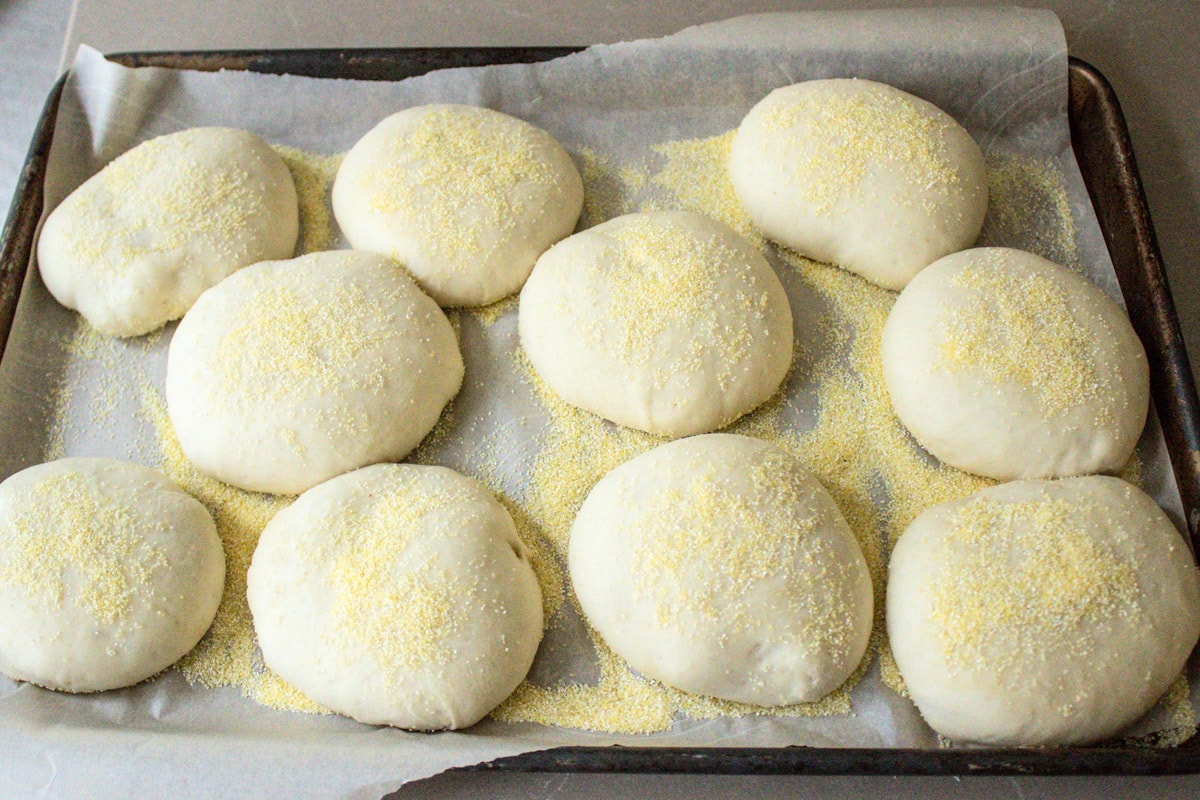
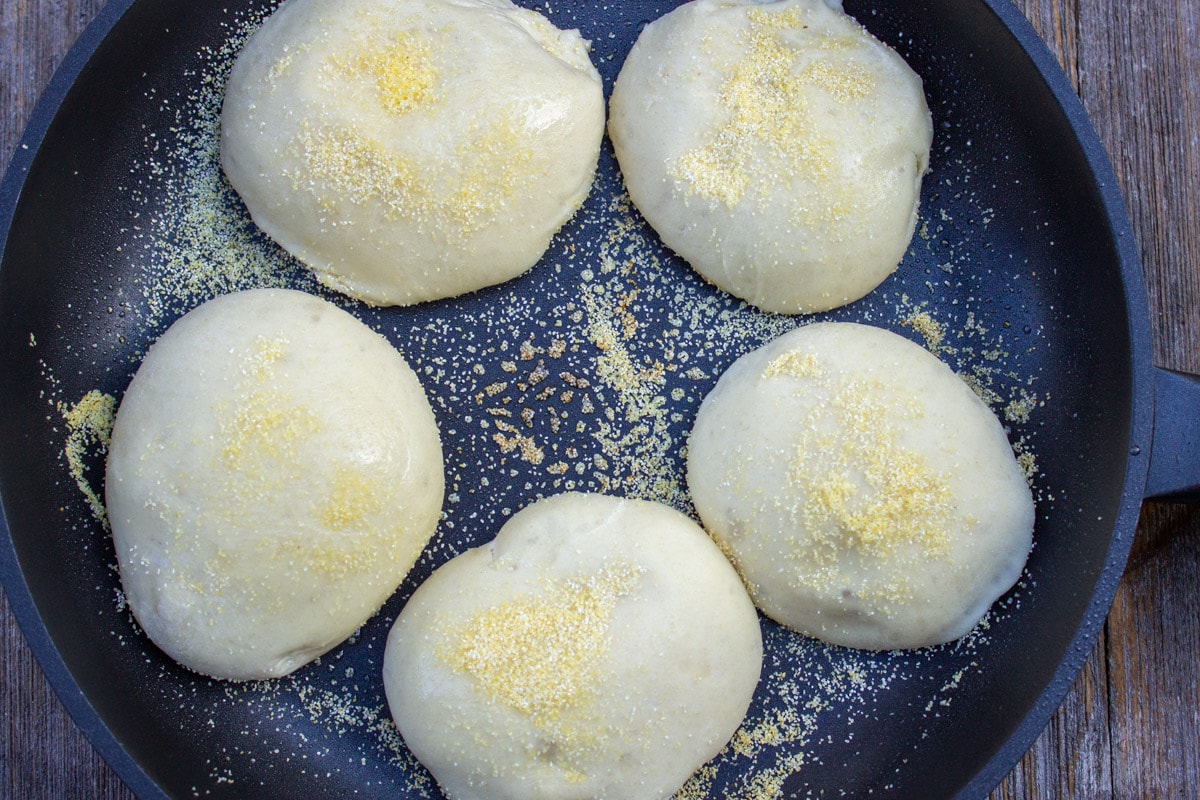
- FORM DOUGH INTO MUFFINS: Once risen, transfer dough to a floured surface. Knead a couple of times. Divide dough into 10 equal pieces. I 'strangle' the dough between my thumb and first finger to 'cut' it. Roll pieces lightly between your hands to make balls. Sprinkle 1 tablespoon cornmeal onto sheet pan lined with parchment paper. Place dough balls on top of cornmeal and flatten into discs with the ball of one hand to 3/4 inch thick. Lightly spray top of discs and sprinkle on cornmeal to top of discs. Loosely cover with a kitchen towel to let puff up for 20 minutes.
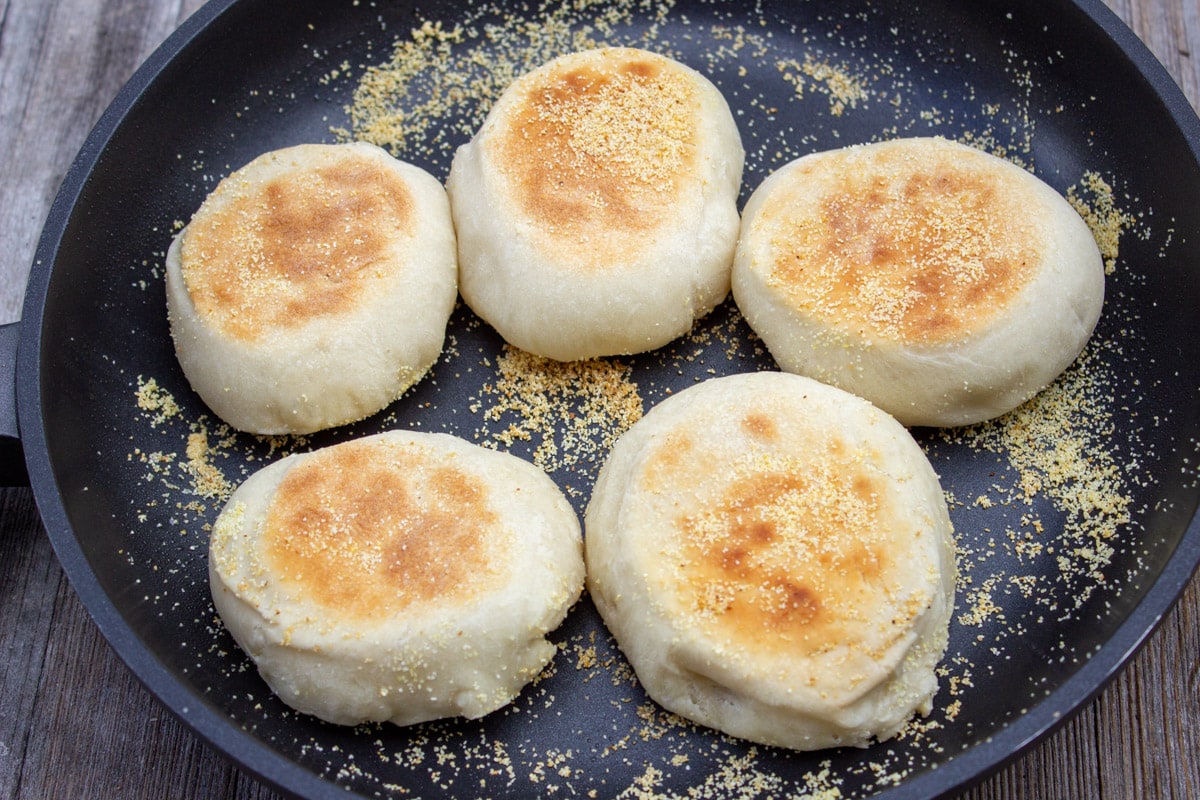
- DRY FRY MUFFINS: Heat large frying pan, griddle or cast iron skillet to Medium-Low heat (4 out of 10 on my stove) and spray it with oil. Transfer as many muffins that will fit in pan leaving 1/2 inch between them. You may have to do two batches or use a second pan. Cover pan and cook muffins for 9 minutes until light golden brown and toasted. Note 2. Flip to second side, then cover and cook for another 5 minutes until golden and toasted. Check for doneness: If muffins are not browning enough, increase the heat to medium the last couple of minutes. If browning too quickly, lower heat or finish cooking in 350F/177C oven for 5-10 minutes. An instant thermometer slid into the side of a muffin will read 200F/93C.Repeat with remaining muffins if you are cooking them in two batches. Cool for 10-15 minutes on a wire rack before eating.
Video
Recipe Notes
- If you don’t have instant yeast: you can use 1 1/4 tsp. active dry yeast instead.
- For less puffy muffins: The muffins will puff up when cooked and deflate only slightly on cooling. If you like flatter denser muffins, you can press them down a little with a spatula while cooking. I also found that if you leave them uncovered while cooking, they will take about 5 extra minutes to cook.
- Make Ahead:
- Store the English muffins, once fully cooled, at room temperature for several days in a sealed bag or air-tight container. Or freeze them for up to 3 months.
- Tip: Once cooled, I split the muffins into halves with a fork before freezing them. Then I pop the frozen halves into the toaster as needed straight from the freezer (no need to defrost).




I tried this recipe and the dough was SO sticky I couldn’t work with it- I ended up having to add a tone of flour to it. The muffins looked great when done, but they were really dense and seemed almost undone inside? Not light and fluffy like you’d hope. What do you think went wrong??
Hi Maddison, Sorry to hear you had trouble with the dough. I know that’s frustrating . If the muffins were dense, it most likely means you added too much flour. As you can see from other comments, most people’s muffins worked really well. The dough will be sticky, just let it rise even if it’s still a little sticky. You can add a little flour, but not too much. I hope that helps and you will try again. Please let us know if you do!
Did you ever put cinnamon and raisins in the dough.?
I haven’t tried adding raisins and cinnamon, but I looked it up for you. Here’s what I found. Mix the dough ingredients including the cinnamon and knead it for 5 minutes as per the recipe. Then mix in the raisins, kneading for a minute more to distribute them evenly. Then let the dough rise. So you will be adding the raisins between step 2 and 3 in the recipe. I hope that makes sense. Please let us know how it turns out!
My 13 yo daughter and I had so much fun making these! They were outstanding.
We cooked them in cast iron pans, over the coals in our 200 year old fire place. Embracing the history our home and banishing the winter blahs with delicious carbs. Thank you!
Oh my! What a great story! Such a lovely and special way to embrace your history with your daughter. Thanks so much for sharing Cate.
Can I add honey? If so at what point would I add the honey
Yes, you can add honey, about 1-2 tablespoons, when making the English muffins. Mix it into the warm water when adding the yeast.
I make at least one batch of these a week I’m the only one that eats them. This is a very easy and a very good recipe, I recommend it
Thanks Gerald. Happy to hear you like them. I am a big consumer too!
How important is the cornmeal?
It’s not essential if you don’t have any. The cornmeal adds a bit of crunch and prevents sticking, but you can dust them with flour instead. This will prevent sticking (with no crunch of course).
I’m a newbie to making bread. These are easy and pretty fast to make. Very versatile. Tasty too. Thanks!
So glad they worked out Donna 🙂
these came out amazing! How do I store them so they are still soft and puffy for the next few days?
Hi CP. I’m so glad the muffins worked well. If you’re using them in the next few days, you can store them in a ziploc bag or airtight container at room temperature. Then just toast as usual. You can also freeze them for up to 3 months. A trick I use is to split the muffins into halves with a fork before freezing them. Then I pop the halves into the toaster as needed straight from the freezer (no need to defrost). All this is in the recipe notes. Enjoy!
Incredibly easy to make! Taste delicious and will definitely be making again.
I was surprised about that too when I first started making these English muffins. Glad you liked them Rachel. Thanks for leaving a comment.
Wow! They came out great! English muffins seemed like they’d be hard to make but they came out great. The first time I thought they’d be too small so made them a little bigger, but the second batch I made exactly 1/10 of recipe 2.4 oz. Perfect!thanks for the great recipe they are delicious! Wishing site let me post a picture
Wish I could see a pic too, but happy they turned out so well. Thanks for taking the time to leave a comment Michele. We always appreciate them 🙂
I made these several weeks ago and they were so easy to make and turned out perfectly. I’m on my third batch today as my husband and I are putting together a breakfast themed gift basket for family for Christmas this year. These are going to be delicious with our homemade apple butter and grape jam! Thank you so much!
Did anyone try these with 1:1 GF flour? What brand was used and how did they turn out? Could the recipe be followed or were any adjustments made?
What a lovely idea to make a gift basket with homemade English muffins and jam – so thoughtful. Thanks for sharing. I haven’t tried them with gluten free flour, but please let us know how if works if you try it. I’m sure some of our readers would appreciate the information.
Turned out perfectly. Thanks so much for this recipe.
Yay – so glad! Thanks for leaving a comment – we always appreciate them.
The first 5 just came out of the pan and it’s so difficult to wait to try them! These were so easy to make (as everyone has indicated). I’m going to try making them with gluten free 1:1 flour. Has anyone tried this and if so how did they come out?
Truth be told, I dug into one early too. Let us know how they work with gluten free flour if you try it.
Great recipe! I’ve made them twice now and they turned out well. Just enjoyed some eggs Benny!
I love them with eggs Benedict too! Thanks for leaving a comment Brenda.
Oh my stars! What a fun food to make! Thank you for such wonderful instructions. I’m making the English Muffins for a second time. Everyone loved them !
Yay!! Happy you all loved them! Thanks for leaving a comment.