
Sous Vide Chicken Thighs With Peach Balsamic Glaze
A reader comment: This recipe was terrific and …my wife was absolutely over the moon with the results. I had to substitute blackberry preserves … it was still amazing. Doug
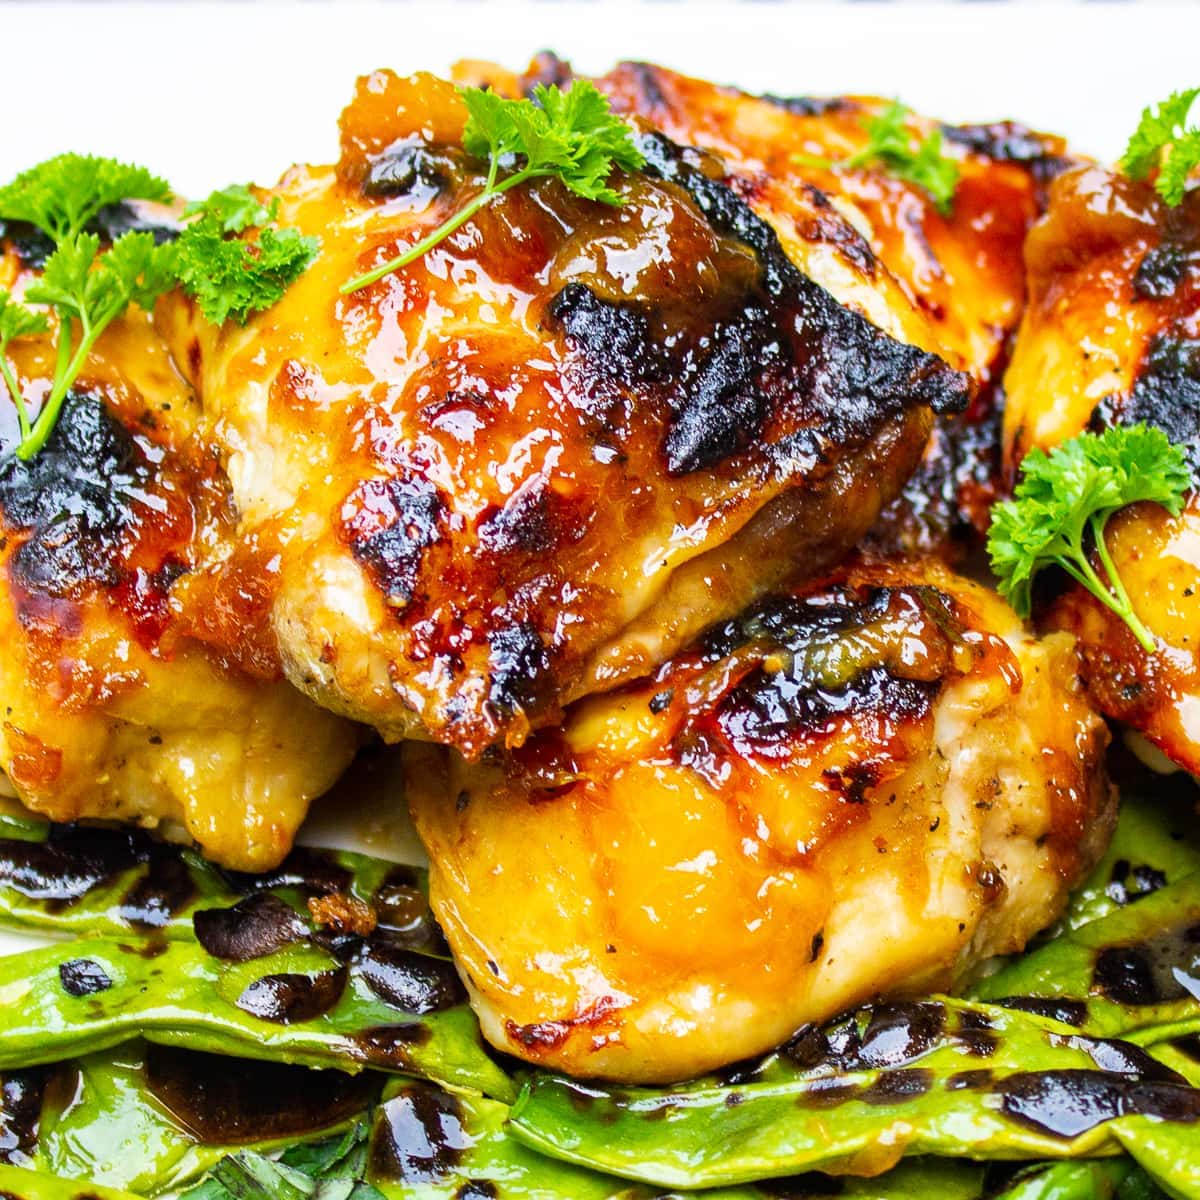
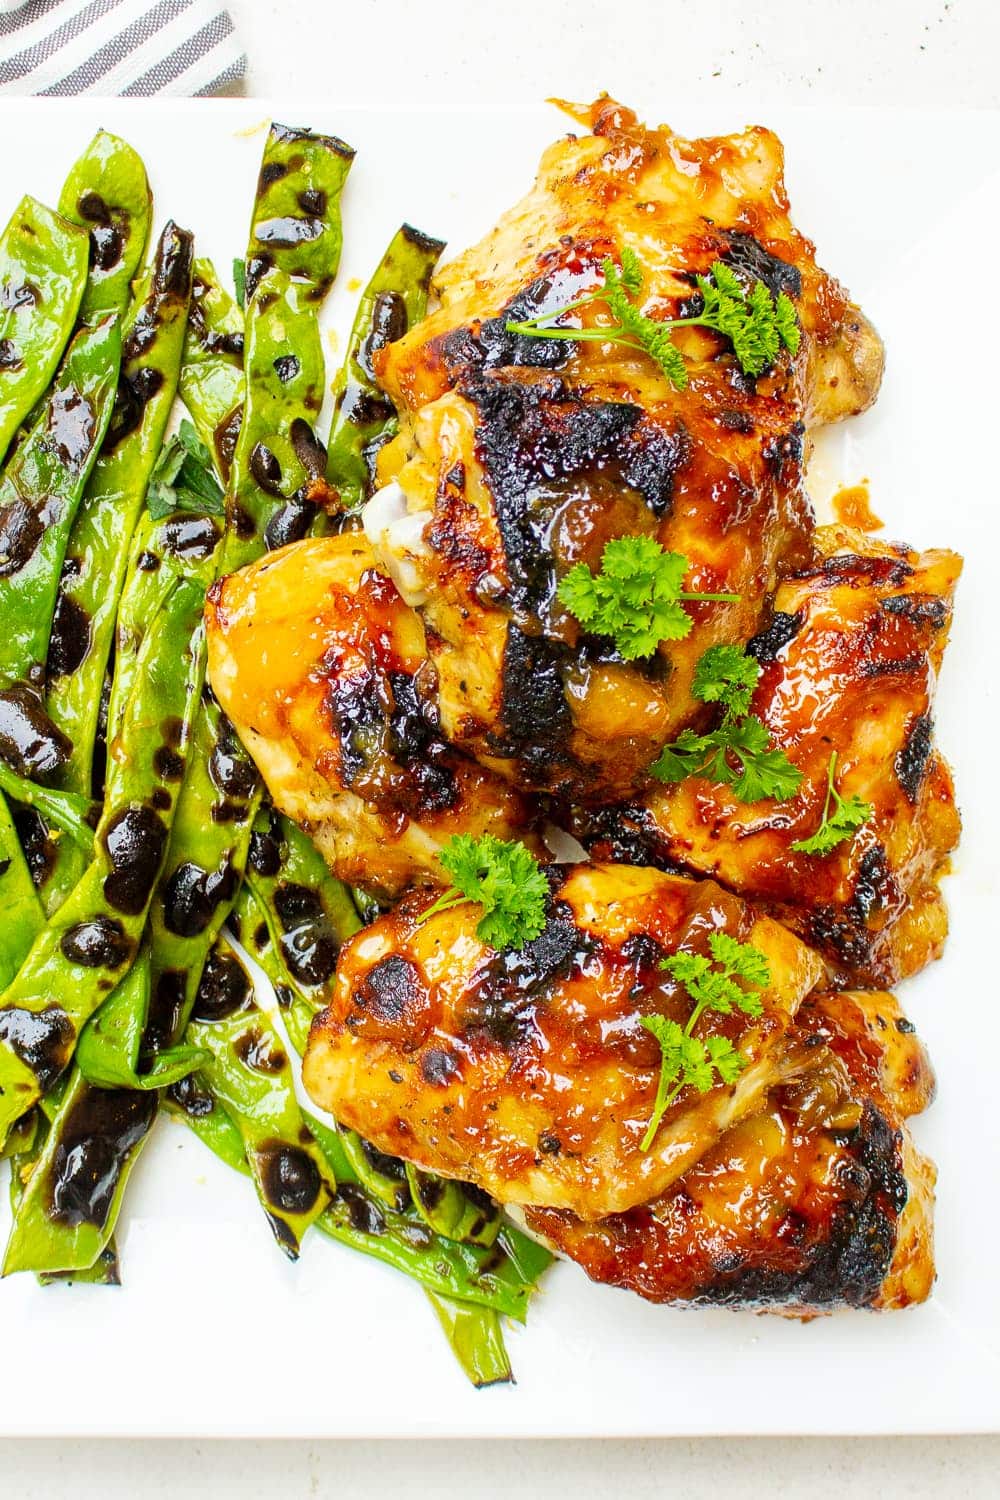
Count on super juicy and tender chicken every time you make sous vide chicken thighs. No guesswork. For this recipe, we’re using bone-in thighs and a 3-ingredient sweet-savory glaze for a simple and delicious finish. Yes, of course there are options 🙂
I love that you can sous vide the thighs several days ahead, then finish them under the broiler for a few minutes when you need them. Weeknight dinner in a flash.
What to expect
Most recipes for sous vide chicken thighs focus on getting the skin crispy – a great goal, and you’ll find full instructions in the recipe notes. I’m a sauce person, though, so here’s another way to go, about the same time and a little less hands-on. (You can always do both.)
- The cooking window is forgiving – 1 to 4 hours in the bath – so dinner doesn’t have to happen on a schedule. Let it run long, chill the thighs, or freeze them for later.
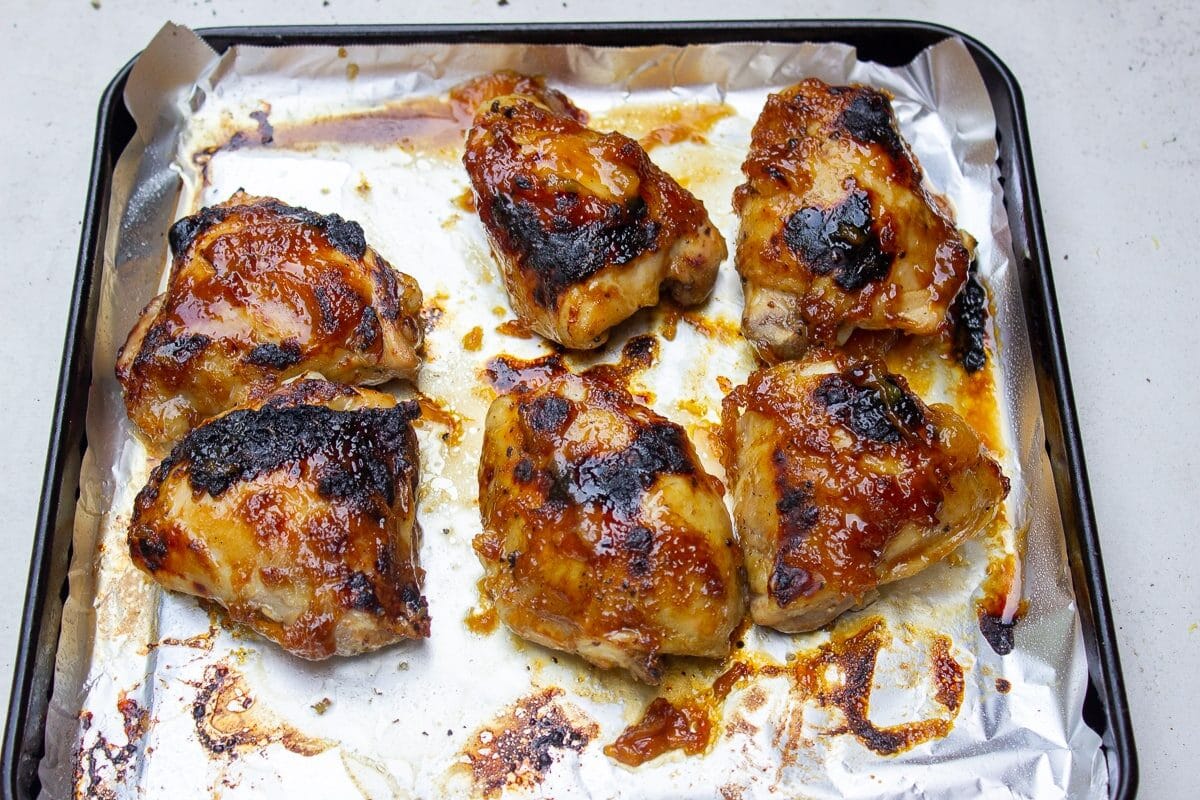
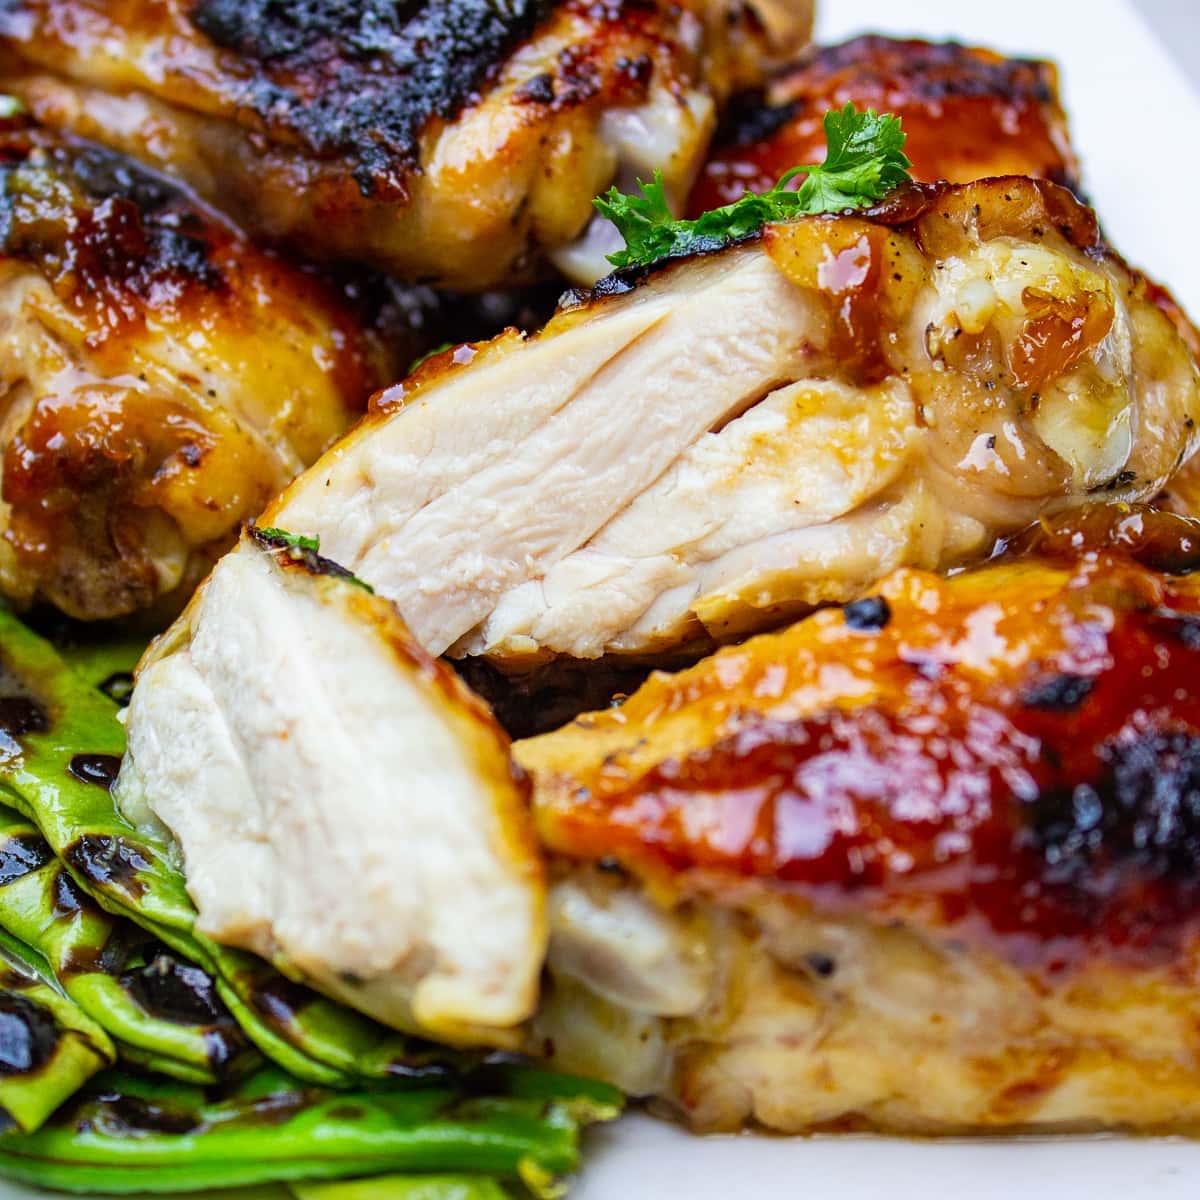
- A few minutes under the broiler finishes the thighs with a sweet, tangy, and sticky glaze and a little char on the edges.
Ingredients – tailored to your taste
- Chicken thighs: bone-in, skin-on
- Seasoning: Salt, pepper, and garlic powder
- Glaze: Peach jam, balsamic vinegar, Dijon mustard
Substitutions
- Chicken: Bone-in, skin-on thighs are my preference, but boneless, skinless or boneless, skin-on thighs work too. Boneless thighs may cook a little more quickly, but still need at least 1 hour. You can also use chicken breasts, but they require a lower sous vide temperature. See the recipe notes for times and temperatures.
- Peach jam: Substitute apricot or raspberry jam or preserves. Raspberry with balsamic vinegar makes a particularly rich, delicious glaze. Sugar-free jam can also be used to reduce the calories.
- Balsamic vinegar: Wine vinegar will work in a pinch. Taste the glaze and add a little maple syrup or sugar if it needs more sweetness.
Variations
- Make it spicy: Add a pinch of cayenne to the peach balsamic glaze.
- Change the seasonings: Instead of garlic powder, try cumin, curry powder, coriander, thyme or another favorite chicken seasoning.
- Add fresh herbs: Thyme or rosemary work well with the glaze.
- Go for crispy skin: For extra-crispy chicken thighs, finish them skin-side down in a hot cast-iron or nonstick skillet before glazing. You’ll find the full method in the recipe notes.
Time and Temperature
| Temperature | Time | Result |
|---|---|---|
| 165°F / 74°C | 1–4 hours; I prefer 1¼ hours | Softer, tender and juicy |
| 150°F / 65.6°C | 1–4 hours | Meatier, slightly chewier |
Step-by-step instructions
Detailed instructions are in the recipe card below.
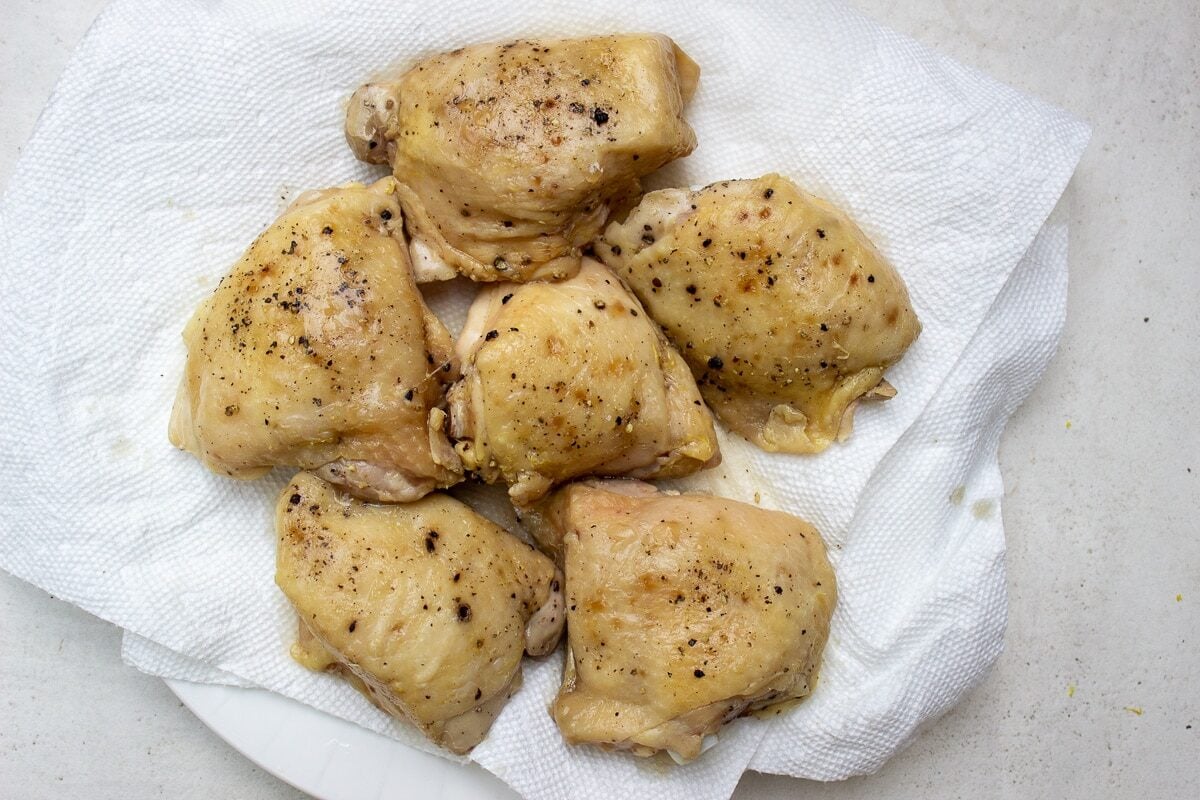
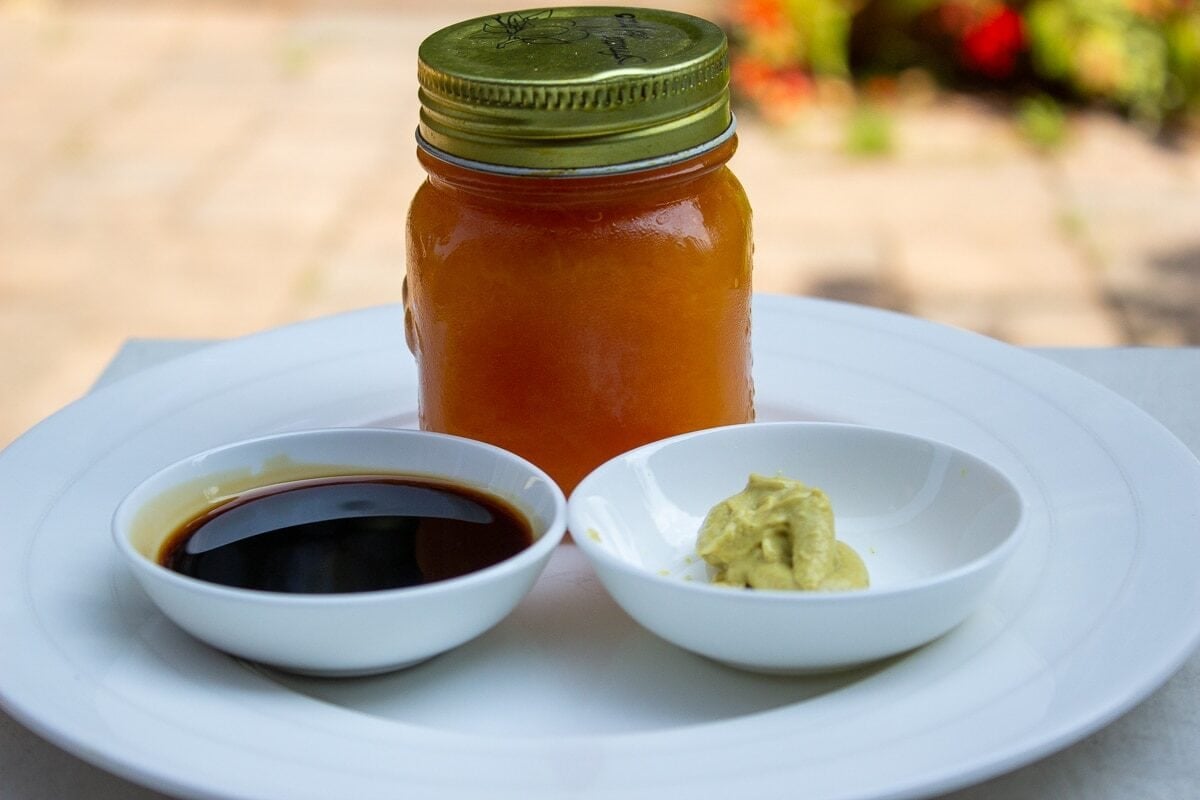
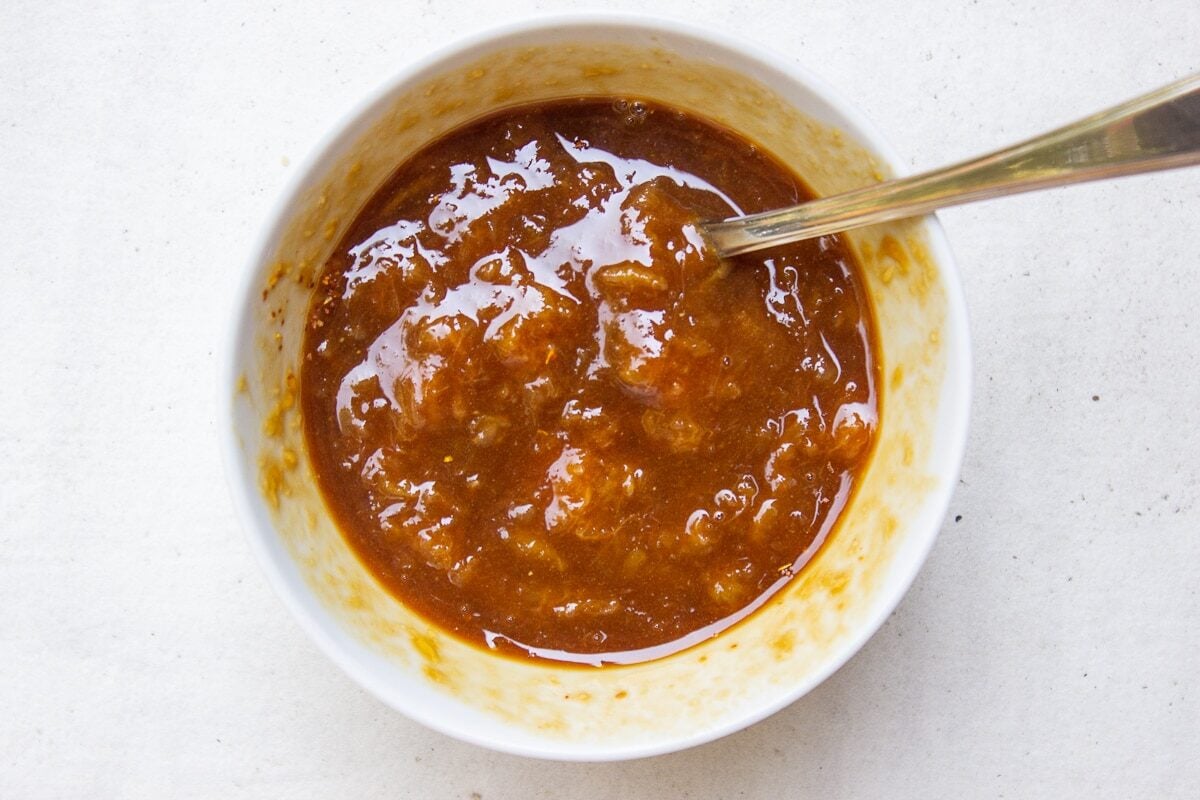
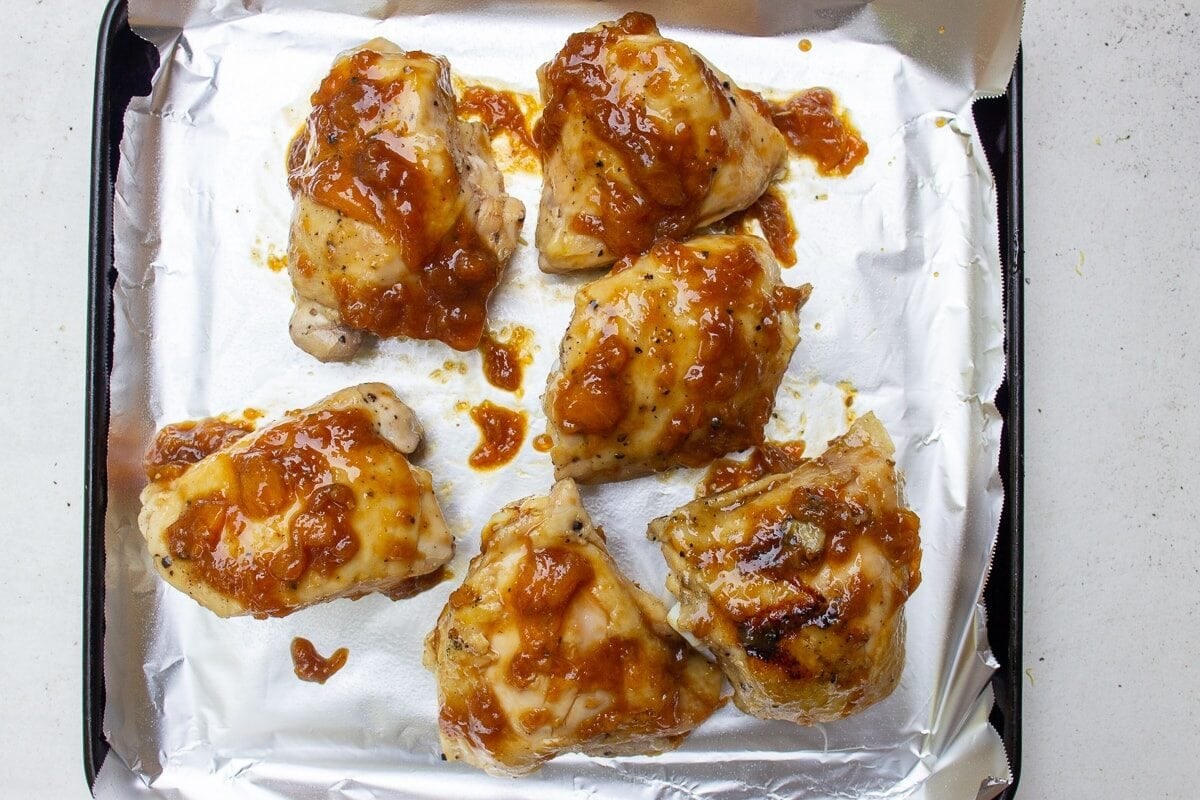
Shortcut
Feel free to buy a glaze for the chicken instead of making your own (keeping in mind the one in the recipe is just 3 ingredients to stir together!)
What to serve with sous vide bone-in chicken thighs
Almost anything goes! Here are a few side dishes that pair really well.
Potatoes or rice sides:
Salads:
Vegetable sides:
Recipe FAQs
This is personal preference. I have tried two different temperatures,150F/65.6C and 165F/74C. I prefer 165F/74C (the final texture of the chicken thighs was a little softer and less stringy), but to be honest, there was not a lot of difference. Cook time is from 1-4 hours. I use 1 1/4 hours and it’s perfect. If you are cooking chicken breasts, see the recipe notes for times and temperature.
Yes, just add one hour to the cooking time. Since it’s a little harder to season frozen chicken, the best way may be to season it before you freeze it, raw, in ziploc bags. Then they are ready to go straight into the water bath.
A minimum of 1 hour and a maximum of 4 hours at 165F/74C. I find 1¼ hours hits the sweet spot – fully cooked, tender, and juicy without any texture degradation. The beauty of sous vide is that an extra hour won’t hurt you if you need the flexibility.
Beyond 4 hours the texture can start to turn mushy. Unlike overcooking on the stovetop or grill, the window is forgiving – 1 to 4 hours gives you a lot of flexibility – but don’t push it past that.
Dark meat chicken thighs are forgiving and cook well with many methods, so sous vide isn’t strictly necessary. What it gives you is consistent results every time with no guesswork, a 3-hour flexibility window, and the ability to cook a batch days ahead and finish quickly when you need them. For weeknight cooking, that’s a big plus.
Three common ones: not patting the chicken completely dry before finishing (moisture is the enemy of browning), skipping the ice bath if you’re saving the chicken for later (for safety reasons), and not seasoning generously before bagging since the seasoning needs to do its work inside a sealed bag.
More sous vide chicken and turkey recipes
- Sous vide chicken citrus glazed
- Indian butter chicken recipe
- sous vide turkey breast
- sous vide turkey thighs
- sous vide chicken wings (Korean-style)
If you make this recipe, let us know how it went! A rating & comment below mean a lot to us.

Sous Vide Chicken Thighs
Equipment
- Sous Vide equipment
Ingredients
- 2.25 pounds (1kg) bone in, skin-on chicken thighs, Note 1 about 6 thighs
- seasonings: kosher salt, black pepper, garlic powder, Note 2
- garnish: chopped fresh parsley optional
Peach Balsamic Glaze
- 1/2 cup (118ml) peach jam or preserves, Note 3
- 2 tablespoon balsamic vinegar (good quality)
- 1 teaspoon Dijon mustard
- pinch cayenne pepper (optional)
Instructions
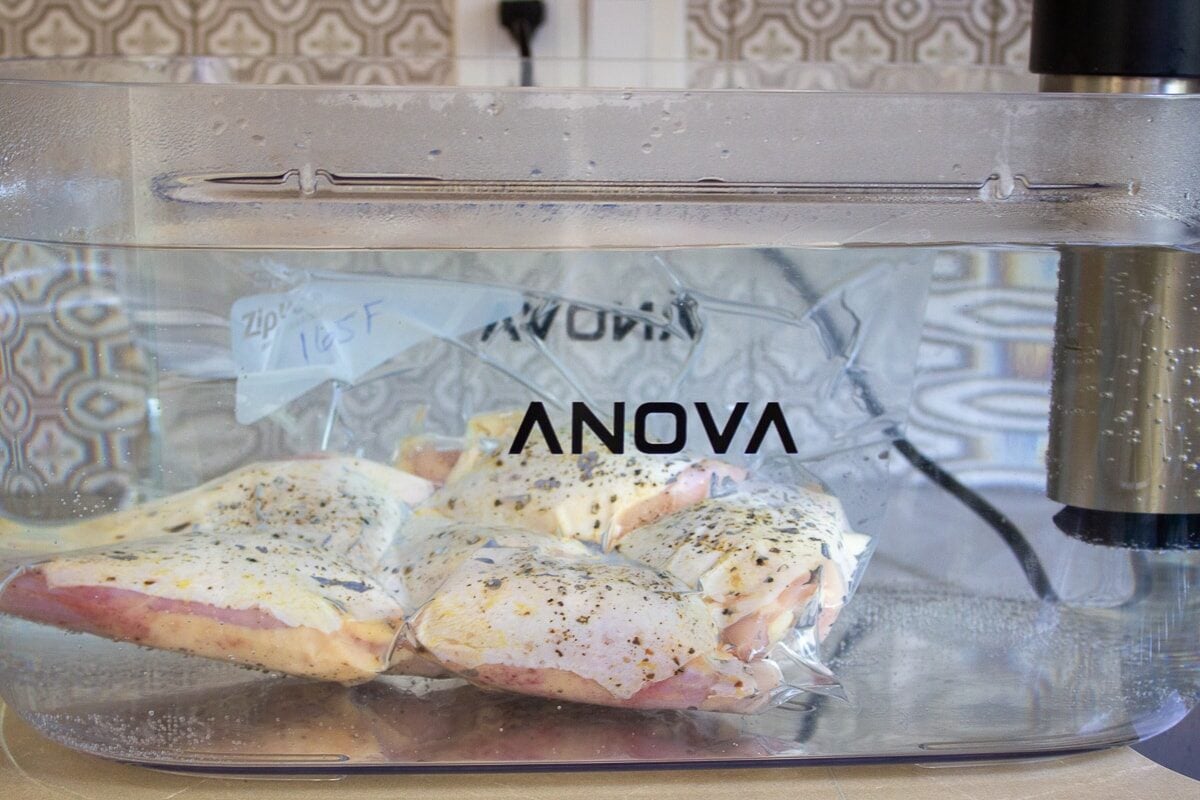
- PREPARE SOUS VIDE BATH: Fill water in the sous vide container as per manufacturers instructions. Set the temperature to 165F/73.9C (for soft, moist tender) and allow water to heat to that temperature. Note 4.
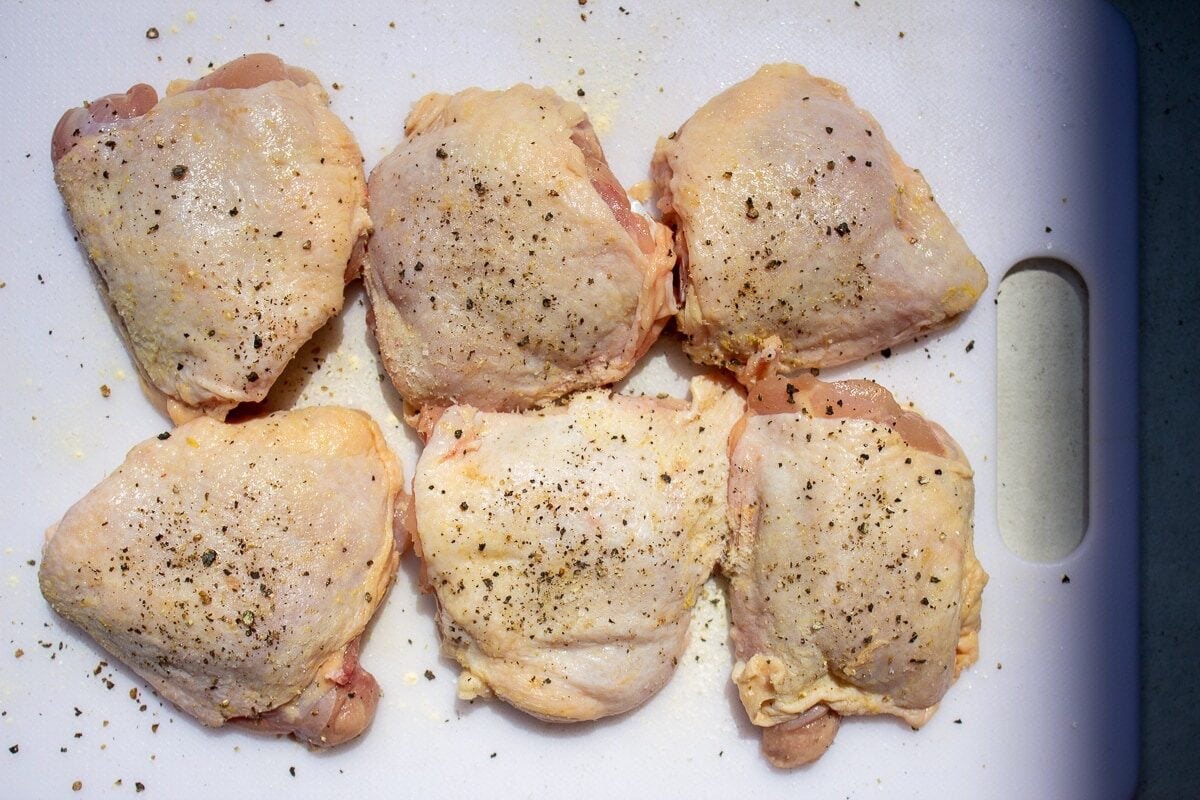
- PREPARE CHICKEN: Generously season both sides of the chicken with salt, pepper and garlic pepper. Fold back top of sous vide bags about an inch to create a flap (this ensures no food touches the top of the bag where it gets sealed). Insert thighs in sous vide bag, ensuring no overlap. Unfold flap and vacuum seal bag using vacuum sealer. Note 5 for ziploc and displacement method.
- COOK CHICKEN SOUS VIDE: When temperature has been reached, submerge the bag with chicken into sous vide bath. Cook for minimum of 1 hour and a maximum of 4 hours. I do 75 minutes.
- MAKE GLAZE: While chicken is cooking, whisk together the glaze ingredients in a small bowl.
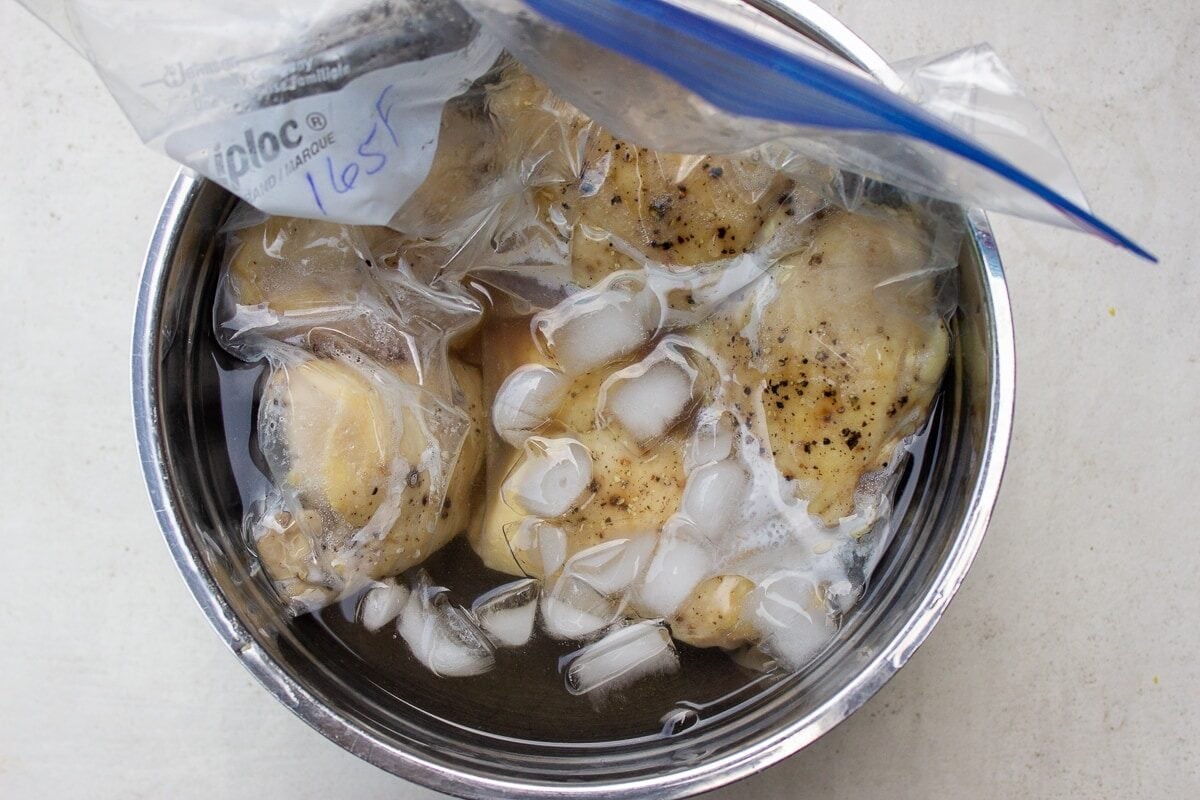
- GLAZE AND BROIL THE CHICKEN: °Prepare pan lined with foil and sprayed with oil. °Heat oven to BROIL setting and place oven rack a few inches from heat source (top of oven). °Remove chicken from water bath and place in a bowl of ice water for 8-10 minutes. This will cool down chicken and allow more time to broil and glaze it without affecting texture and doneness. °Then remove chicken from sealed bag and pat dry well with paper towel. Note 6. Brush on most of glaze on both sides of chicken and place on pan Reserve 2-3 tablespoons for final drizzle. °Broil chicken, skin side up, for 3-4 minutes or until slightly browned on top. Add additional glaze if desired. Serve, garnished with chopped parsley.
Recipe Notes
- Chicken options: You can use bone-in or boneless chicken thighs – skin on or skinless – for this recipe. Same time and temp. Chicken breasts will also work fine – bone in or boneless. They need a lower temperature of 144-150F (62-65.6C). Cook them for 1.5-4 hours at the 144F/62C or 1-4 hours at 150F/65.6C).
- Seasoning options: You can use any seasoning you like. Good options are cumin, curry powder, coriander or a sprig of thyme (or dried).
- Glaze substitutes: Instead of peach jam, try apricot or raspberry jam. Or for a shortcut, buy a glaze like teriyaki. To lower calories, try a sugar-free jam in the glaze.
- Sous vide temperature: You can also sous vide the thighs at 150F/65.6C for a meaty texture and a little chewier.
- Displacement method using a ziploc plastic bag: Place chicken in ziploc bag. Lower bag into water (which will push air out) just until seal is above water line. Seal bag.
- To get crispy skin: Before glazing and broiling, heat cast iron skillet or non stick pan to medium high. Add a teaspoon or two or oil. Place chicken, skin side down and press down with spatula or fingers to allow skin the crisp up for 4-5 minutes. Keep peeking until it’s well browned. Just serve with glaze or brush on glaze and broil for a couple of minutes.
- Make ahead or freeze:
- Same day: you have a 3 hour window for cooking the chicken thighs sous vide which gives you nice flexibility
- 3-4 days ahead: Sous vide the thighs, cool them in an ice bath for 10 minutes, then store them in the fridge for 3-4 days until ready to use. Rewarm them up in a water bath for an hour at a few degrees less than the temperature you cooked them. Proceed with glazing from there. To shorten the time, bring them to room temperature, then warm them for 20 minutes.
- Freeze for several months: Sous vide the thighs, cool them in an ice bath for 10 minutes, then freeze them for up to 3 months. To rewarm them, use the same technique as above.



This recipe was terrific. I’m a “long time sous vider, first time glazer” and my wife was absolutely over the moon with the results from this recipe. The cooking time and temperature for the sous vide were perfect. Even with skinless thighs, the crisping up before glazing worked great. I had to substitute blackberry preserves because we didn’t have peach, but it was still amazing.
Glad you both enjoyed it Doug. Blackberry, apricot, raspberry, peach, marmalade – all good!
Love cooking Sous Vide and this recipe is terrific! We use boneless skinless thighs for health reasons. I needed to lower the sous vide bath temperature to 153 degrees F. for ¾” thighs cook 30 minutes, for 1″ thighs cook 45 minutes.
The rest of the instructions we absolutely perfect. Wonderful flavor. A big hit!!
Thanks for sharing your experience with boneless chicken for this recipe Nanci. It will be helpful to other readers. Glad the recipe was a hit!
I am 71 years old and I do love to make recipes that I find. This was so incredibly easy and the most tasty chicken I’ve had in a long time. I took your recommendation on different jams to try, and I did use the raspberry jam with the ingredients you listed and it was absolutely delicious. I will definitely be making this again! Your directions are on point and exact. It is so easy to make your recipes. I have been doing recipes from ATK and it get can get very involved and take hours to prep. Just wanted to say thank you for such a tasty meal.
Hi Bonnie, What lovely comments – thank you! It means so much to us when people enjoy our recipes and, just as importantly, find them easy to make. We are humbled and appreciative 🙂
Newbie here. How many thighs can I put into each sous vide bag??? And could you grill these afterwards?
Hello newbie and welcome to sous vide! You can put as many thighs in a bag that will fit in a single layer. Yes, you can grill the thighs after on a hot grill, but I wouldn’t add the glaze until after as it will burn because of the sugar. If you want an extra minute or two to grill the chicken without overcooking it, you can cool it down in the bag in an ice bath for 10 minutes. Good luck!
Stupid question…if saving for later, do I keep them in the bag they were sous vide in when I put them in the fridge? And then do I just warm them up in the sous vide in those same bags? New to this. Thanks!
Hi David. There are no stupid questions with sous vide! If you are on any sous vide facebook groups, you will find many different answers to questions and lots of experimenting. Only when it comes to safety do you need to be careful.
To save the chicken for later, cool it down for 10 minutes in an ice water bath or under very cold water from the tap (while it’s still in the bag). Then refrigerate the chicken, still in the same bag. When you are ready to use it, you can retherm it, still in the same bag, in a water bath at about 135F for 20-30 minutes depending on the size of your thighs. I hope that helps. Enjoy!
a suggested sous vide time of 1 to 4 hours seems pretty non-specific. I do see you say you use 1.25 hrs so why not indicate that as the suggested time. What is the difference between letting them in for 1 hour vs 4 hours? More detail on that variable would make this recipe much more helpful!
Hi James, as I noted in the FAQ, there is some personal preference involved here. You need at least an hour at the higher temperature for safety. I prefer longer (1.5-2 hours) for added tenderness. Sous vide does require a bit of experimentation to get the texture and doneness right for you. Thanks for the question. I’ll try to add a bit more detail in the recipe to be more helpful.
Hi James,
One of the reasons most of us love sous vide cooking is the fact that time is much less important than is temperature. The food loses little of its moisture, since it’s sealed in the bag.
Yes, you’ll notice a difference between 1 and 4 hours, but it’s a subtle difference. (You’ll notice a much greater difference if you change the temperature.)
Tonight, my wife will come home to continue her work until she’s available for dinner. No idea when that might be. I’m putting these in the sous vide in an hour and a half, so they’ll be ready to eat any time between 6:00 and 8:30.
Sous vide gives you that flexibility to plan ahead, and have it when everyone is ready for dinner, not when dinner is ready for everyone.
I was mad at my Sous Vide device for technical reasons b4 I made this recipe. did 2 bone-in, skin on chicken thighs at 150 for 75 minutes to get a meatier texture before glazing as directed. It was slightly pink at the bone afterwards so I’d cook longer next time and broil on 2nd side to get those charred bits on both sides. this recipe is a go for me and my sous vide device and I made up. ❤️❤️❤️
Glad you made up with your sous vide haha. Your second try will be perfect. By the way, a little pink around the bone is normal and perfectly safe at that temperature, but if it bothers you, you can increase the temp by a few degrees.
This was soooo delicious! My first time ever using a sous vide, and I was hesitant to use it with chicken, but it came out amazing! I used boneless, skinless thighs, cooked it at the 165 degrees, ended up being in the sous vide for more like 3 hours because I was shopping, then kept them in the fridge til the rest of the food was done, followed sauce directions, and popped them into the broiler for 3 minutes one side, 2 minutes on the other side, and perfection!
I’m so glad your first ever sous vide recipe turned out so well. Most people start with a steak, but it sounds like you picked just the right thing for your first try. I bet you will also love the sous vide turkey breast or sous vide turkey thighs.
This was amazing! I chose to refrigerate it for a couple of days before finishing it. In the future I think I’ll complete it the same day. I haven’t quite mastered the whole warming up thing. It was very warm but not piping hot. This was my fault, not yours. I also might broil the bottom for a minute or two, then turn, put glaze on the top, then broil that. I don’t know if that will help the bottom being a little less soggy or not but we’ll see. I’m so excited about making this again. It will be a regular menu choice. Another time I’ll try the apricot and raspberry jams. Options!
Play around with the chilling and broiling to perfect it. Sounds like you’ll get there quickly. Glad you liked it Cynthia!