Easy White Chocolate Covered Strawberries (for beginners)
This is a beginner recipe for white chocolate covered strawberries. We’re taking the easy route that will make your strawberries a success – pretty and delicious. No tricky, finicky steps required.
White chocolate covered strawberries are a perfect easy dessert for a special occasion like valentine’s day, Christmas, July 4th, Canada Day, baby showers, birthdays or any potluck. A quick tempting treat with only 2 ingredients.
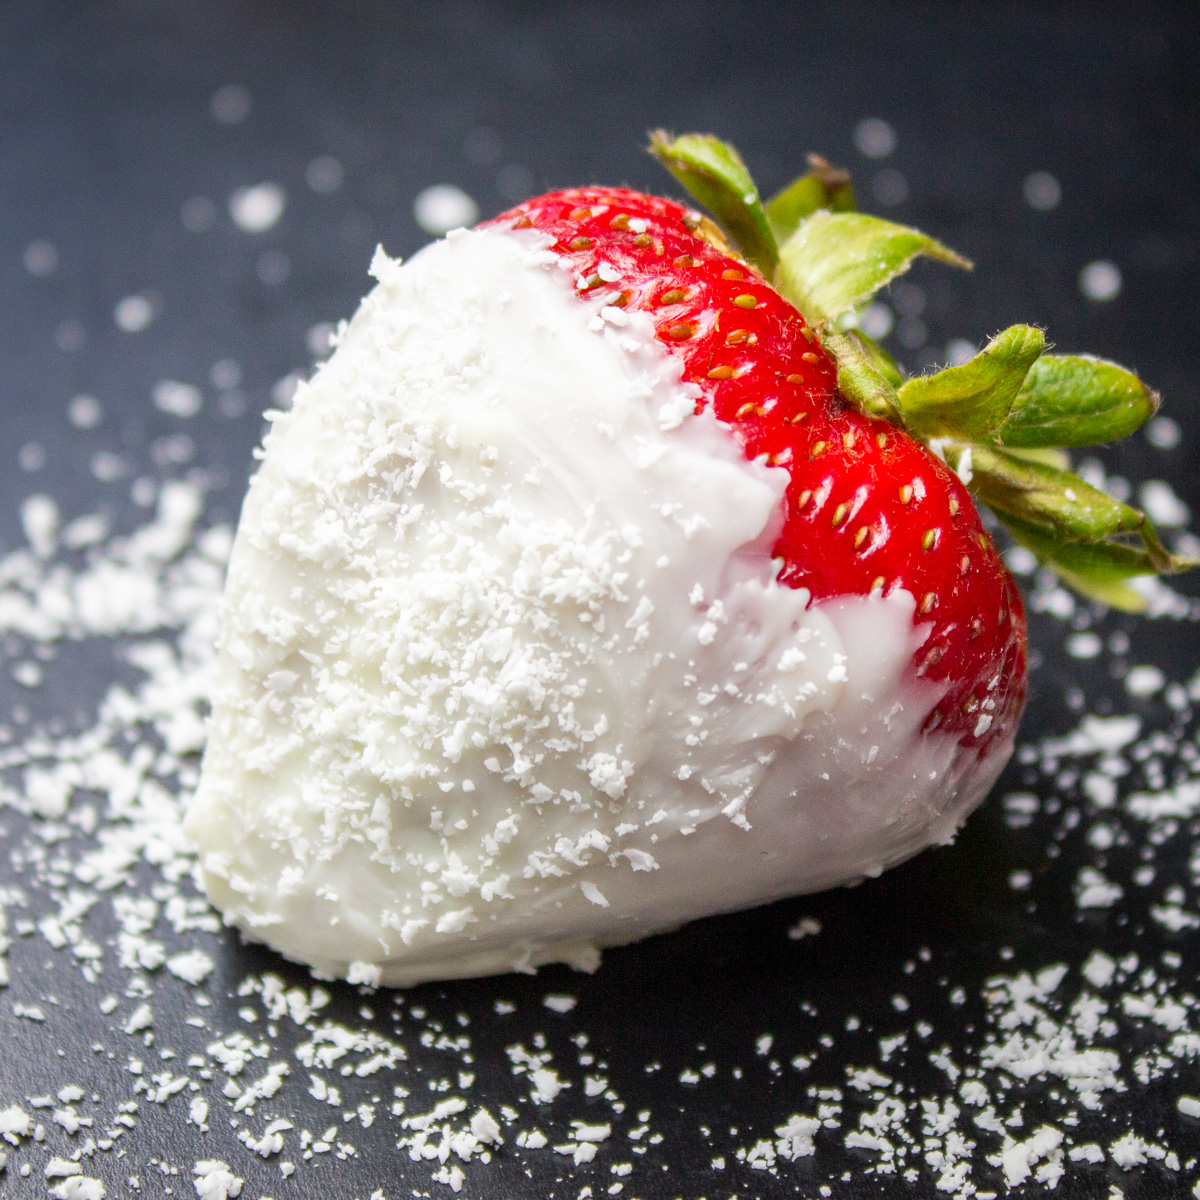
I make these strawberries when I need something that looks special, but is quick and easy. A dozen will take about 20 minutes.
If you want professional perfection, skip this recipe.
Why? Making the perfect chocolate covered strawberry takes practice and a good understanding of how chocolate behaves.
- You need the right kind of chocolate
- You have to temper the chocolate – a technique of heating and cooling that stabilizes the chocolate. This takes practice and is most often done in a double boiler.
- You need a thermometer to control the temperature
- You need a steady hand and lots of practice to nail the decorating part – at least for those beautiful zigzags.
If you want to tackle a more professional method, check out this detailed tutorial on how to make perfect chocolate covered strawberries.
The beginner way – simple and attractive
We are using a pretty much foolproof way to make these pretty strawberries. Here’s how.
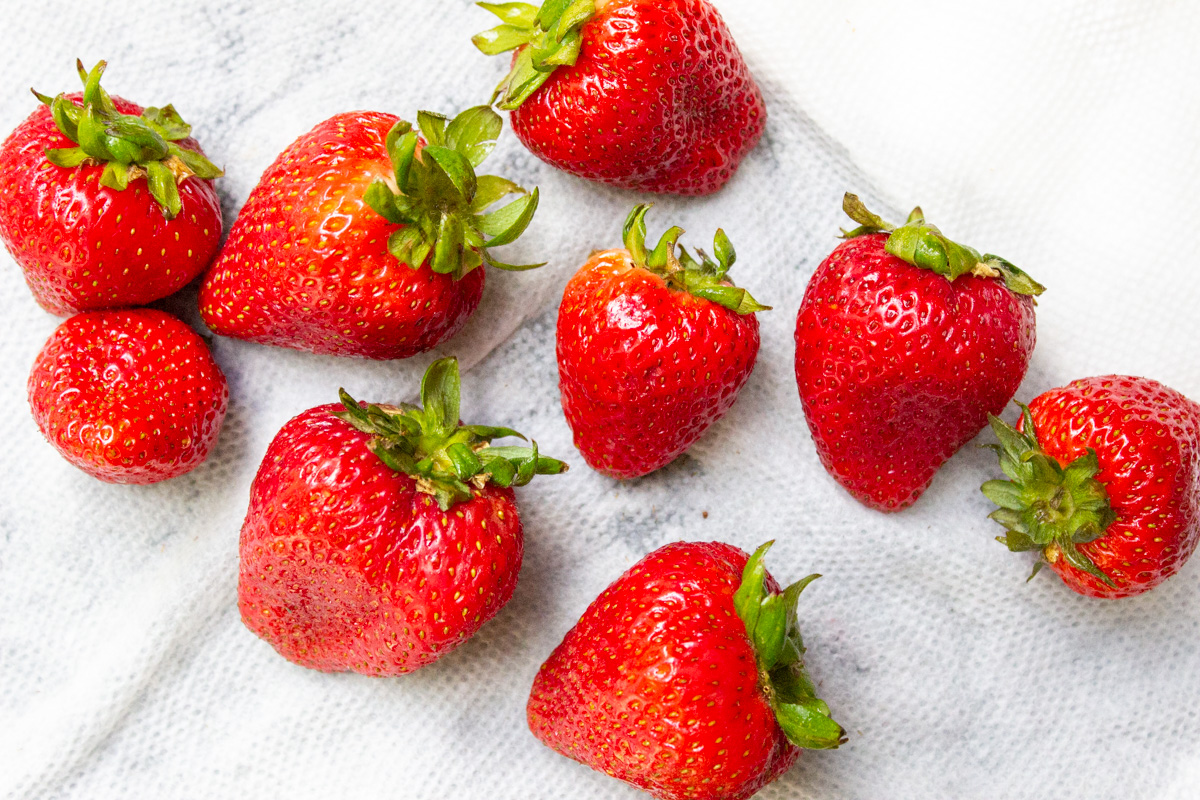
- Start with fresh strawberries at room temperature – ripe, but not too soft.
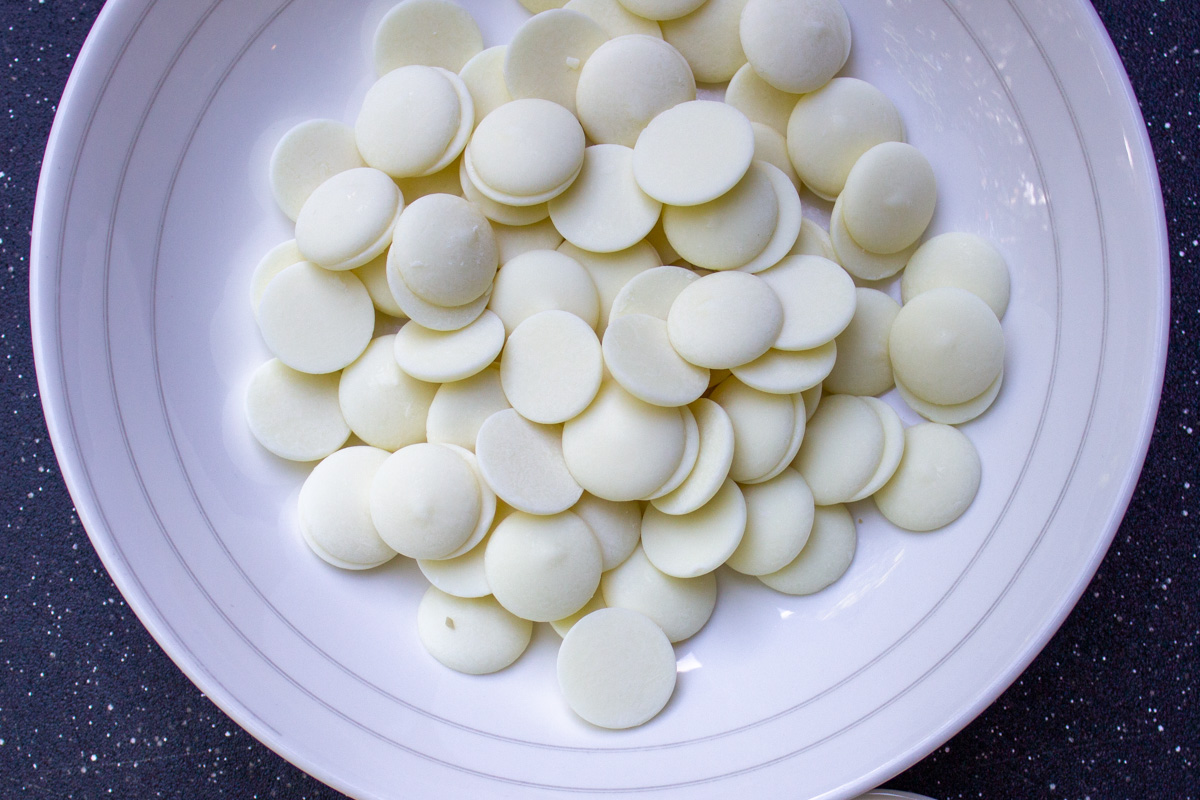
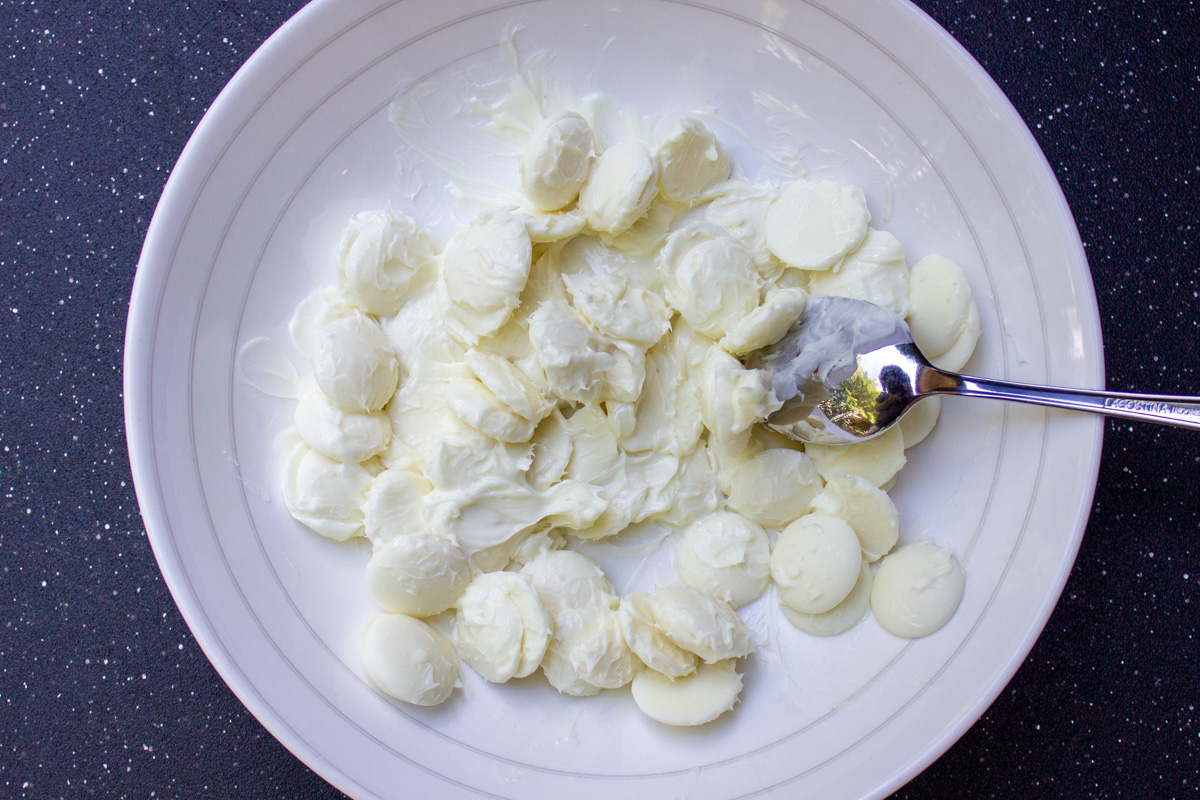
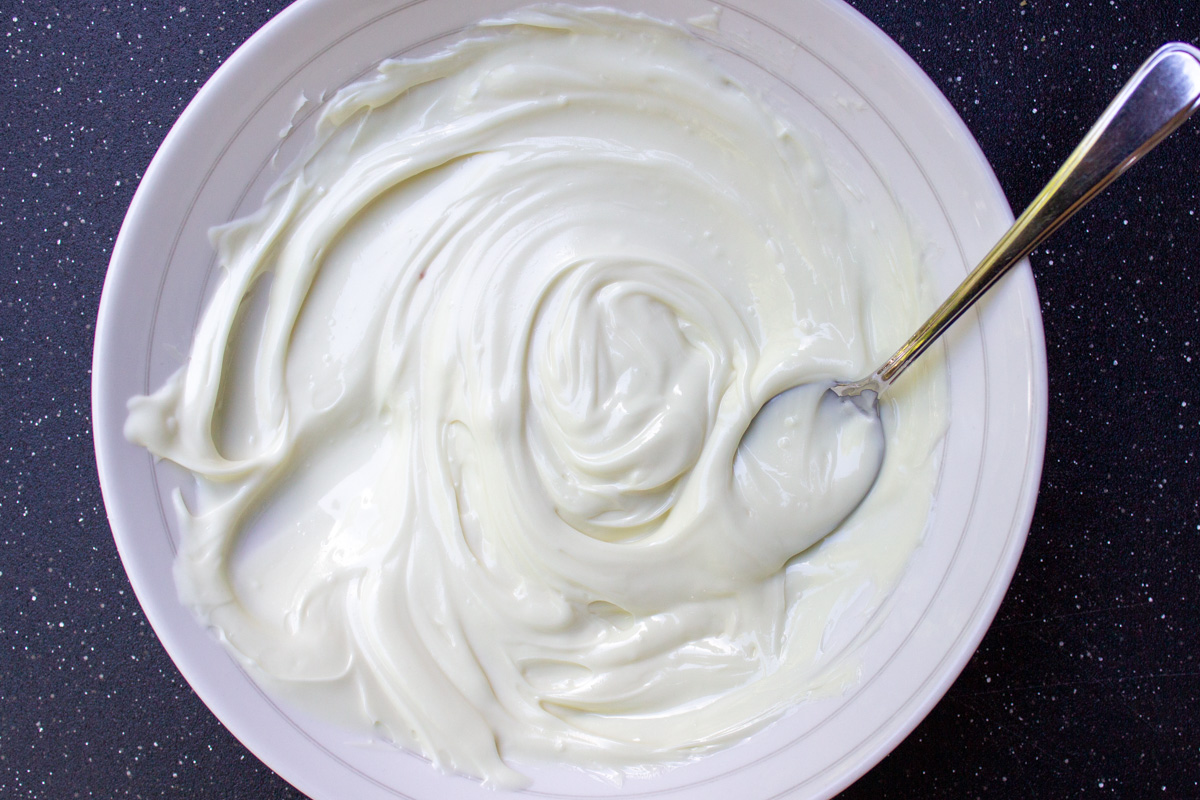
- Melt white chocolate wafers (candy melts) in the microwave instead of a double boiler. It takes about a minute.
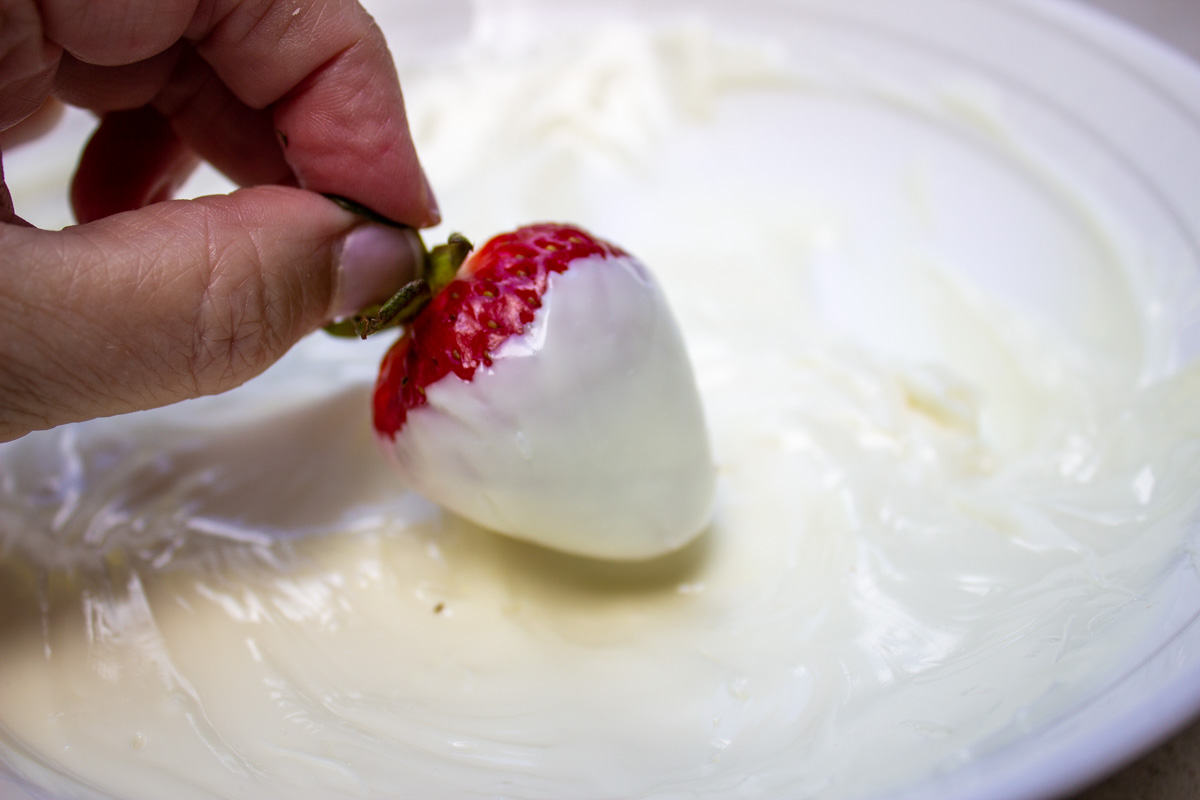
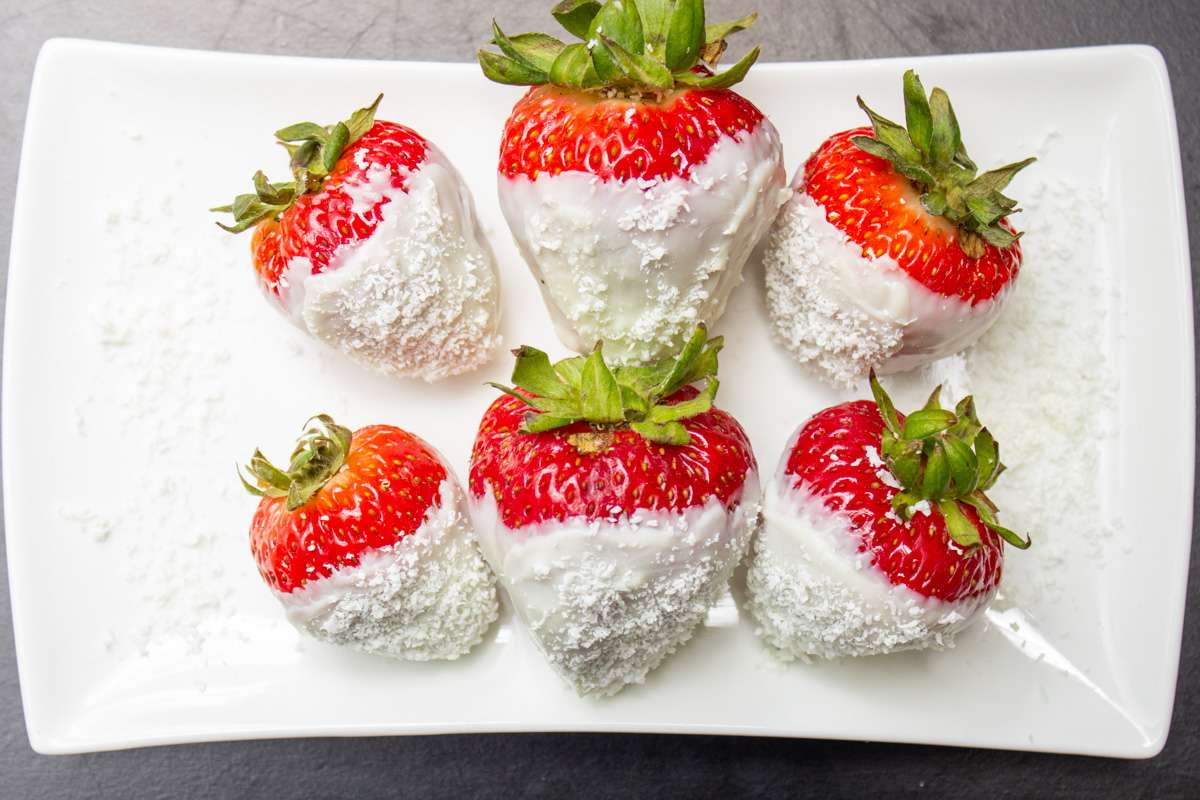
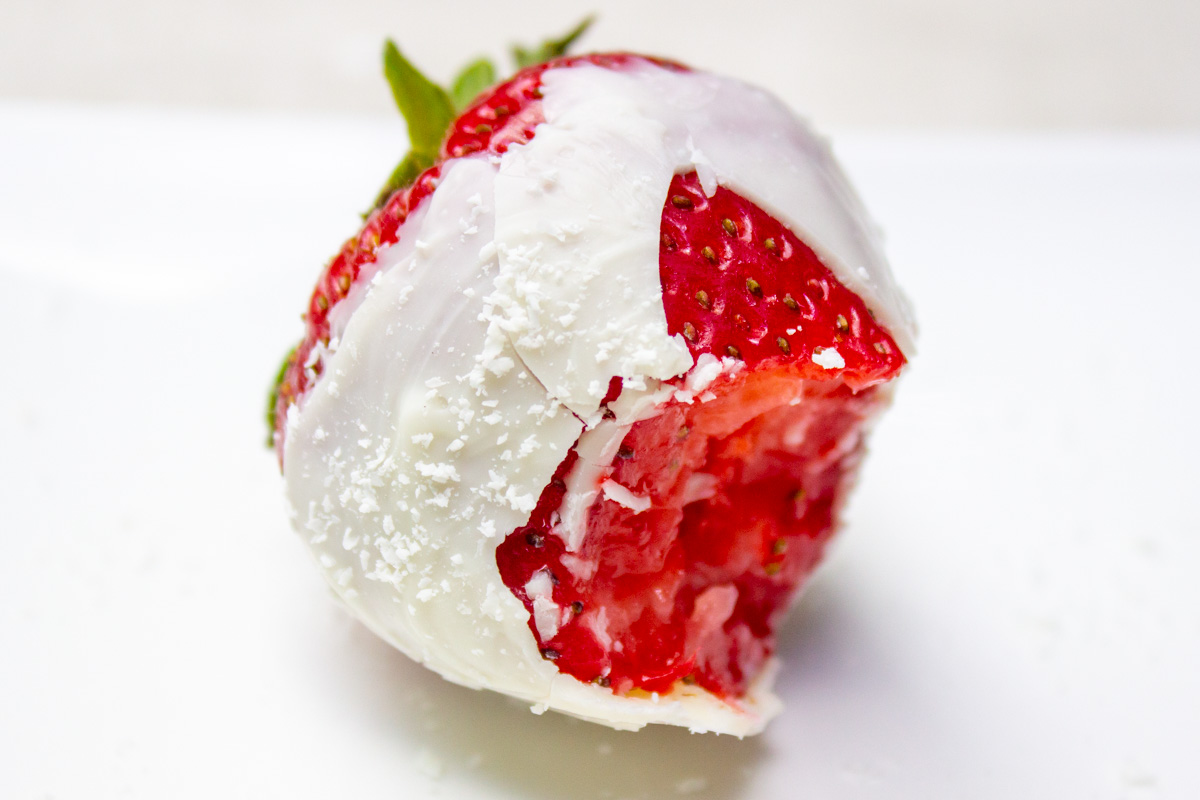
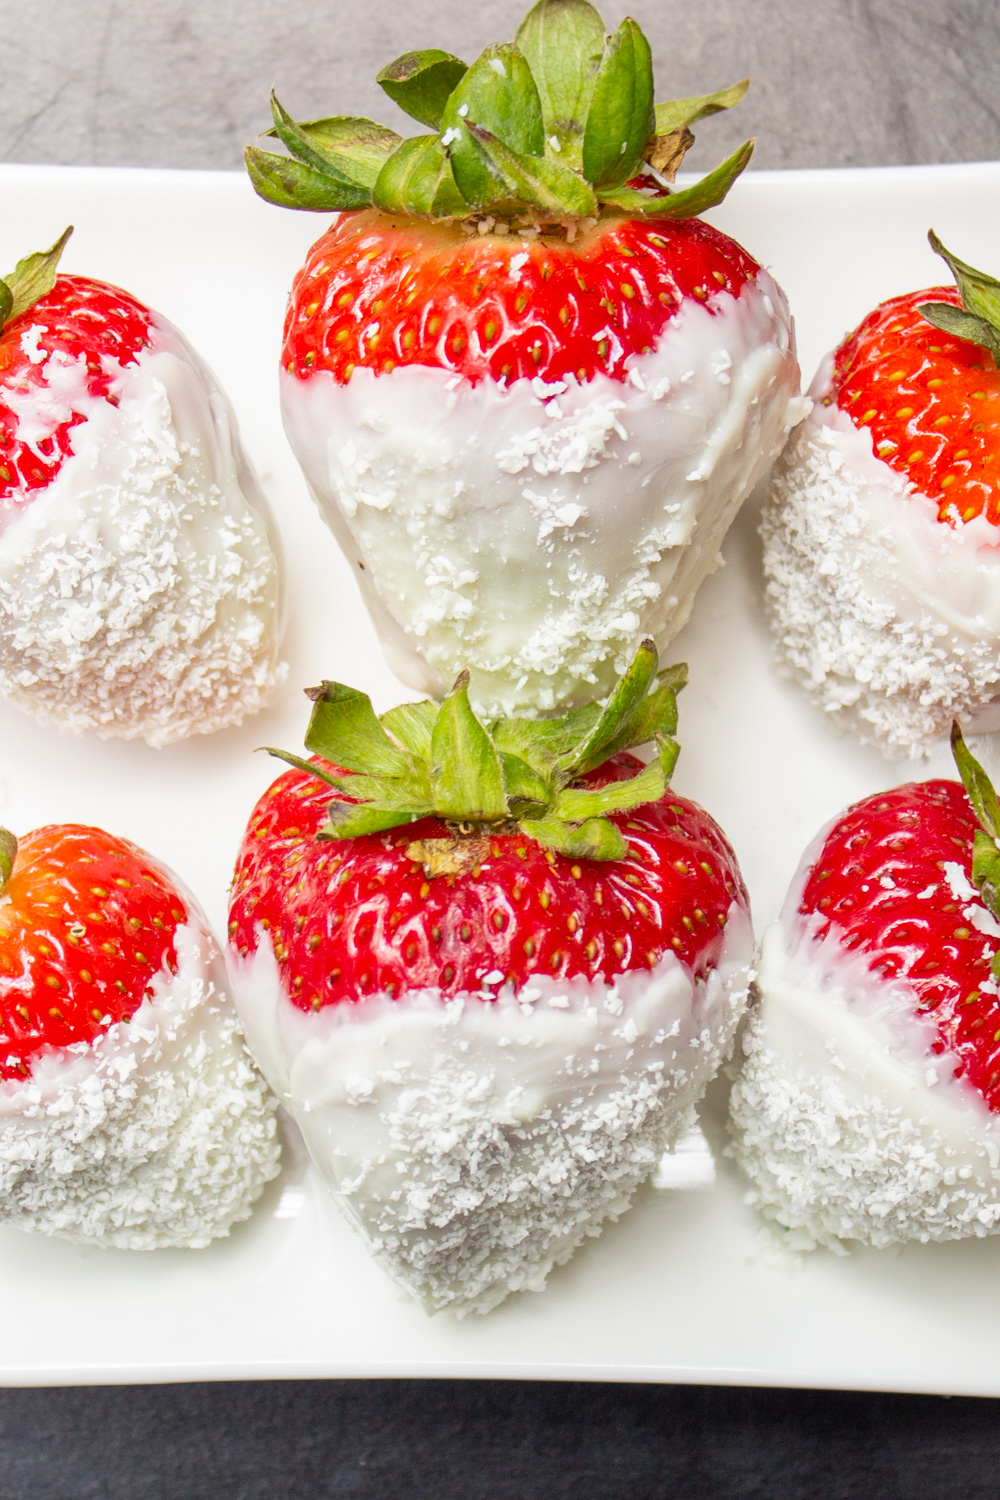
- Dip each strawberry in the melted white chocolate, then sprinkle with grated white chocolate.
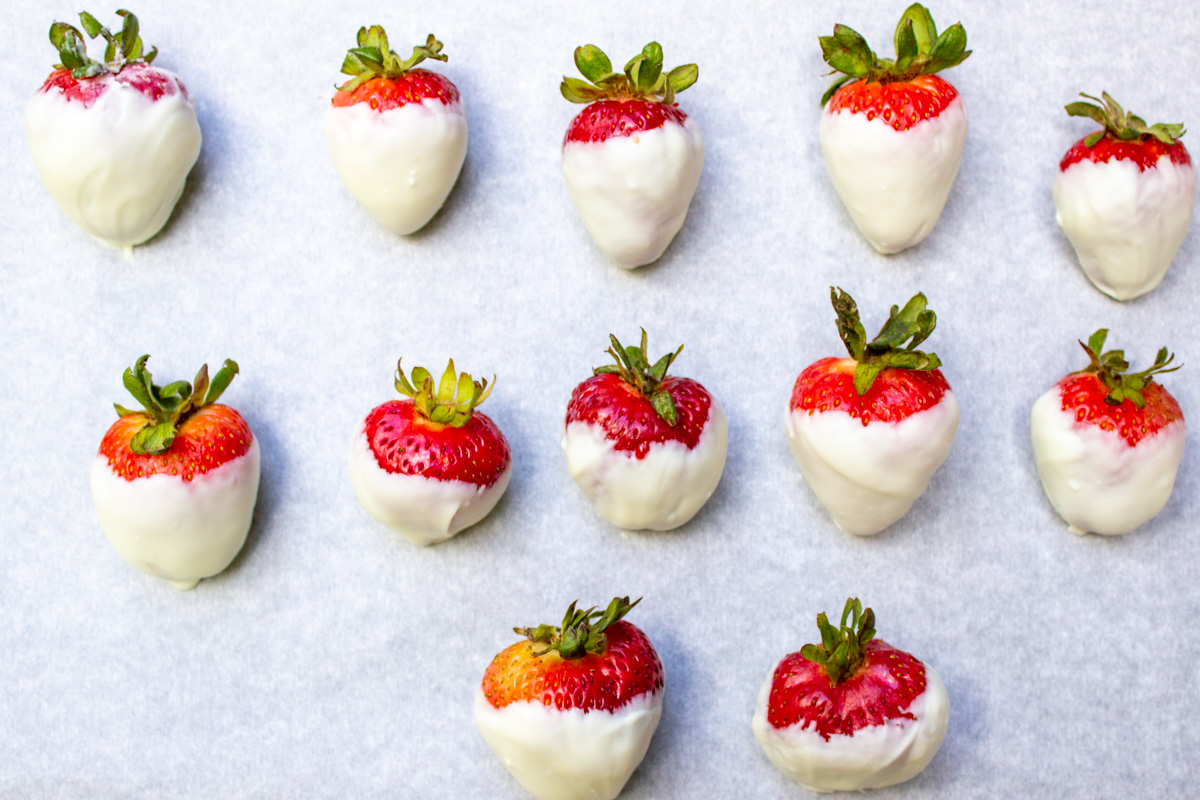
- Alternatively, dip strawberries one by one in chocolate. Lay them on parchment to harden for a few minutes. To decorate when you’re ready, spread a thin layer of additional melted chocolate on the face of the strawberry with your finger. Sprinkle on grated white chocolate.
Needless to say, there are lots of decorating options if you want to get creative. I just love how the grated chocolate looks like snow. So delicate.
Steps and Tips to make this recipe
Other decoration ideas
- sprinkles
- finely crushed nuts or granola
- plain or toasted coconut
- grate different colored chocolate candy wafers (they come in many colors)
- melt dark chocolate and apply a decoration (dots, zigzags, a face) with a fine paintbrush or toothpick
- gently drag the tines of a fork across the coating right after your dip the strawberry into the melted white chocolate.
- dip a fork into melted chocolate and drizzle it over the strawberries (no need to be perfect!)
Tailor To Your Taste – Substitutes
- If you don’t like white chocolate candy melts or can’t find them, substitute a white chocolate bar like Lindt.
- Switch to milk or dark chocolate if you prefer it to white chocolate. Or contrast the white coating with grated dark chocolate.
Shortcut
- Skip the grated white chocolate decoration and go with a plain coated strawberry. Or sprinkle with store-bought sprinkles.
FAQ and Troubleshooting
Candy Melts® are made of sugar, milk solids (powdered milk), vegetable oils, flavorings and colors. They are use for dipping, molding, and coating fruits and other food. They do not need to be tempered like real chocolate does. Other names for candy melts are candy wafers, molding wafers, chocolate coating and bark.
Candy melts do not contain cocoa butter. They have a similar taste to chocolate (but sweeter) and a slightly waxy feel in the mouth. Chocolate has a shinier finish.
Merckens melting wafers, Wilton pro melting wafers, Ghiradelli melting wafers
Yes you can by stirring in coconut oil or vegetable oil after the chocolate is melted. Start with a teaspoon and add more if needed. Keep in mind that the coating will no longer snap when you bite it. It will be softer.
Put it back in the microwave for 20 seconds and stir until smooth again.
This is likely due to moisture getting into the chocolate. According to Cooks Illustrated, add 1 teaspoon of boiling water at a time, stirring vigorously until smooth. Alternatively, add a teaspoon of vegetable oil to try to smooth it out.
Make Ahead and Store
- Check the recipe card below for instructions on:
- serving the strawberries in white chocolate within 1 day
- storing them for up to 2 days.
- do not freeze
Other favorite sweet treats or edible gifts
- chocolate rice crispy treats
- microwave brownie recipe in 8 minutes
- easy chocolate fudge (3 minutes)
- white chocolate bark (5 minutes)
- cottage cheese chocolate mousse (3 minutes)
Or check out our list of Sweets and Treats (in 30 minutes or less)
Love strawberries? Then try…
Please leave a 5 star rating ***** with a comment in the recipe card below if you like the recipe, Thanks so much!
Easy White Chocolate Covered Strawberries (for beginners)
Ingredients
- 1 pound room temperature strawberries (~15 medium-large strawberries)
- 1/2 pound white chocolate melting wafers (candy melts), Note 1 (227 grams or 8 ounces)
- optional: 1 teaspoon or more vegetable oil to make coating softer and thinner
Instructions
- PREPARE FRESH STRAWBERRIES: Rinse in cool water and dry strawberries with a paper towel very well. You don't want any moisture clinging to them or the chocolate won't stick.
- PREPARE PAN AND DECORATION: Line a baking sheet or cutting board with parchment paper or wax paper. For decoration, grate 10-12 wafers on a microplane or box grater into a small bowl or plate. Set aside.
- MELT WHITE CHOCOLATE CANDY MELTS: Place wafers/candy melts in a microwavable safe bowl. Microwave uncovered for 30 seconds on High. Remove and stir. Wafers will be sticky and only starting to melt. Microwave for another 20 seconds. Stir vigorously until smooth and creamy. Wafers will continue to melt as you stir. If still not melted, microwave again in 10 second increments, stirring in between until very creamy. The whole thing should take 60-90 seconds. Note 2. If you like your coating softer or less 'snappy', stir in a teaspoon (or a bit more) of vegetable or coconut oil.
- DIP AND DECORATE: To coat strawberries, hold stem of strawberry in fingers, dip strawberry into bowl of melted chocolate and swirl around until coated (I like to leave some strawberry showing at the top, but that's up to you). Gently shake off excess chocolate. To decorate dipped strawberries, scoop up some grated chocolate shavings in your fingers and sprinkle it onto a dipped strawberry immediately so that it adheres to coating. Place on parchment or wax lined tray in single layer to set/harden at room temperature. It will only take a few minutes with candy melts. Note 3 for alternate way to decorate.
Recipe Notes
- Substitute for candy melts: use a white chocolate bar like Lindt or white chocolate chips. Or, use dark chocolate, milk chocolate or semisweet chocolate if you’re not a fan of white chocolate.
- Alternative way to melt chocolate: video on how to melt chocolate in a double boiler.
- Alternate way to dip and decorate: Instead of dipping and decorating each strawberry, you can coat ALL strawberries first and lay them on parchment or wax paper, letting them harden. Then, to decorate, dip your clean finger or back of a spoon into melted white chocolate (you might have to reheat in the microwave for 20 seconds to re-melt it), spread a thin layer over the coating on one side of the strawberry and sprinkle on grated chocolate. This is the way I did it in the pictures in the post.
- Decoration variations
- finely crushed nuts or granola
- plain or toasted coconut
- grate different colored candy wafers (they come in many colors)
- melt dark chocolate and apply a decoration (dots, zigzags, a face) with a fine paintbrush or toothpick
- gently drag the tines of a fork across the coating right after your dip the strawberry into the melted white chocolate.
- dip a fork into melted chocolate and drizzle it over the strawberries (no need to be perfect!)
- Make ahead and store
- You can leave the strawberries in white chocolate at room temperature on the counter for up to 1 day before serving them, loosely covered with plastic wrap. It’s best to keep them at room temperature – less chance of sweating with moisture.
- To store strawberries for more than 1 day, place them in a single layer in a covered airtight container, lined with a paper towel to absorb moisture. They will last about 2 days.
- Do not freeze – they will become mushy.

