Peanut Butter Rice Krispie Treats (With Chocolate)
“Absolutely delicious and so easy to make. Thanks for the easy to follow directions and images.” Doug
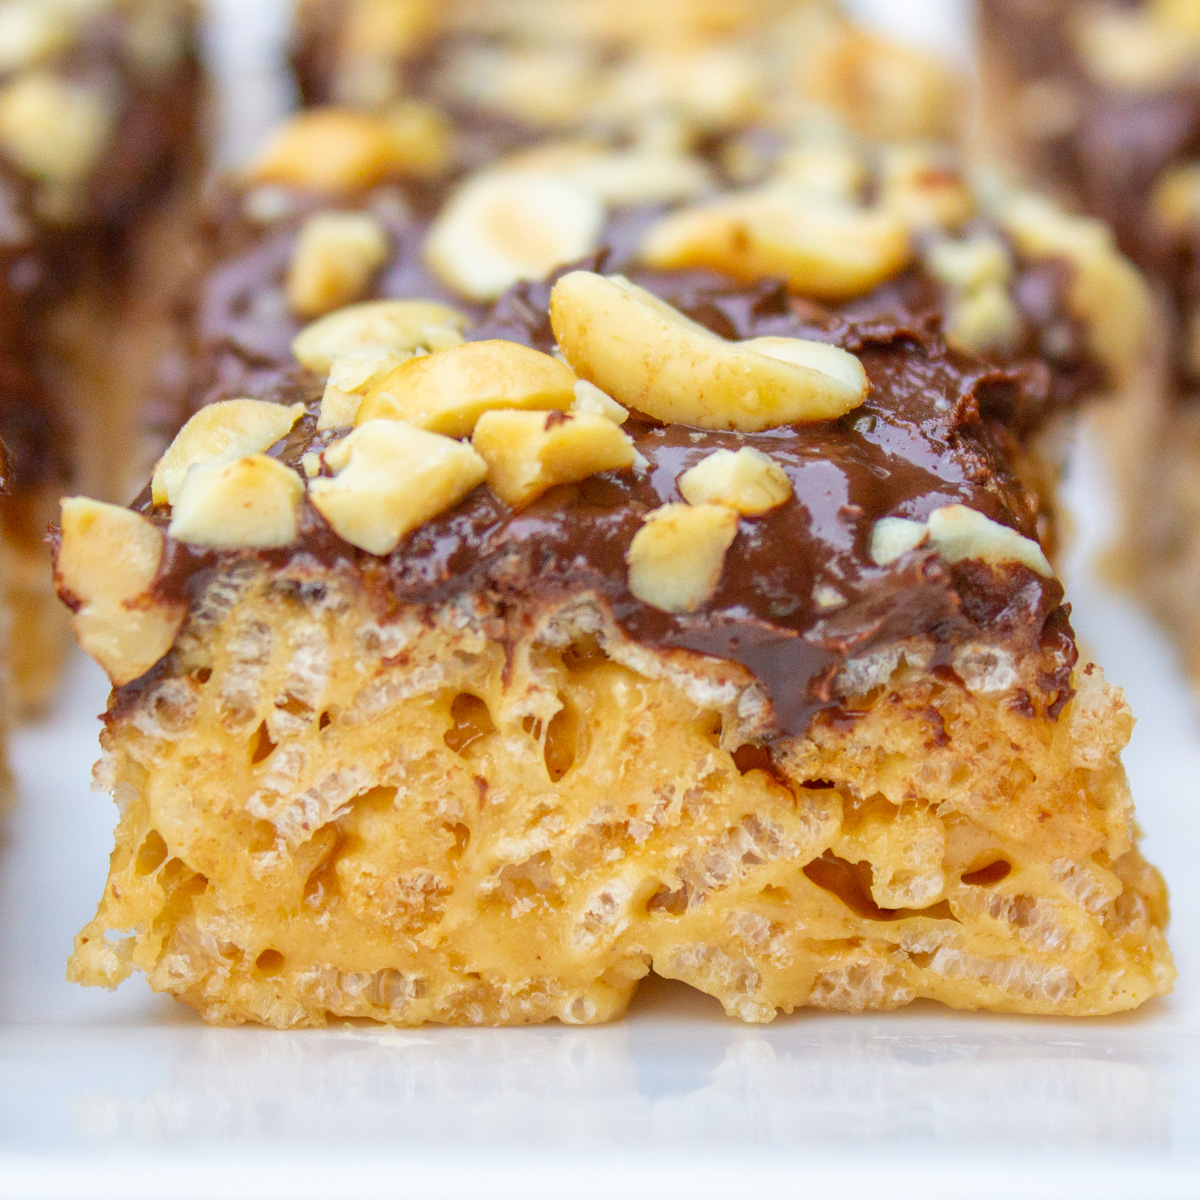
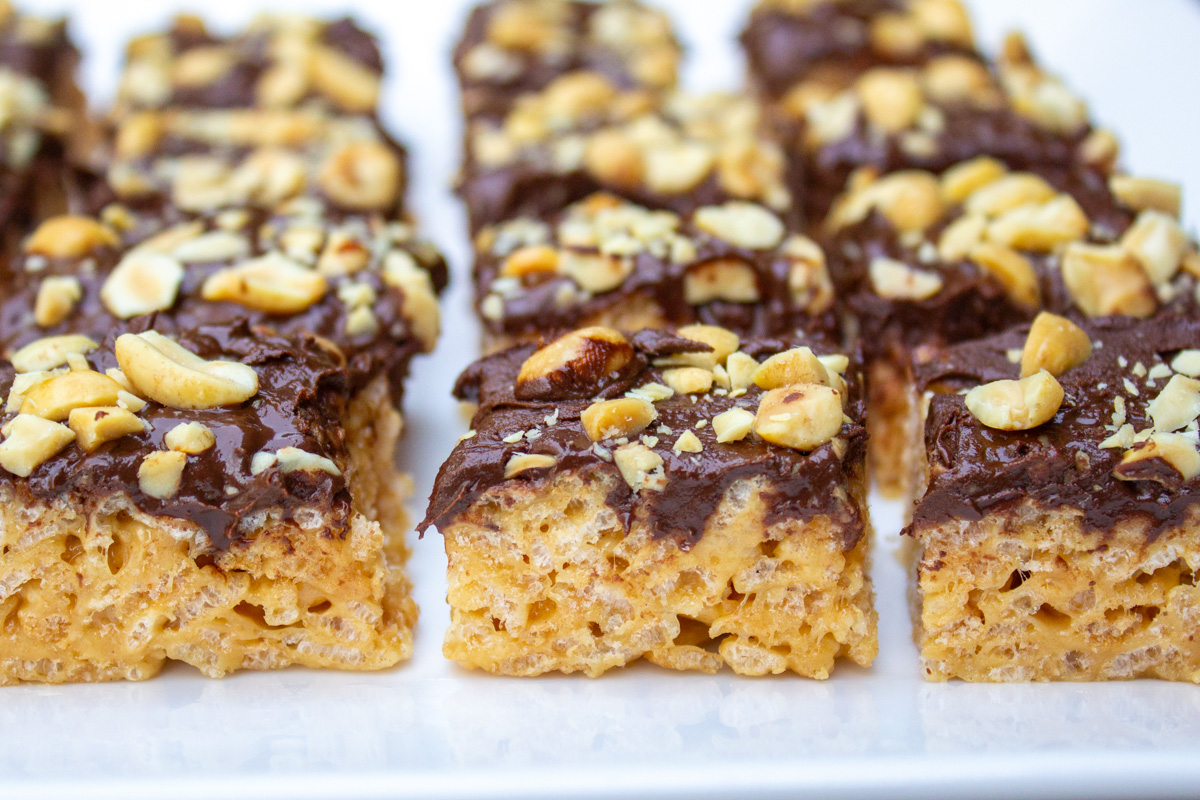
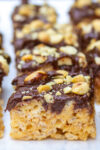
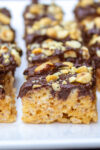
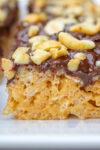
These peanut butter rice krispie bars, paired with a chocolate topping, are soft, chewy, gooey, and a winning combination that never gets old. Just 10 minutes, 6 ingredients, and no oven needed.
Great for lunches, bake sales, or whenever a chocolate peanut butter craving hits.
What to expect
- Quick, no-bake crowd-pleaser – 10 minutes of prep, 6 simple ingredients.
- Classic combo: Peanut butter and chocolate – chewy, crunchy, and hard to stop at one.
- Two methods: Stovetop and microwave – directions for both are in the recipe card. Microwave is fastest.
Ingredients – tailored to your taste
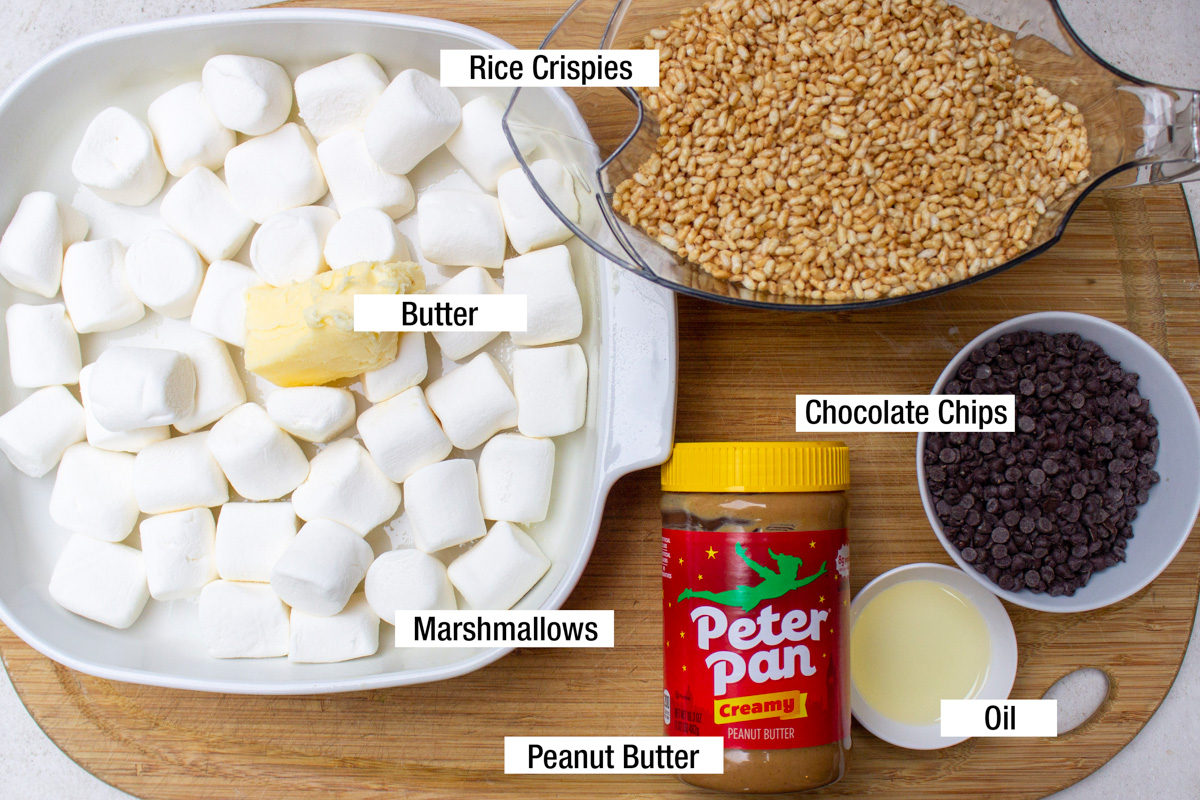
- Crisped rice cereal: Use the Rice Krispies brand or an off-brand. Just make sure the cereal is fresh, light and crisp (I found out the hard way that some generic brands are too brittle).
- Marshmallows: Use fresh mini or regular marshmallows (stale ones don’t melt properly). Minis will melt in half the time. You will need 10 oz / ~283 g (a regular-size package). Here are marshmallow conversions for every type of marshmallow (or see Tips below).
- Peanut butter: Regular shelf-stable creamy peanut butter sets best (chunky is fine too). Natural/no-stir styles are not recommended – they separate and set softer.
- Butter: Use salted butter or unsalted butter with a pinch of salt. Avoid margarine.
- Chocolate: Semi-sweet chocolate chips or a chopped chocolate bar for the topping. I add a teaspoon of neutral oil to make the glaze spreadable and glossy.
Substitutions
- For rice krispies: You can use any crisp puffed-rice-style cereal with a light, snappy texture.
- For peanut butter: Try a nut butter like almond or cashew butter (regular, no-stir). For nut-free, try sunflower seed butter, but note that the flavor and texture may vary.
- For marshmallows: Try marshmallow crème or fluff, which is gluten-free. A standard small 7-ounce jar works.
- For chocolate: Try butterscotch chips, dark chocolate chips or peanut butter chips (or any combination).
Variations
- Peanut butter swirl top: Before the chocolate sets, drizzle 2–3 tablespoons warmed-up peanut butter and swirl.
- Optional extras: Flaky sea salt, a handful of crushed peanuts sprinkled over the warm chocolate, or a sprinkle of mini Reese’s PB cups over the warm chocolate.
- Gluten-free version: Many crisped rice cereals contain barley malt. If needed, choose a GF-labeled crisped rice cereal and confirm your marshmallows are GF.
- Not a peanut butter fan? Try these chocolate rice crispy treats – our family recipe for over 60 years.
Step by step instructions


Tips
- Ratios: 100% exact measurements are not needed, but they should be close. Why? Too much butter will make the rice krispy treats too soft and oily. Too much cereal makes them too dry and hard. Too many marshmallows will make them very sticky.
- Make clean up easy: Spray the pan well with cooking oil. Then you can easily lift the whole slab out with a spatula onto a cutting board to cut into squares. Alternatively, line the pan with parchment (overhang ‘handles’ for an easy lift)
- Pan size: Many sizes will work. Use a 9 x 13 inch (23 x 33 cm) pan for thinner bars. Or a square pan 8 x 8 inch (20 x 20 cm) for thicker bars. Or anything in between.
- Marshmallow equivalents: one 10-ounce bag/280 grams = 6 cups mini marshmallows = 40 regular marshmallows = ~7 ounce jar marshmallow crème/fluff (heaping 1 1/2 cups/140 grams). The fluff will give a softer set.
- For the perfect set: Use fresh cereal and fresh marshmallows to get that soft and chewy texture with a crispy bite (not hard or dry).
Shortcuts
- Microwave method: It takes half the time to melt the butter and marshmallows in the microwave than it does on the stove top.
- Mini marshmallows will melt much faster than regular ones.
- Skip the chocolate topping for a lighter, quicker bar.
Recipe FAQs
Don’t overcook or burn the marshmallows. Don’t add too much cereal. Store them properly in an airtight container. And don’t press down the mixture too firmly. If they do get hard, try putting them in the microwave for 10-15 seconds to soften them up.
Add them to hot chocolate. Make s’mores. Top a cake, cupcakes or baked sweet potatoes, then broil until browned and melty. Or make another batch of peanut butter rice krispie treats!
For a vegan version, buy gelatin-free marshmallows or substitute with almond butter and maple syrup (here’s a recipe for healthy vegan rice krispie treats). Or, substitute every 1 cup of marshmallows (8 pieces) with 1/2 cup marshmallow fluff (which also has no gelatin). For gluten-free, use a gluten-free puff cereal and check the marshmallow package too.
No. I’ve tried to mix, set, and cut in the same pan – it doesn’t work. The rice krispie bars stick to the bottom – big mess.
Yes. They actually improve after sitting overnight once set. Store in an airtight container with parchment or wax paper between layers to prevent sticking: Room temperature for 4-5 days, Fridge for up to a week, Freezer for up to 3 months. Bring refrigerated or frozen bars to room temperature before serving, or microwave for about 30 seconds.

Other quick and easy no-bake desserts
- chocolate rice crispy treats
- microwave brownie recipe in 8 minutes Ok, you need a microwave for this one
- easy chocolate fudge (3 minutes)
- no-bake berry crumble (10 min)
- white chocolate bark (5 minutes)
- easy tiramisu recipe (individual cups)
And check out some great homemade easy sweet snacks (with quick prep)
If you make this recipe, let us know how it went! A rating & comment below mean a lot to us.
Peanut Butter Rice Krispie Treats
Ingredients
- 4 tablespoons butter Note 1 (1/2 stick or 68 grams)
- 10 ounces marshmallows, Note 2 typically one bag
- 1/2 teaspoon vanilla extract (optional) (1 Bakers square or 3 tablespoons )
- 1/2 cup peanut butter, smooth or crunchy (don't use natural peanut butter)
- 5 cups Rice Krispies cereal, Note 3 or off-brand puffed rice cereal
Chocolate layer
- 1 1/2 cups chocolate chips, Note 4
- 1 teaspoon vegetable oil to thin out chocolate
- Optional garnish: crushed peanuts, flaky sea salt
Instructions
- PREPARE PAN: Spray a pyrex or casserole dish well with cooking spray to make removing the bars and clean up easier. Alternatively, line the pan with parchment paper. Note 5 for pan sizes.
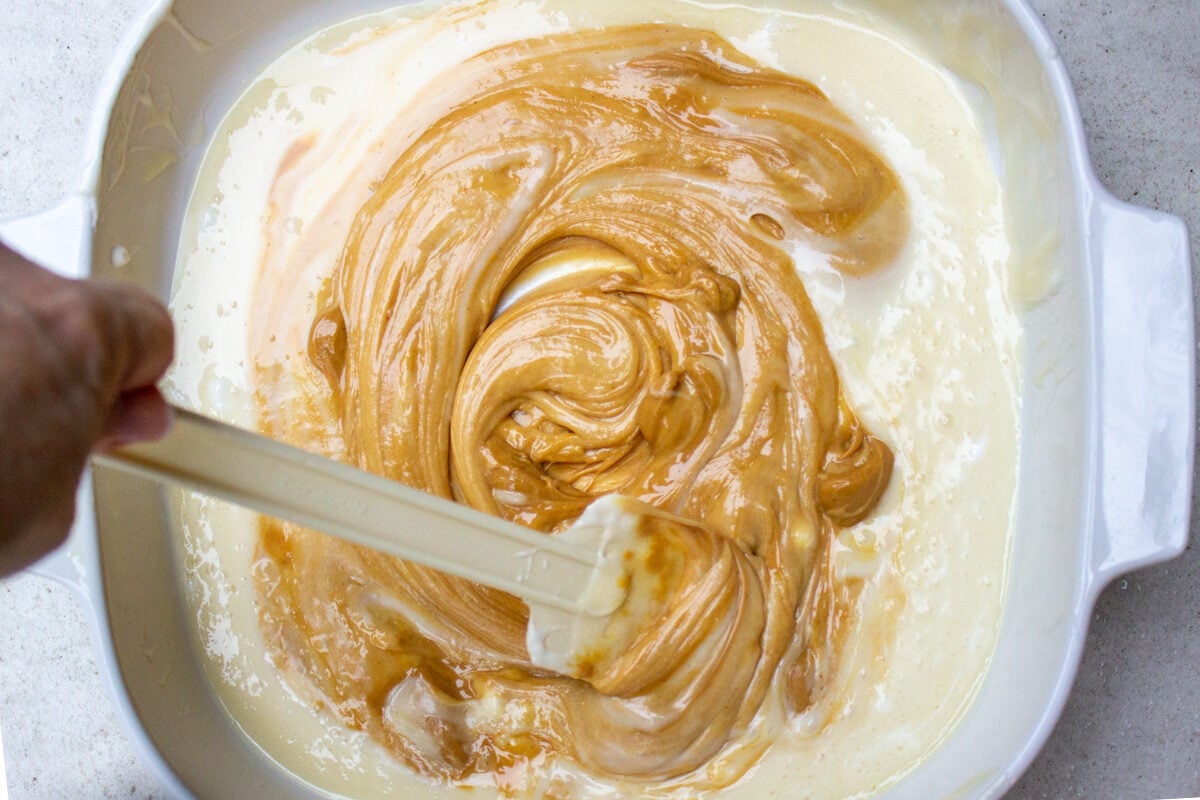
- MAKE RICE KRISPIE TREATS (Microwave method -1200 watts): Note 6 for stove top instructions. ° Place marshmallows and butter in large microwave-safe bowl. Spray with cooking spray. For regular marshmallows, microwave on High for 2 minutes. Stir then microwave for another 1 minute. Stir until smooth. Add vanilla if using. (For mini marshmallows, microwave for 1 minutes, then another 30 seconds.) ° Stir in peanut butter while mixture is still hot. ° Add rice crispies and stir and well combined. Mixture will be very thick and sticky. Tip: wet your hands and mix with hands. ° Transfer to prepared pan. Gently press down mixture with wet hands to form an even layer (don't overpack).
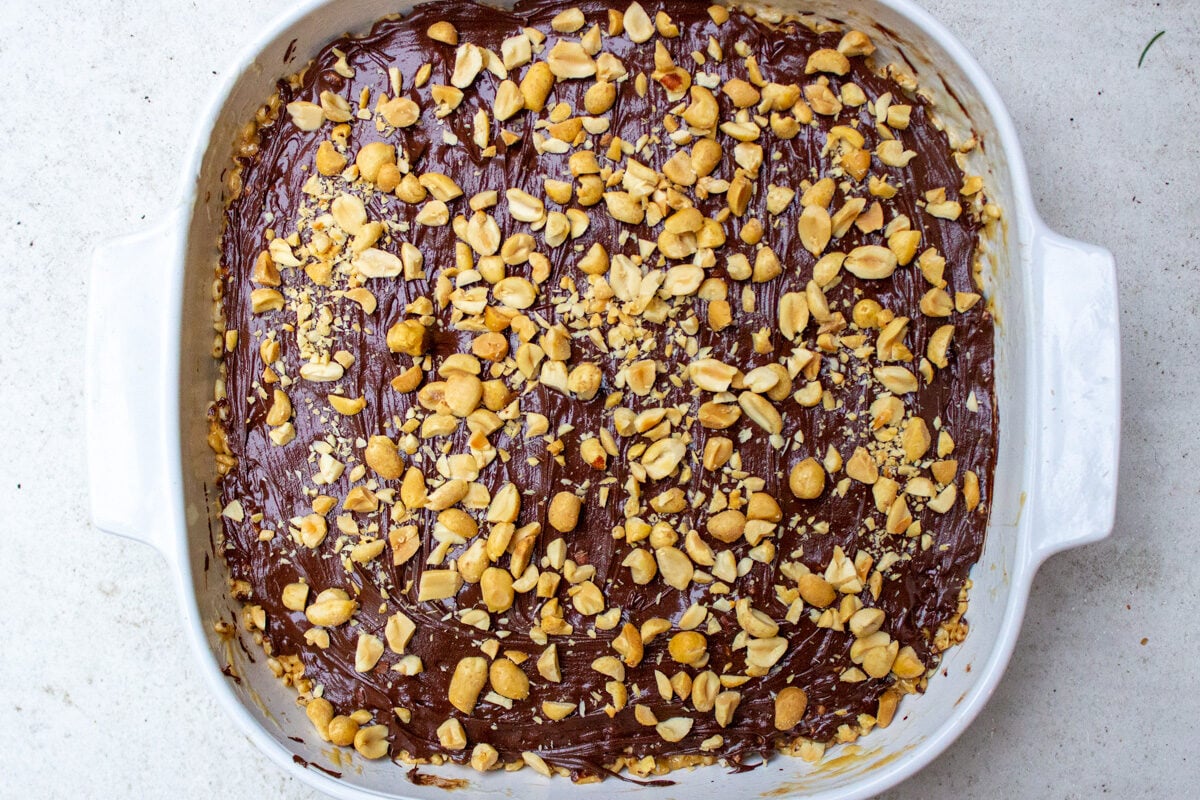
- MAKE CHOCOLATE LAYER: Place chocolate chips in microwave-safe measuring cup or bowl. Microwave for 1 minute on high. Stir. Microwave another 30 seconds. Stir until smooth. If not completely melted, microwave in 10 second increments until smooth. Stir in 1 teaspoon oil to thin it out for easy spreading. Spread chocolate over rice krispies in pan to form an even layer. Add crushed nuts if using and press lightly to help them adhere. Or lightly sprinkle on sea salt.
- SET, CUT, SERVE: Let the rice crispy treats set for at least 30 minutes at room temperature. Or place in fridge for 20-30 minutes. Cut into 20-30 bars or squares. Tip: I transfer the entire block to a cutting board by slipping a spatula under the rice crispy treats and lifting them out to cut. Serve at room temperature. Note 7 for storing.
Recipe Notes
- Butter: I used salted butter. If you use unsalted butter, add 1/4 tsp kosher salt.
- Marshmallows
- Use fresh mini marshmallows (fastest melting) or regular. Or even marshmallow crème or fluff. Use gluten-free marshmallows or the gluten free fluff for a gluten free version if you like.
- Here are every type of marshmallow conversions. In a nutshell, use
- 6 cups mini marshmallows or
- 40 regular marshmallows or
- 7 ounce jar marshmallow crème/fluff (heaping 1 1/2 cups/140 grams)
- Rice krispies: Use the brand name cereal or an off brand. Be sure to check the texture of off brands (some can be too brittle) and make sure the cereal is fresh.
- Chocolate chips: If you want a thinner chocolate layer, use a bit less. I use semi-sweet chocolate chips. You can also use a broken up chocolate bar. Variation: Butterscotch chips, dark chocolate chips or peanut butter chips (or any combination).
- Pan sizes: Use an 8 x 8 inch pan (20 x 20 cm) for thicker squares or a 9 x 13 inch (23 x 33cm) pan for thinner squares (or to double recipe). In between sizes are fine too.
- Stove top method: In a large pot or dutch oven, melt butter and marshmallows over medium low heat (4/10), stirring regularly. It will take about 5-8 minutes for marshmallows to melt and 3-4 minutes for mini marshmallows. Stir in vanilla if using. Add rice cereal, stirring to combine well. Fold into the prepared pan. Pat down lightly to even it out (use wet hands).
- Make ahead and storage:
- Store in an airtight container or ziploc bag in an even layer or with parchment paper or wax paper in between layers to prevent sticking.
- at room temperature for 4-5 days
- in the fridge for a week or
- in the freezer for up to 3 months.
- Bring refrigerated or frozen treats to room temperature before serving. If you forget, put them in the microwave for 30 seconds or so.
- Store in an airtight container or ziploc bag in an even layer or with parchment paper or wax paper in between layers to prevent sticking.
Absolutely delicious and so easy to make. Thanks for the easy to follow directions and images.
Glad to hear Doug!