Cedar Plank Chicken (easier than you think!)
You don’t need a special smoker to add wonderful smoky flavor to your chicken. With simple wood planks, you can achieve a beautifully golden juicy cedar plank chicken infused with a mild woody smoked flavor.
Easier than you think!
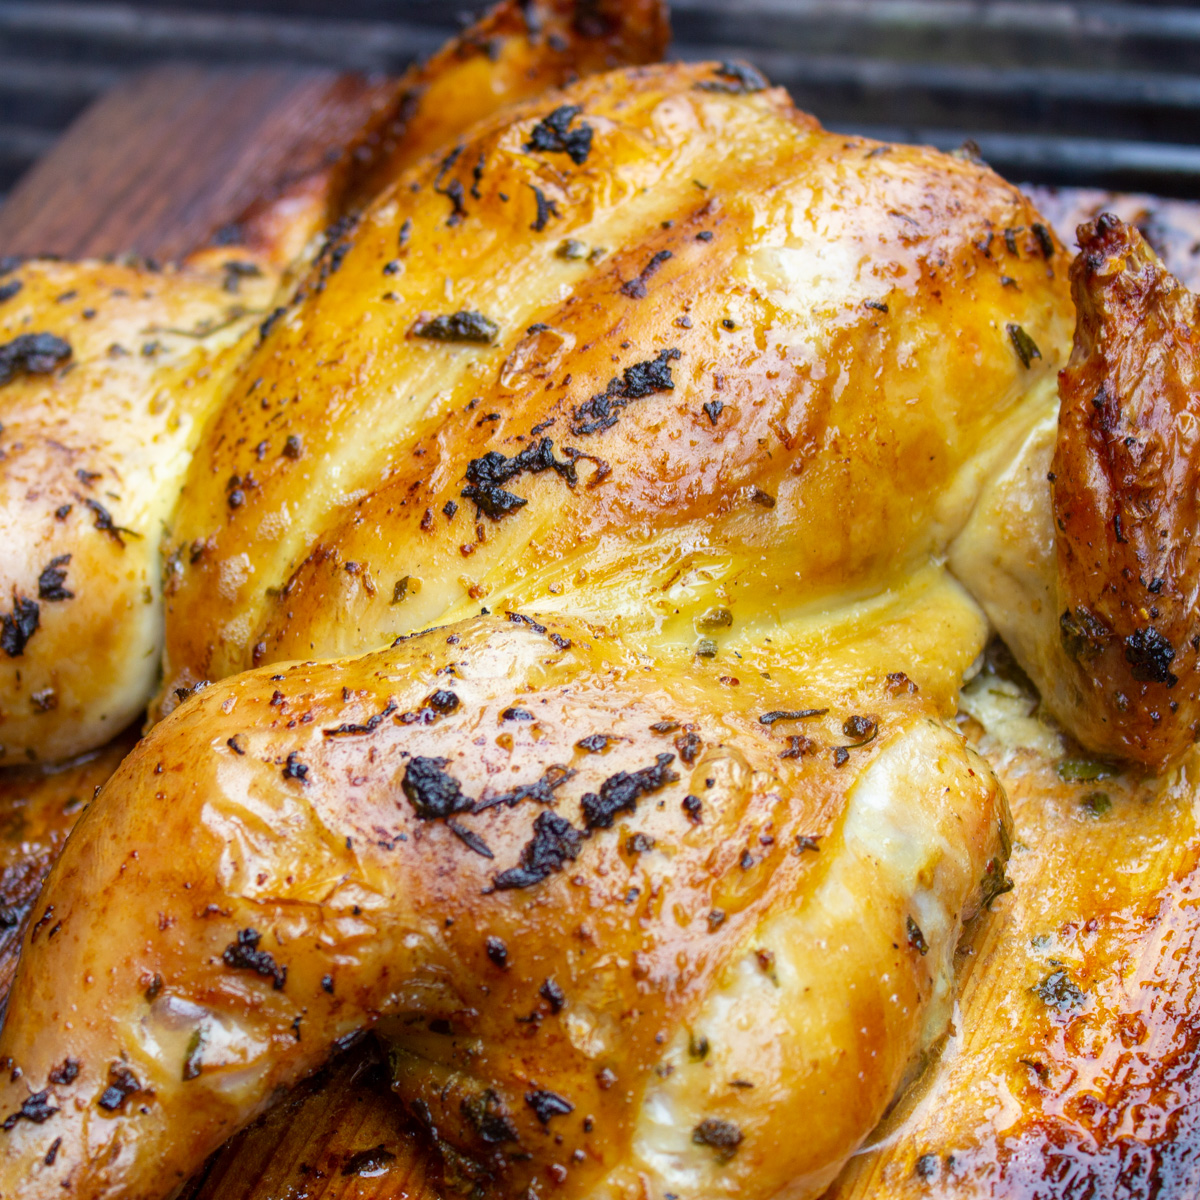
Plank cooking is not new. It was apparently used by Native peoples for hundreds of years and culinary schools since the early 1900’s.
I admit I was intimidated when I first started using this method years ago, but after a bit of research and testing, I realized there was no need to be.
What to expect with plank grilling
Plank grilling (also called planking or cooking on cedar planks) is a method of grilling on wood planks to infuse food with a smoky wood flavor. Planks are just plain wood.
The method for this wood smoked chicken is surprisingly easy with great results. I use a flattened (spatchcock) chicken, dress it simply with lemon zest, olive oil and herbs, then set it on planks on the grill to do their magic.
Try it once or twice and you’ll be a pro.
Tailor To Your Taste
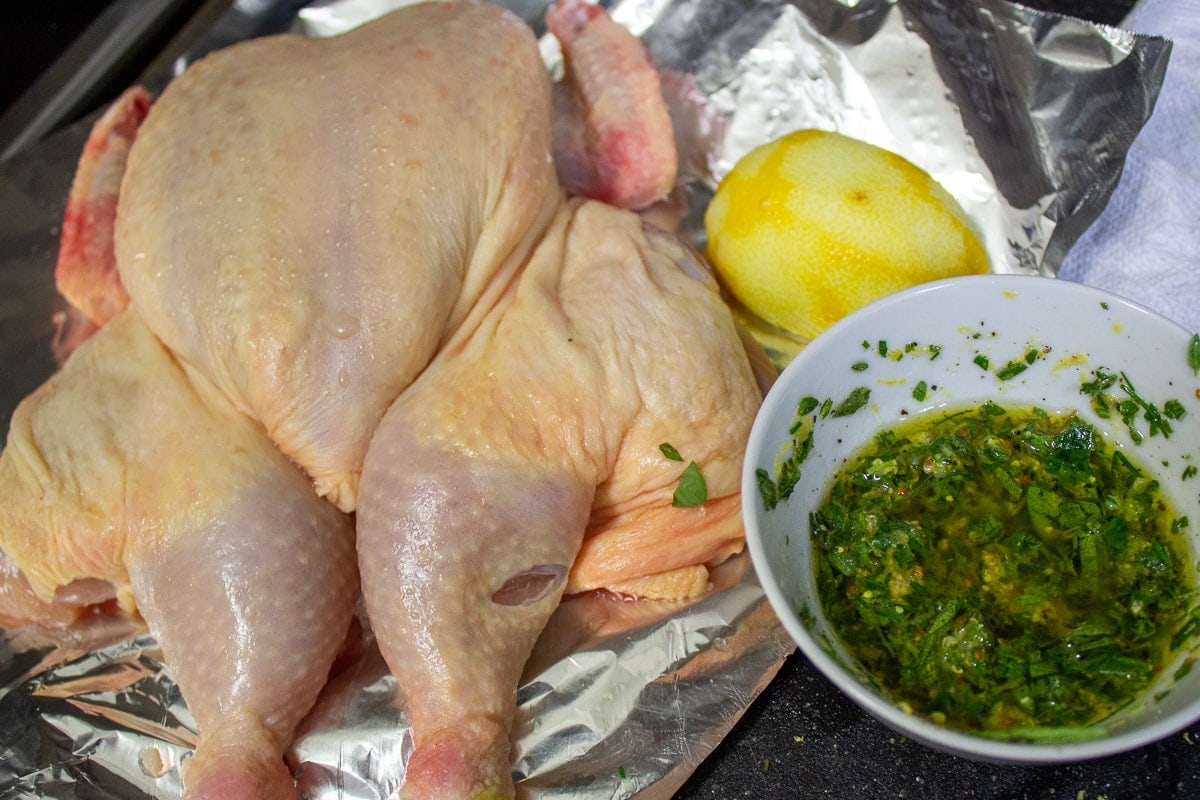
Chicken: Buy a flattened chicken or spatchcock (flatten) the chicken yourself (see recipe notes). I like to get a kosher chicken if available as it is already brined, making it more flavorful and juicy.
Marinade: The marinade includes oil, lemon zest and juice, fresh herbs, Dijon mustard, green onion, salt and pepper.
Wooden planks: Scroll down to see FAQs on planks
Variations:
- Use any marinade you like for the chicken.
- Skip the marinade and sprinkle the chicken on all sides with salt, garlic powder, pepper, paprika, and onion powder before cooking. Or your favorite chicken dry rub.
Step by step instructions
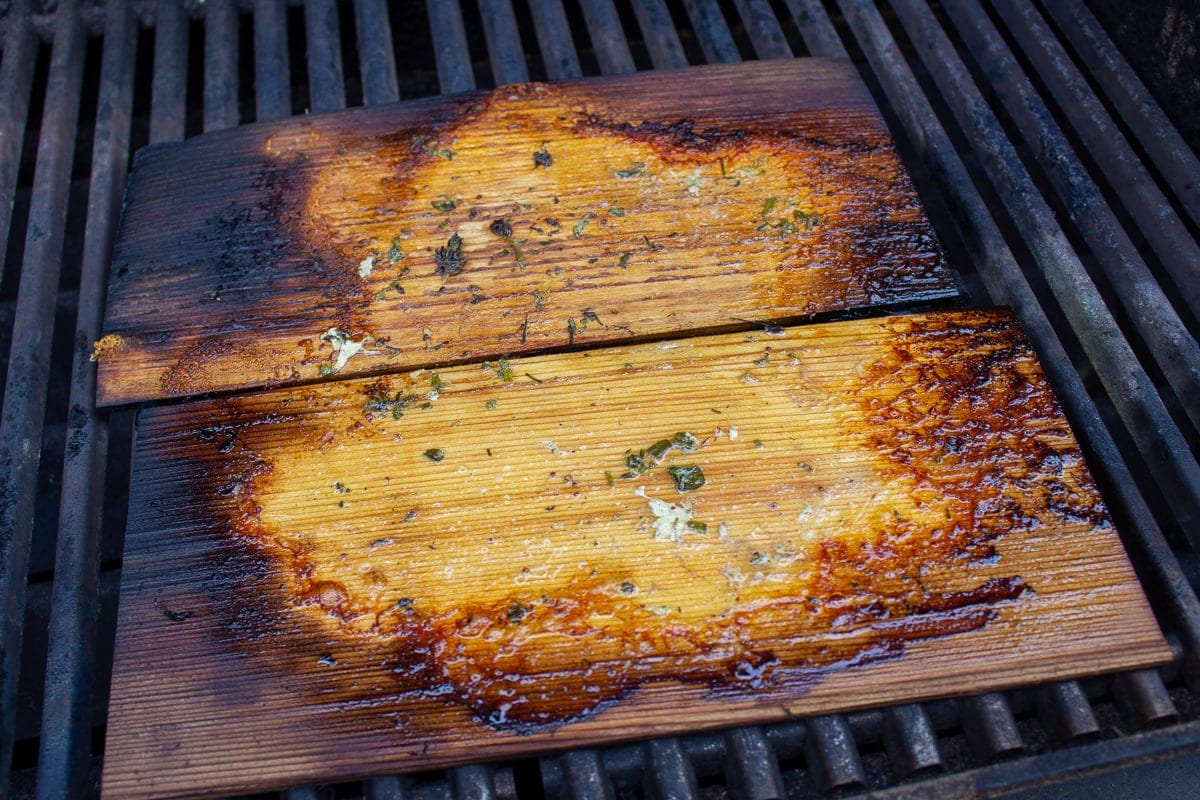
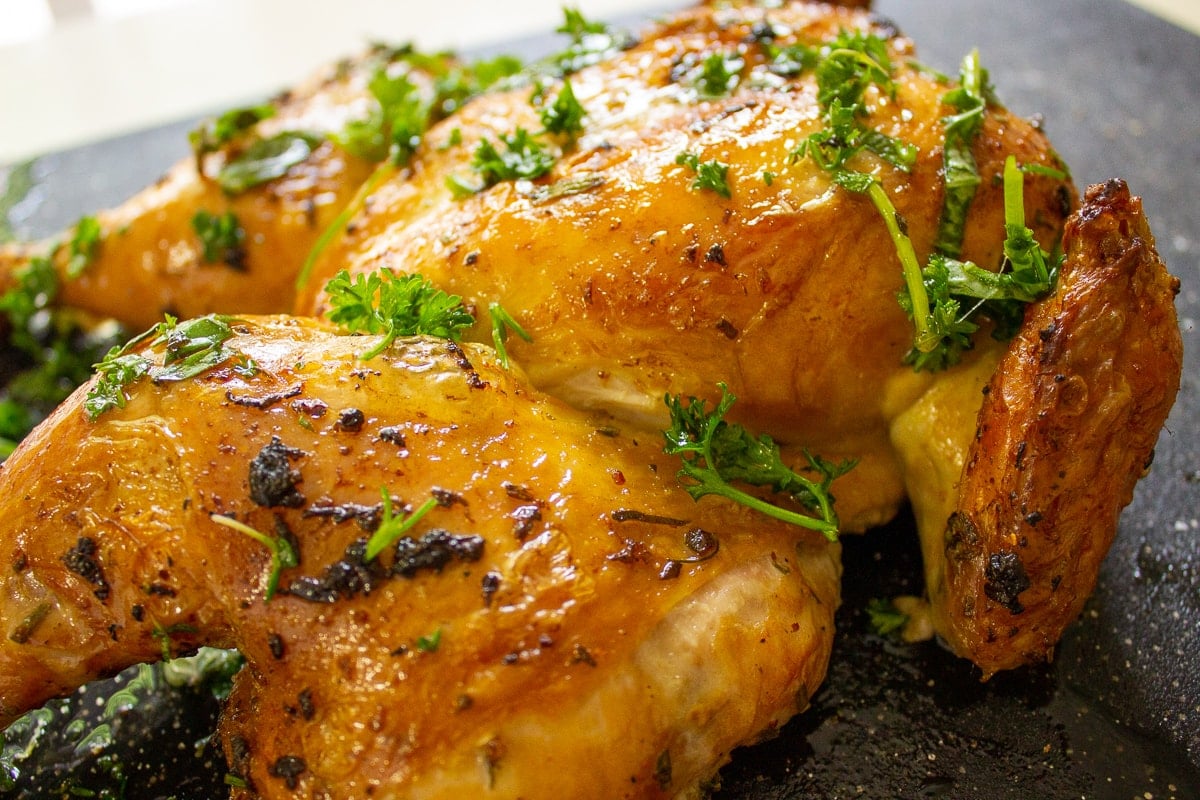
Tips for plank grilling
- Soak the cedar grilling plank before grilling (15-60 minutes depending on thickness). You can add apple juice, white wine or beer to the water for soaking for extra flavor.
- Start the plank grilling on high for a few minutes to get the wood smoking.
- Then use indirect cooking for most of the time (and then low heat during the final phase)
- There is no need to turn the food.
- Keep the BBQ lid closed as much as possible to keep in the smoke.
- Keep a spray bottle or water bottle handy in case the planks catch fire.
What to serve with wood smoked chicken
Sides
Almost anything goes. Here are a few of my favorites.
- Grilled Summer Peaches
- Grilled Honey-Lime Sweet Potato Apple Salad.
- Corn and tomato salad
- Herb potato salad
- Grilled zucchini slices
- Sauteed peppers with caper vinaigrette
- Peach salad with walnut dressing
- Citrus salad
Condiments
Shortcuts
- Eliminate the marinating step by buying a kosher chicken (already brined). Or, let the chicken marinate at room temperature for 30-45 minutes.
- Use a store-bought marinade or dry rub.
Make Ahead
This wood-smoked chicken on a cedar plank is delicious cold or at room temperature so, yes, it can be made ahead.
FAQ on Planks – The Basics
I prefer thinner planks of 1/8-1/4 inch (0.3-0.6cm) as they only take 15-30 minutes to soak and you can toss them out after one use so no cleanup. The 1/2 or 3/4 inch (1.3-1.9cm) planks take an hour to soak before grilling, but they can be reused.
Buy planks almost anywhere they sell accessories for the BBQ. Home Depot, Canadian Tire, Costco, Walmart, many grocery stores. Make sure the planks are 100% natural and free of chemical treatment. Cedar wood is almost never treated so you can even buy it in a lumber yard. Good grilling plank choices for chicken are cedar, apple, hickory, cherry, and oak. Experiment to see what you like best.
Actually, cedar plank grilling is a healthier option than direct grilling as the wood creates a barrier between the food and the grill. This helps avoid charring and unhealthy carcinogens.
Experts say you can wash the thicker 1/2-3/4 inch planks with water (not soap) and reuse them if they are not too charred. After a couple of uses, though, the smoky flavors diminish. I am not keen on the idea of chicken bits sticking to the wood grilling planks, so try to buy the thinner ones and just toss them.
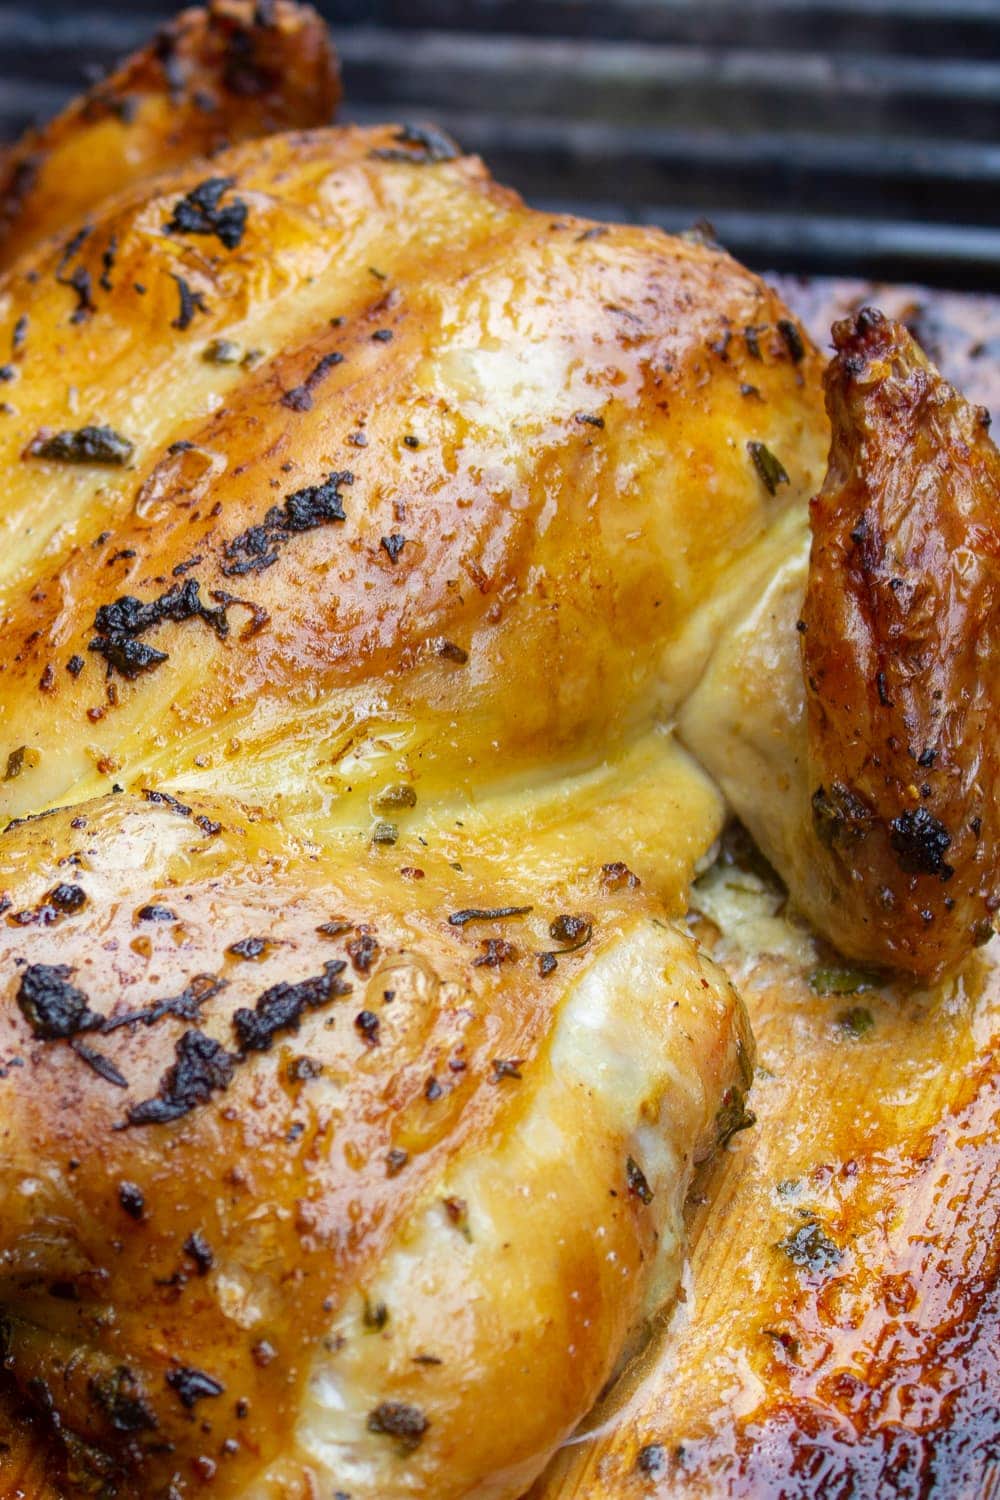
Other grilled plank recipes
- Canadian maple cedar plank salmon
- Cedar planked grilled whole chicken
- Smoked chicken thighs recipe (without a smoker)
If you have a smoker, try our how to smoke a brisket (step by step) recipe.
Please leave a 5 star rating ***** with a comment in the recipe card below if you like the recipe, Thanks so much!
Cedar Planked Chicken
Equipment
- cedar wood planks
Ingredients
- 1 whole chicken or one flattened/spatchcocked chicken, Note 1 (I use kosher chicken which is already brined, Note 2)
- 2 cedar grilling planks (1/8 to 1/4 inch thick/3.2-6.3mm) (or one if chicken will fit)
- Garnish: chopped parsley or herbs, plus squeeze of lemon for garnish
Marinade for chicken
- 1/4 cup (60ml) olive oil
- zest of 1 lemon
- 1 tablespoon lemon juice
- 1 teaspoon Dijon mustard
- 1/4 cup (5g) chopped fresh herbs (thyme, green onions, oregano, rosemary) or 1 tablespoon dried
- 1/2 teaspoon kosher salt
- 1/4 teaspoon black pepper
Instructions
- PREPARE CHICKEN and PLANKS: To flatten (spatchcock) a chicken, see Note 1. Soak the planks in water for 15-30 minutes if 1/4-1/8/3.2-6.3mm inch thick and 60 minutes if 1/2 inch/1.27cm thick. Put them in the sink or a large pan and place cans or a pot on top to hold them down under water.
- COAT CHICKEN WITH LEMON HERB MIXTURE: Combine all marinade ingredients in a small bowl. Coat the chicken all over with the mixture. Place in fridge, covered in a ziploc bag or covered with plastic wrap and marinate for a few hours or overnight. Shortcut : Eliminate marinating step by buying a kosher chicken (already brined). Or, let chicken marinate on counter for 30-45 minutes. If refrigerated, bring chicken to room temperature before grilling for 30 minutes.
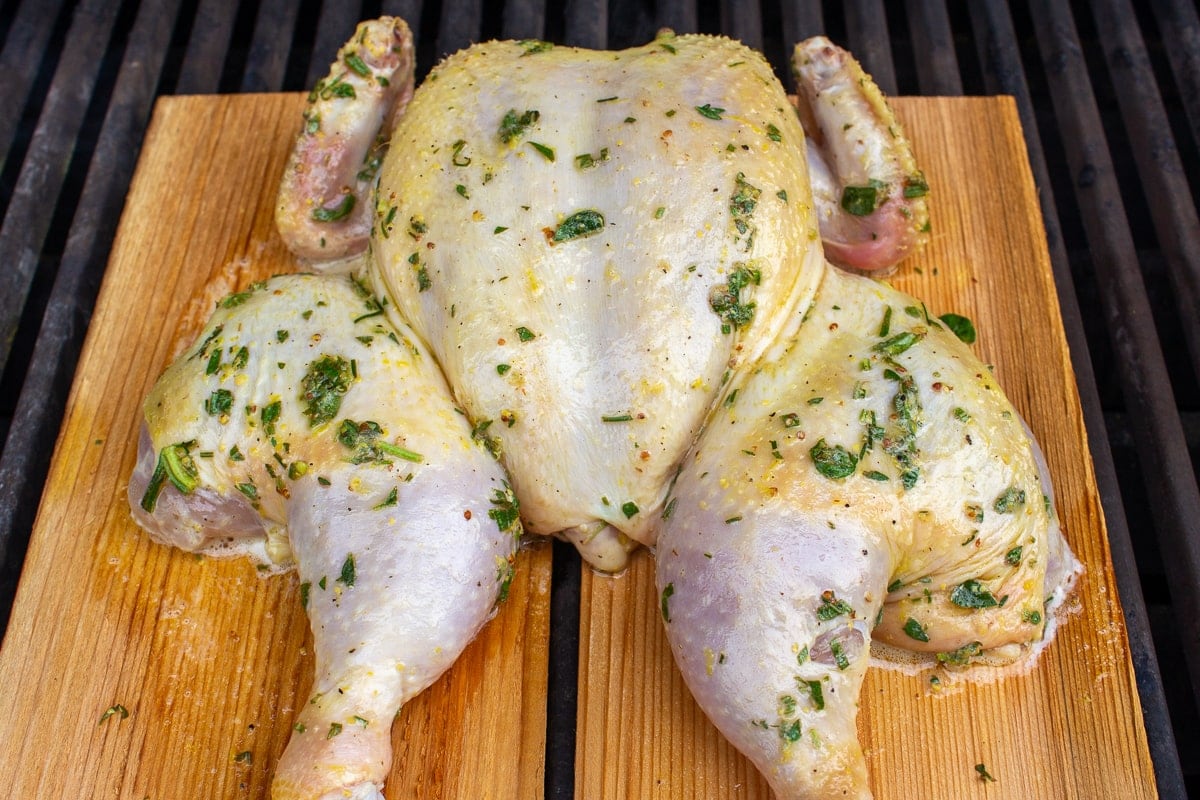
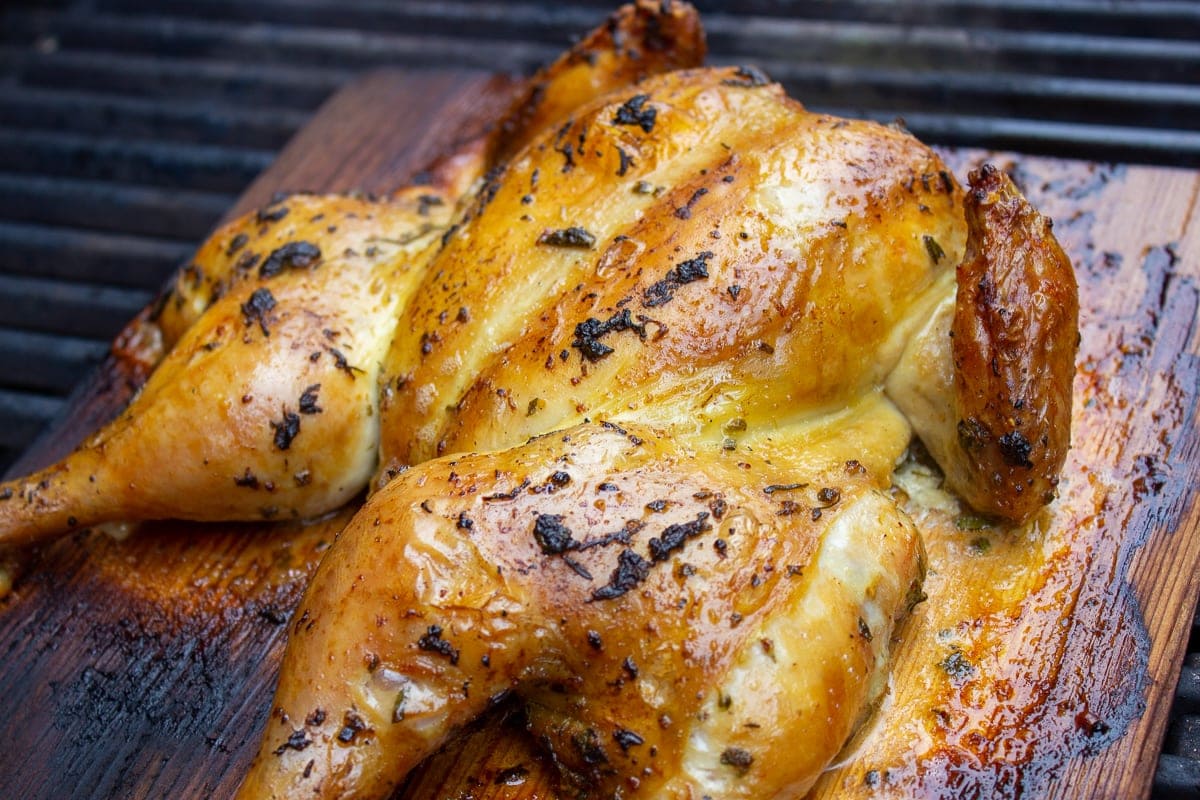
- PLANK AND GRILL CHICKEN: Heat gas grill to high. Pat planks with paper towel and spray lightly with oil. Place chicken, skin side up, on the planks (I use two planks side by side if chicken is too wide for one). Step 1: Place plank with chicken directly on the hot grill, cover grill for 3-4 minutes (if 1/8-1/4 inch plank) and 5-8 minutes for 1/2-3/4 inch plank. Planks will start charring and begin to give off smoke. Step 2: Then turn off burners under the chicken (keep on other burners). Cook undisturbed for about 20 minutes. Shift planks 180 degrees to help with even cooking. Close lid. Step 3: Turn burner(s) that were off back on to low heat and cook for another 18-22 minutes or until chicken is golden brown and reaches temperature of 160F/71C in breast on instant read thermometer. Temperature will rise as chicken rests.
- SERVE: Transfer chicken to cutting board, loosely cover with foil and let rest for 10 minutes before cutting into pieces. Temperature will rise. Add garnishes and serve. If not too charred, planks can be rinsed in water (no soap) and reused. If only 1/4 inch, I toss them.
Recipe Notes
- To flatten (spatchcock) a whole chicken: Turn chicken over, breast side down. Cut along both sides of the backbone using a kitchen scissors or boning knife. Remove backbone. Turn chicken over and press down hard on the breast bone to flatten.
- To brine chicken (optional): Place 4 cups room temperature water in a large ziploc or container. Add 4 tbsp salt, 1 tbsp sugar (and a clove or garlic and fresh thyme or rosemary if you like). Squish bag to dissolve salt and sugar. Add chicken. Seal bag/container and refrigerate for 6-8 hours or 1 hour at room temperature. Rinse chicken, pat dry and continue recipe.
- Make Ahead: This chicken can be made ahead as it’s delicious cold or at room temperature. Store leftovers in an airtight container in the fridge for up to 3 days.


fantastic recipe… just fantastic – comes out almost like hot smoked
Thank you so much Marina! Music to my ears.
I love this recipe! It’s my go to for a whole chicken without a doubt. Thanks so much.
So happy to hear that! Thanks very much for leaving a comment Nastasha 🙂
This turned out great. Tender, juicy, everything as promised. I cooked it on a Weber charcoal grill with the coals heaped to one side. I started the bird over the hot side, then slid it to the other side of the grill to finish off. It took a little longer than stated (probably due to the different equipment) but well worth it!
Wonderful! Glad it worked well on your charcoal bbq. Thanks for leaving us a comment. ?