Sous Vide Ribs
Sous vide ribs take a lot more time compared to traditional methods of cooking ribs. They are succulent, tender and melt-in-your-mouth.
But are they worth it? Is the difference in taste and texture noticeable?
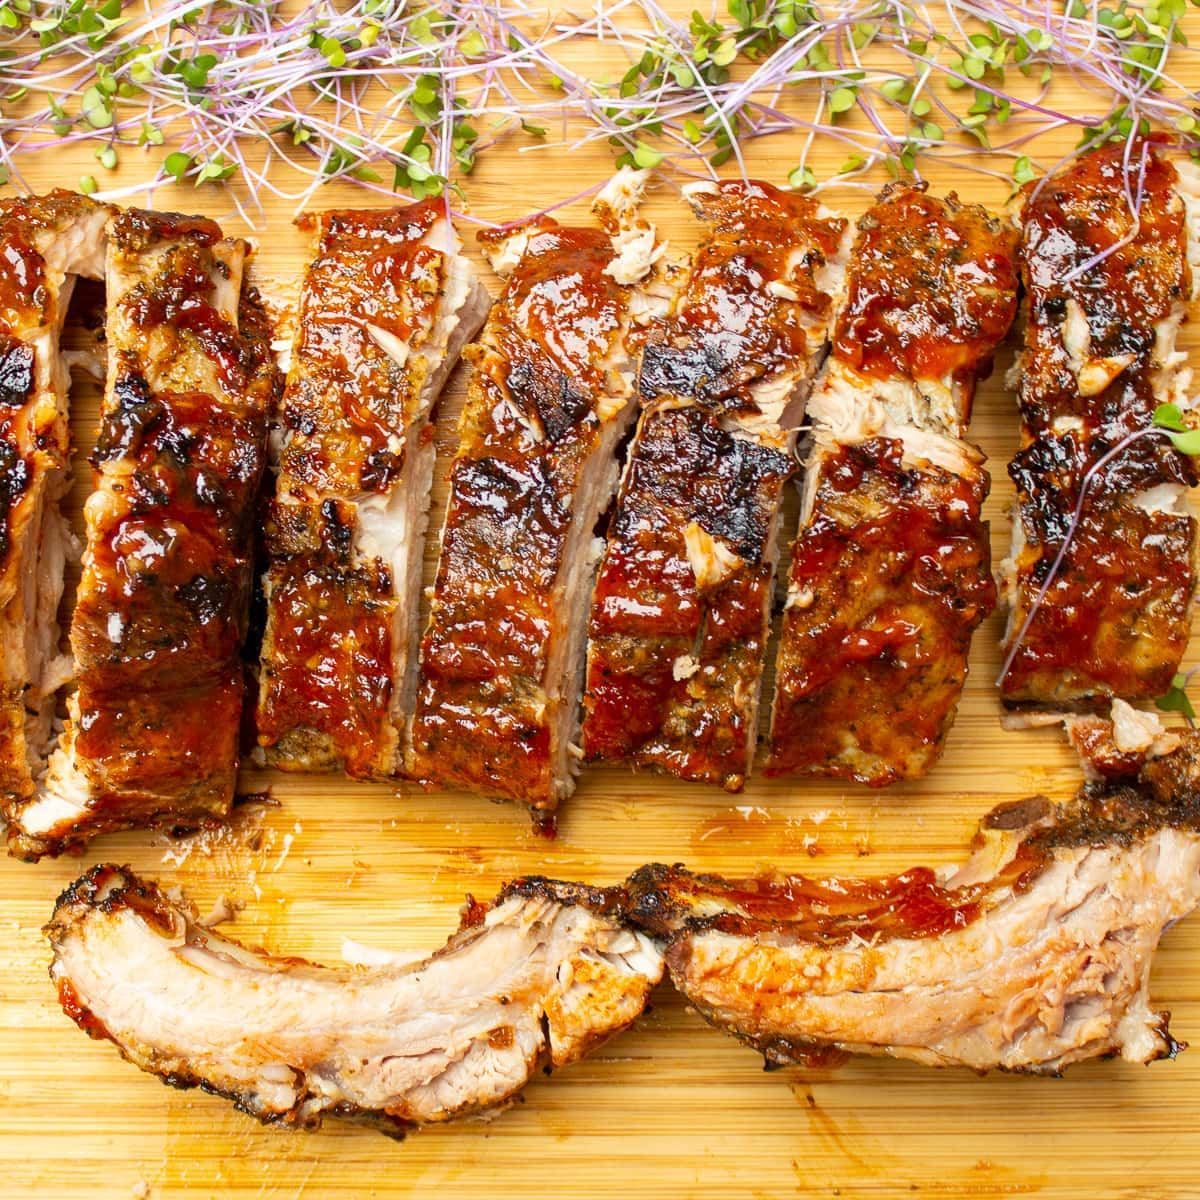
Well, you will have to experiment and see for yourself. Make no mistake, the ribs are delicious – super tender and flavorful. But since you are not aiming for a medium-rare, for example, it’s a harder call in the case of pork ribs. Check out the pros and cons below.
The basic process for these sous vide pork ribs:
- season the pork ribs with a rub
- heat a water bath with an immersion circulator and sous vide the ribs
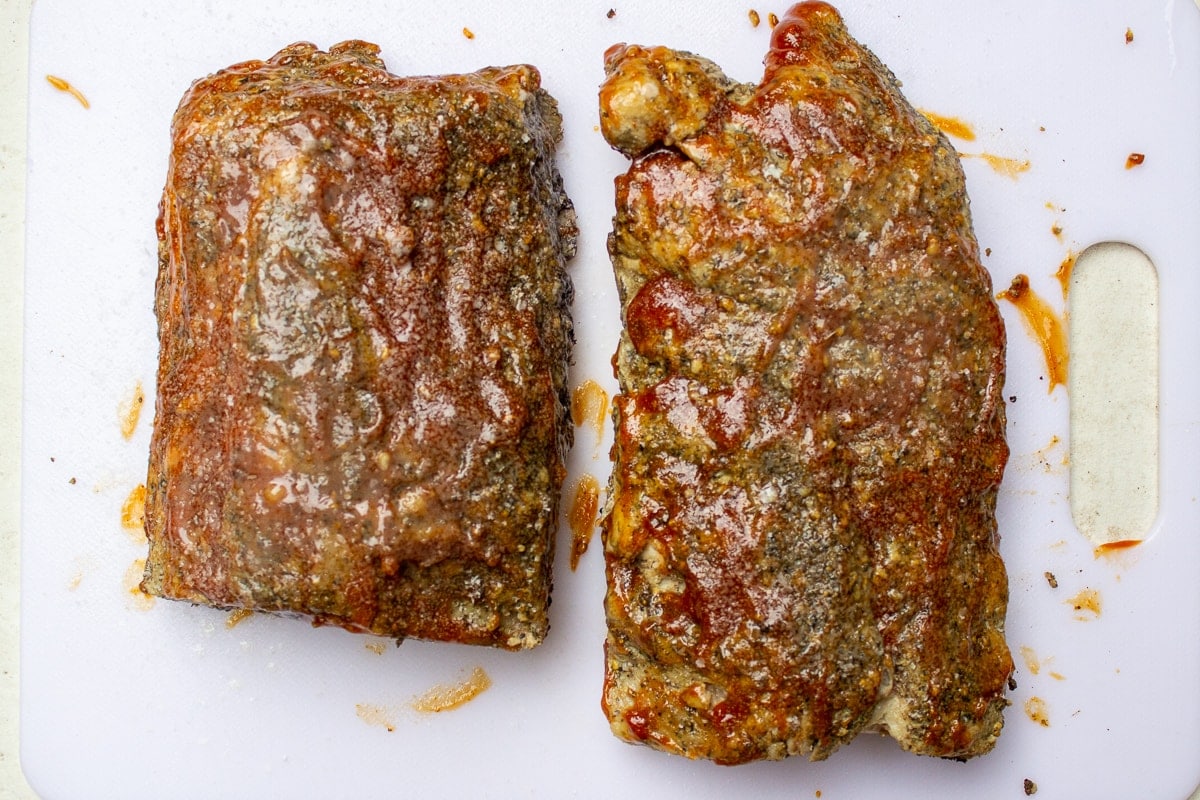
- pat the ribs dry with paper towels and apply a BBQ sauce
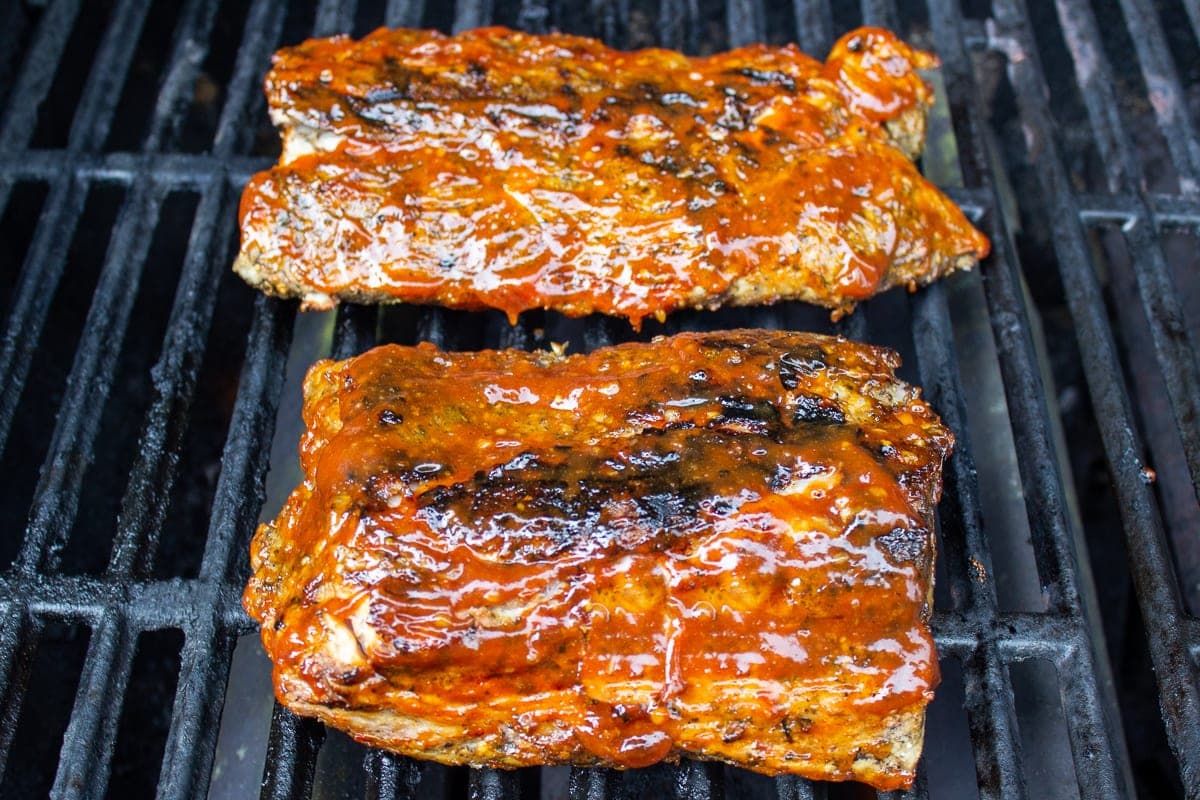
- grill or broil to finish them off
For those of you who make ribs regularly, you will know that this process is not too different from other cooking methods for ribs. The big difference is the time (and of course submerging the bag of ribs into water). Sous vide ribs take much longer.
Quicker cook methods are baking, boiling or the instant pot. All these options are shown in our famous Montreal back ribs recipe.
Regardless of the cook method, the ribs make a delicious all-season meal that will be well appreciated.
The seasoning and sweet, tangy BBQ sauce in this recipe enhance the flavors of the pork without overwhelming it. The flavor of the meat still shines through. You can, of course, use your favorite rub and sauce instead.
Time and Temperature
I have tried several different options for sous vide baby back ribs and St Louis-style ribs. My favorite is 150F/65.6C for 15-20 hours (I didn’t notice a big difference between these times).
Here are a few good options that you will find if researching the good sous vide websites. Choose the amount of time and temperature that you think you will love the best.
- 145F/62.8C for 36 hours – very moist, tender, succulent (but long!)
- 150F/65.6C for 15-20 hours – moist, soft, very tender ribs
- 155F/68.3C for 12-18 hours – fairly most, very tender and soft
- 165F/73.9C for 8-12 hours – more traditional ribs, easily flakes off the bone, not quite as moist
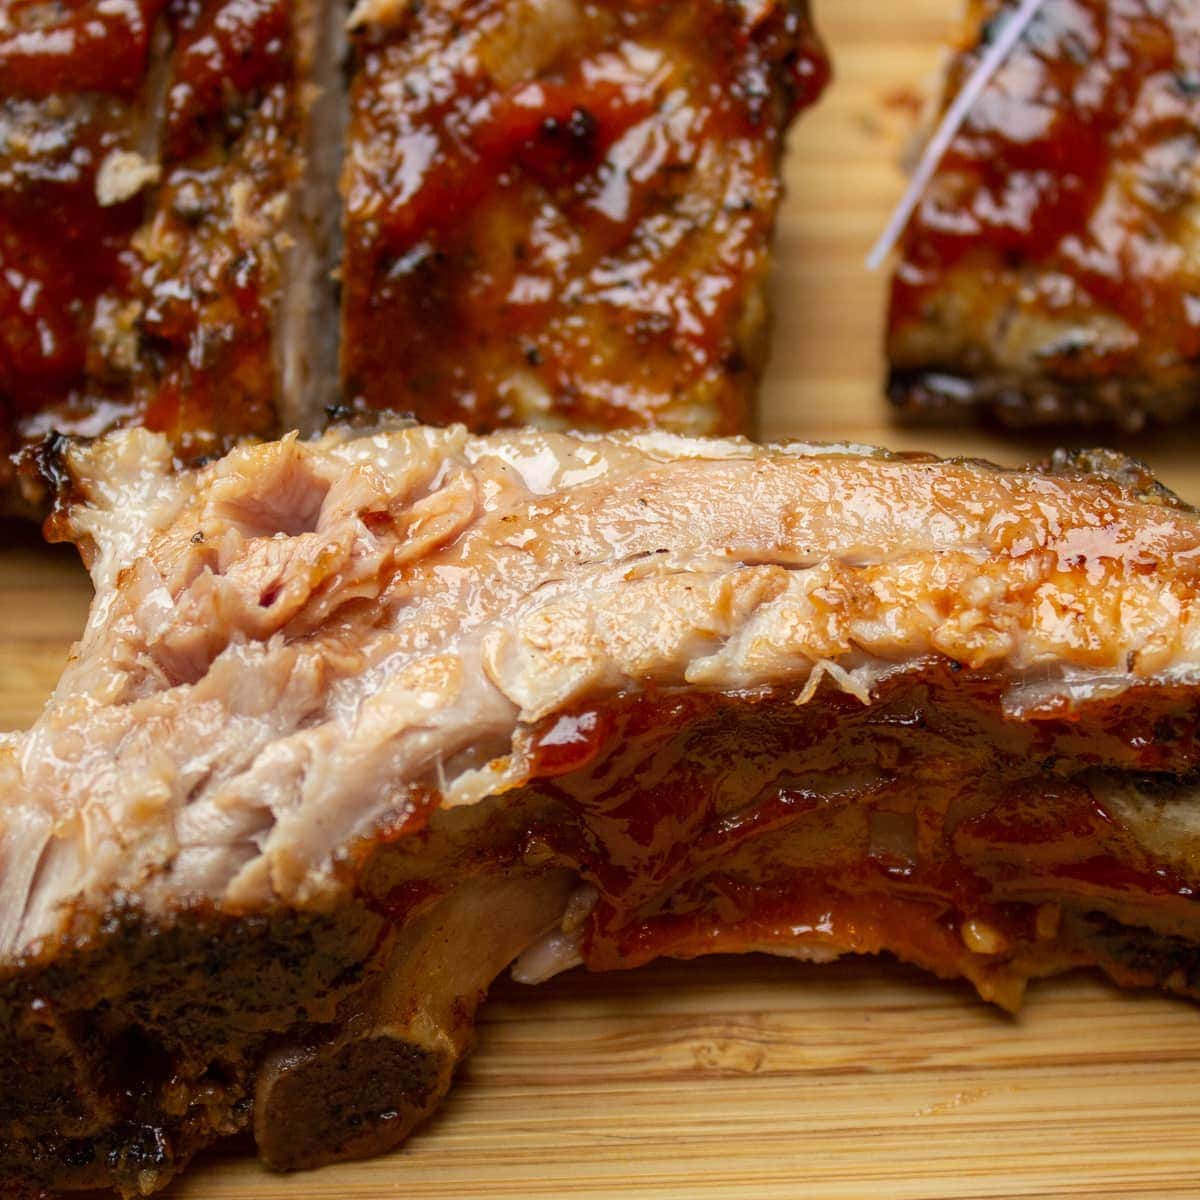
Sous vide pork ribs – are they worth it? The pros and cons
Pros
- Consistent tender results with little fuss.
- You can leave the pork ribs in the water bath for an extra couple of hours of sous vide time without affecting taste and texture if you need to attend to other stuff.
- Easy prep.
- The finish is pretty common for ribs – sauce the meat (or not) and char on the grill or under the broiler.
- I love to make a double batch and freeze half. The ribs will taste just like they were made fresh with rewarming (retherming) and finishing.
Cons
- Sous vide ribs take much longer than any of the more traditional methods (grill, baked, boiled). Even ribs on a grill or smoker take considerably less time.
- You can get away with 6-8 hours (at 165F/73.9C if you like them with more of a chew, but 12-36 hours is more common with sous vide.
- Discerning eaters will have to do a bit of experimenting to find their sweet spot for time and temperature. Not really a con if you love ribs!
So is it worth using the sous vide method for pork ribs? I would say yes. The ribs are so tender and delicious. There is no guesswork. They always come out great. You just have to plan ahead.
What kind of pork ribs to buy
I buy one of these two kinds of pork ribs.
- Baby back ribs – these are tender and less fatty that other types. I buy these most often. Each rack is 1.5-2 lbs (680-900g) and will serve 2 people.
- St Louis-style ribs (or spare ribs) – these are meatier, very flavorful (due to more fat) and tender. Each rack is closer to 3-3.5 lbs (1.36-1.59kg) and will serve 3-4 people.
What to serve with sous vide pork ribs
Side Salads
- Thai mango salad
- Peach salad with walnut dressing
- Party salad with grilled vegetables and quinoa (a 3 in 1 salad – no extra sides needed)
- Panzanella salad recipe with peaches
Easy side dishes
- Instant pot lemon risotto with grilled vegetables
- Grilled corn salad
- Grilled carrots with balsamic glaze
- Crispy smashed potatoes with gremolata.
- Grilled veggies recipe with potatoes
How to make sous vide baby back ribs


Tailor To Your Taste
- Ribs: Use baby back ribs or St. Louis-Style ribs
- Rub: Use your favorite rub – store bought or homemade.
- Sauce: Experiment with different sauces for the final stage. Here’s one you might like from our ribs with peach BBQ sauce. Or skip the sauce altogether.
- Sous vide method: Use a vacuum sealer or displacement method to seal the ribs in a bag for the sous vide process (instructions for both are in the recipe). And choose the precise temperature and time for the way you like your ribs.
Shortcuts
- Buy your favorite dry rub instead of making it yourself.
- Use your favorite store-bought barbecue sauce instead of making it yourself.
- Use the higher temperature for the water bath for a shorter cook time.
Make Ahead
There are 3 ways to make these ribs ahead – all instructions are in the recipe notes:
- For same day – add a couple of hours to the sous vide cook time.
- For next day or two
- To freeze for later.
Love sous vide cooking?
Then check out our best sous vide recipes.
Calling all rib lovers
- ribs with peach BBQ sauce
- famous Montreal back ribs (4 cooking options)
- Korean beef short ribs (sous vide) – these are boneless beef ribs
- sous vide short ribs (boneless beef)
- sous vide Prime rib (beef)
- baked beef back ribs with maple bourbon glaze
If you like this recipe, please leave a 5 star rating 🌟🌟🌟🌟🌟in the recipe card below. And if you REALLY like it, consider a review in the comments. Thanks very much!
Sous Vide Ribs
Equipment
- Sous Vide equipment
Ingredients
- 2 pounds (0.91kg) baby back ribs or St Louis-style ribs 1 rack of ribs
Rub
- 2 tablespoons paprika
- 2 tablespoons brown sugar
- 1 tablespoons kosher salt
- 1 tablespoons oregano
- 1 teaspoon mustard powder
- 1/2 teaspoon EACH – garlic powder, onion powder, chili powder
BBQ Sauce
- 1/2 cup (118ml) ketchup
- 1/3 cup (75g) brown sugar
- 4 teaspoon cider vinegar
- 4 teaspoon Worcestershire sauce
- 4 teaspoon Dijon mustard
- 3/4 teaspoon chili powder
- 1/2 teaspoon garlic powder
- 1/8 teaspoon cayenne pepper
Instructions
- PREPARE SOUS VIDE WATER BATH: Fill water in a large pot or container about 3/4 to the top. I use hot water from the tap to shorten the heating process. Set the temperature on the immersion circulator to 150F/65.6C and allow water to heat to that temperature. Note 1 for other sous vide times and temperatures.
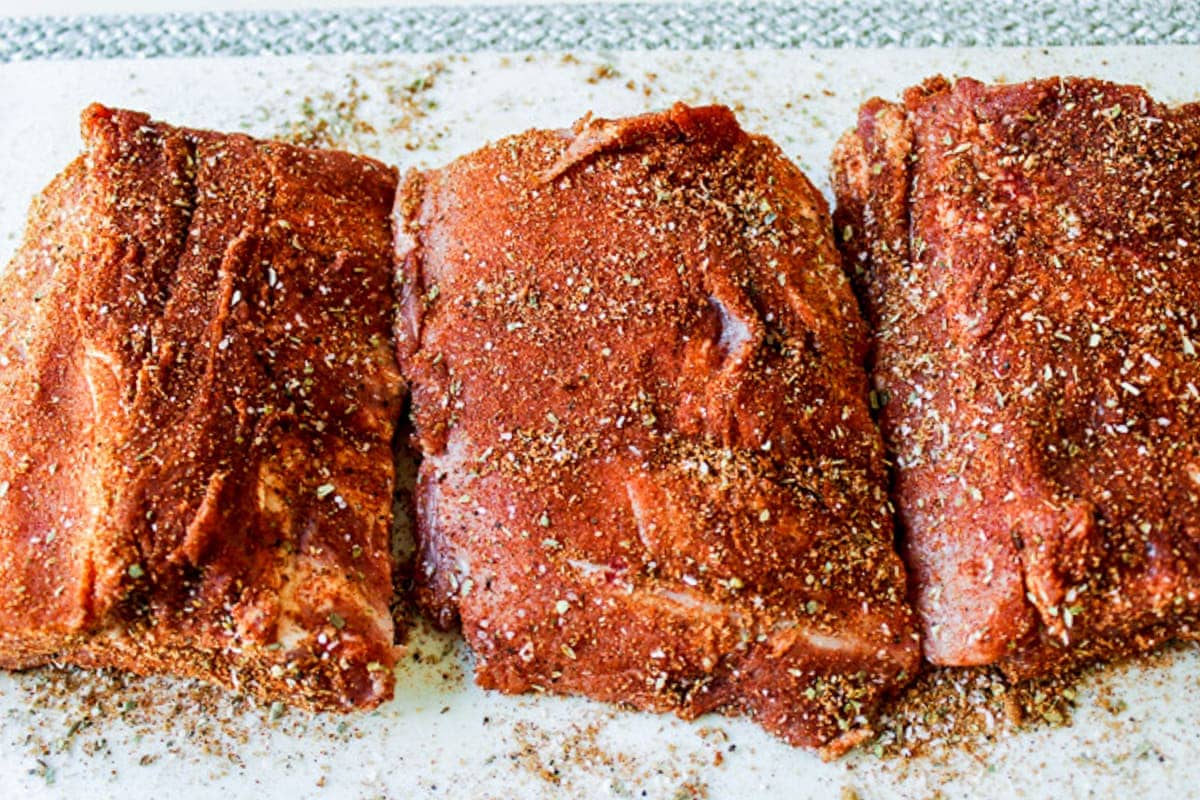
- MAKE RUB: Add all rub ingredients in a small bowl. Mix well to combine. Shortcut: Buy a good rib rub.
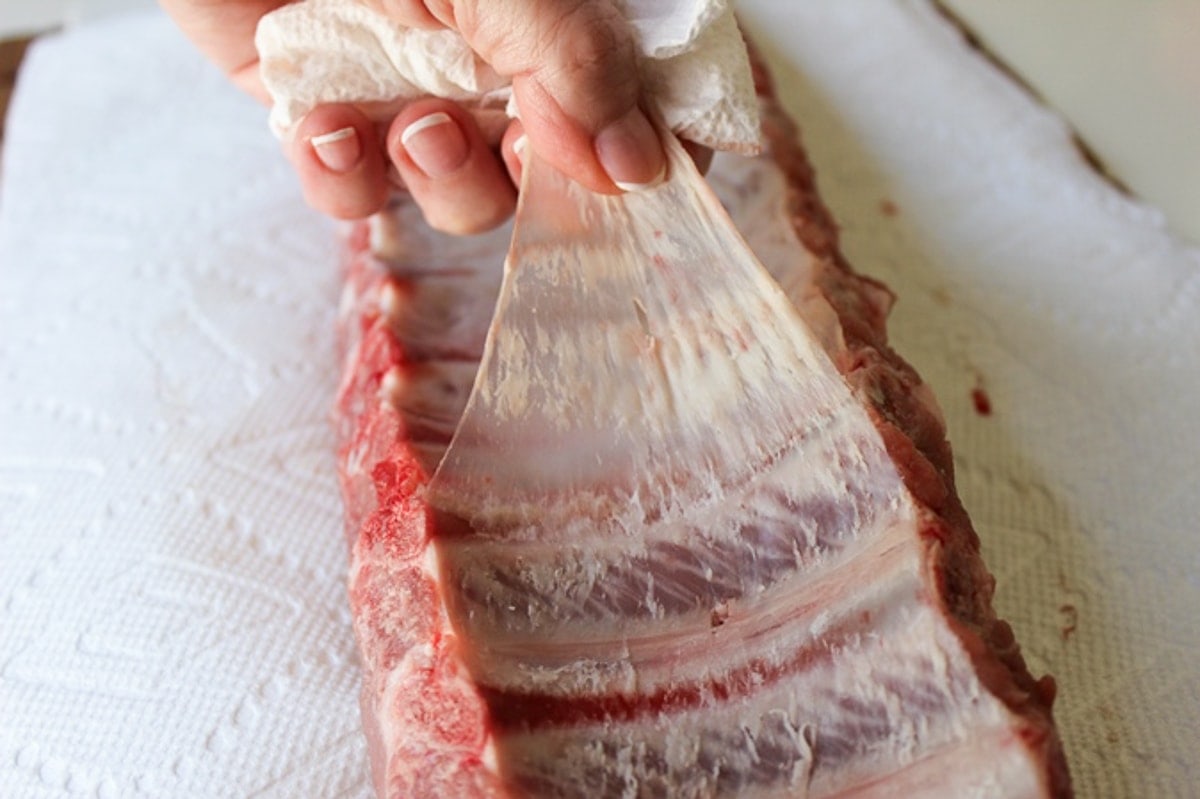
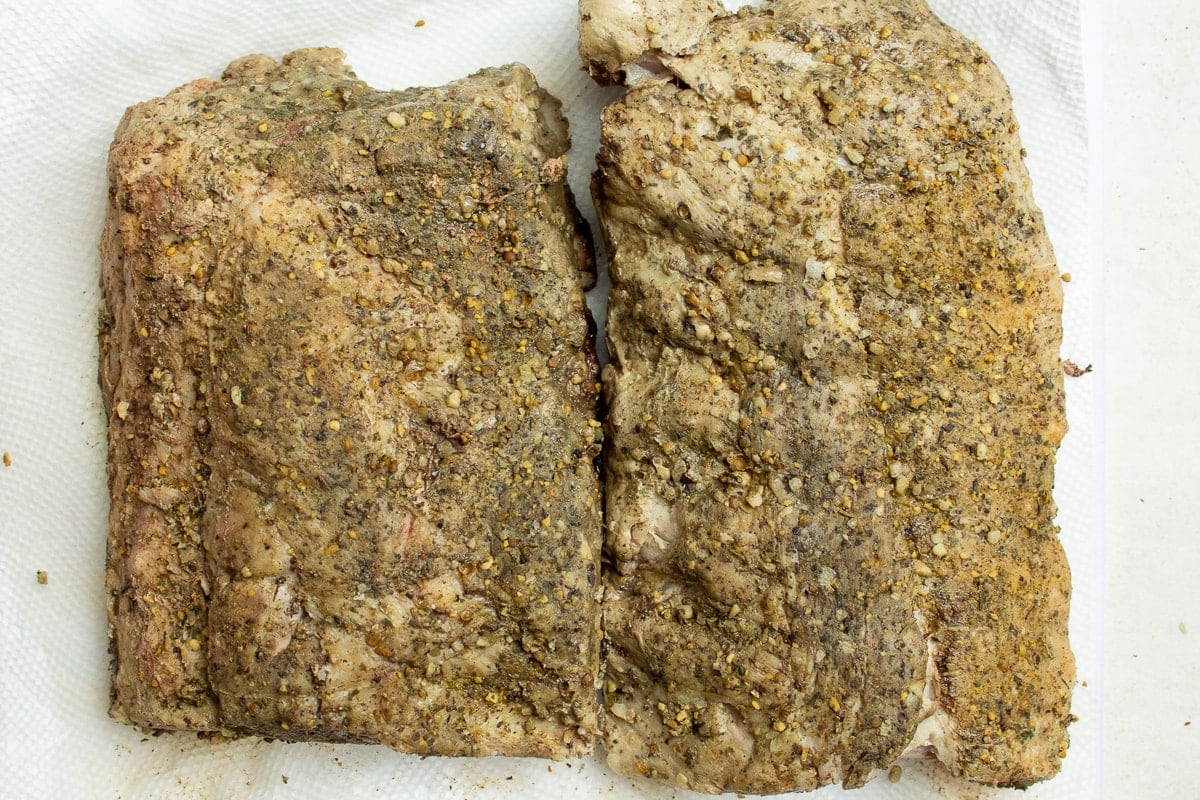
- PREPARE BACK RIBS: Remove the silver skin (white membrane) on the back of the ribs by sliding the tip of a knife under the skin at the small end of the rack. Loosen the skin from the bone, then grab it with a paper towel and peel the skin off the entire rib. With any luck, it should peel away in one large sheet. Here's a video on how to remove silver skin from ribs. Cut the rack horizontally into 2-3 pieces. Generously season each piece on both sides with rub. For vacuum seal: Fold back top of vacuum seal bag about an inch to create a flap (this ensures no food touches the top of the bag where it gets sealed). Place ribs in bag – as many rib portions per bag that will fit in a single layer, ensuring no overlap. Unfold the flap and vacuum bag using a vacuum sealer. Note 2 for displacement method with ziploc bag.
- COOK RIBS SOUS VIDE: When the temperature of the water bath reaches 150F/65.6C, submerge the bag with the ribs into the sous vide bath. Cover and cook for 15-20 hours. (Note 1 for alternative times and temp)
- MAKE BBQ SAUCE: Combine all the BBQ sauce ingredients in a bowl. Mix well to combine. Shortcut: use a good bottled BBQ sauce.
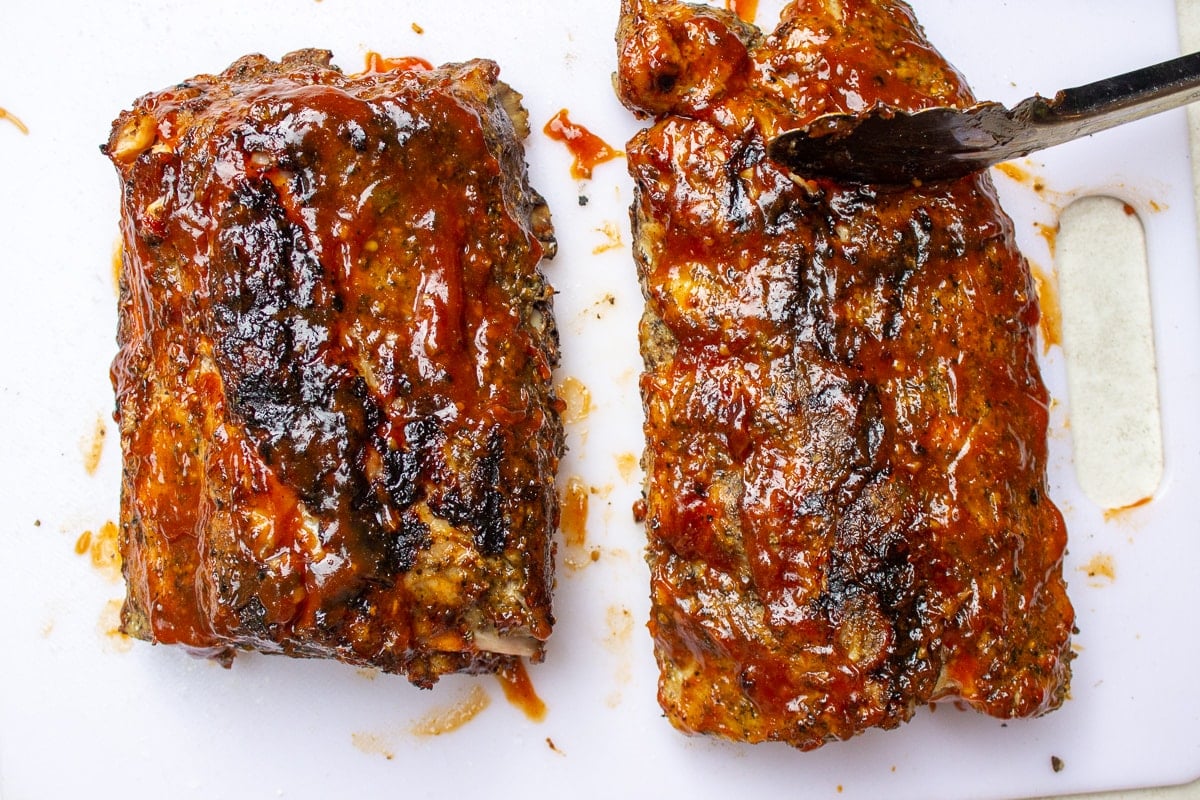
- FINISH RIBS: Remove ribs from water bath. (Ribs can be cooled, then refrigerated at this point to be finished in the next 2 days). Remove ribs from the bags. Discard juices. To Grill: Clean and oil grill. Heat grill to medium-high. Brush sauce on both sides of ribs. Grill for 2-3 minutes per side, adding more sauce as you turn them. To Broil: Line a pan with aluminum foil. Heat broiler and place oven grill 6 inches from the top of the oven/broiler. Place ribs (meaty side down) on the pan and brush with sauce. Broil for 2-3 minutes. Turn ribs over. Brush sauce on top of ribs. Broil for another 2-3 minutes. Spread any remaining sauce on top of BBQ ribs. Cut into serving pieces and serve.
Recipe Notes
- Temperatures and Times for ribs – options
- 145F/62.8C for 36 hours – very moist, tender, succulent (but long!)
- 150F/65.6C for 15-20 hours – moist, soft, very tender ribs
- 155F/68.3C for 12-18 hours – fairly most, very tender and soft
- 165F/73.9C for 8-12 hours – more traditional, easily flakes off the bone, not quite as moist
- Alternative to vacuum seal bag: Instead of vacuum sealing, use the displacement method. Place ribs in a ziploc bag, lower into water bath until seal of bag is just above water line (air will be pushed out), then seal the bag. You want to get air out of the bag so it doesn’t float.
- Make Ahead:
- The ribs can be made ahead up to the point of saucing and grilling/broiling. You have a window of an extra couple of hours in the water bath if you like.
- To make them a day or two ahead, chill the cooked ribs in the bag(s) in an ice water bath to cool them down quickly, then refrigerate. Continue recipe with saucing on the grill or broiler before serving.
- To freeze: Place bag of ribs after sous vide into ice water to cool down. Remove juices from bag and reseal (or transfer to another airtight bag or container). Freeze ribs for up to 3 months. To retherm (rewarm), place them in a water bath at 150F/65.6C for 45 minutes to 1 hour. Then pat dry and continue with grilling or broiling steps.
Nutrition
The BBQ sauce recipe is adapted from a beef short rib recipe by Once Upon a Chef. The sous vide recipe, originally published in 2017, has been updated with new information and images

Best ribs ever. Do not diverge from the recipe!!!! Well done girls!
Glad you approve William!
Seeking clarification, please: Step 1 and Notes say 150 degrees, but Step 4 says 165 degrees if cooking for 15-20 hours.
Oh no! I made an error. Step 4 should say 150F (not 165F). I’ve corrected that now. Note 1 in the recipe notes show 4 different times and temperatures. Thanks very much for catching that Amy!
I was excited to make this, but my baby back ribs are already broken down into single ribs… do you think it will still work? What would i need to change?
I cant find anything online about cooking ribs that are already broken down like this, particularly cooking them sous vide (to my dismay)
I haven’t tried doing single ribs, but I think they should work fine. You can test them at less time to see if they are tender. And you might want to keep the final broil or grill to a minimum (e.g. one side only) to avoid drying out the ribs. Good luck and let us know how it works out.